
Butter Churn Unveiled: Turning Cream to Classic Delight
In traditional kitchens, a simple tool turns fresh cream into rich, golden butter through rhythm and time. This piece explains the technique, practical tips, and heritage behind that transformation while keeping instructions tight and actionable.
- Fresh cream and correct temperature yield the best texture and flavor.
- Rhythmic agitation separates fat from buttermilk in predictable stages.
- Washing butter removes residual buttermilk and extends shelf life.
- Save buttermilk for baking or savory uses to avoid waste.
Prep and Cook Time
Preparation: 10 minutes of chilling equipment and measuring ingredients sets you up for a smooth process. Cold tools and cream shorten active churning without risking greasy texture.
Churning: Expect 30–45 minutes by hand depending on cream freshness and temperature. Using a beater or mixer drops active time but you still need to watch for distinct stage changes.
Yield
From about 2 cups of heavy cream you should get roughly ½ cup of butter plus nearly 1½ cups of buttermilk. Yield varies with cream fat content and handling; higher-fat cream gives slightly more butter.
Scale linearly: 4 cups of cream will roughly double butter yield, though churning time may change. Record times and temperatures to refine yield for your source of cream.
Difficulty Level
Medium. The technique calls for sustained motion and observation rather than technical skill. Once you recognize stages, results become predictable and repeatable.
Physical effort depends on tool choice: a jar requires armwork, a dasher or electric churn reduces effort. Practice improves rhythm, so expect better texture after a few batches.
Ingredients
2 cups fresh heavy cream (preferably pasteurized, not ultra-pasteurized, for optimal emulsification). Quality and fat percentage influence speed and texture of the final butter.
¼ tsp fine sea salt (optional) and ice water for washing the butter. Keep additions minimal until you master the base process and the natural cream flavor.
- Heavy cream — chilled to ~50°F (10°C).
- Sea salt — optional for seasoning.
- Ice water — for rinsing residual buttermilk.
Instructions
Start by chilling your equipment and cream to about 50°F (10°C). Cold but not icy temperatures speed the transition from whipped cream to butter without producing greasy results.
Fill your churn or jar about halfway to allow movement and room for foam. Agitate consistently and watch for the stages described below to time your interventions.
Step-by-step Churning
Stage one: the cream thickens into whipped cream within 10–15 minutes of steady agitation. Maintain steady rhythm rather than force to encourage uniform fat coalescence.
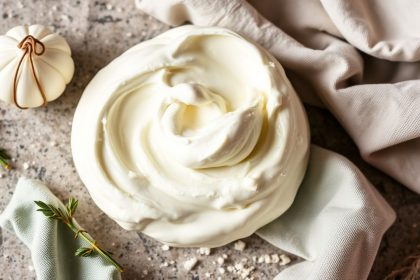
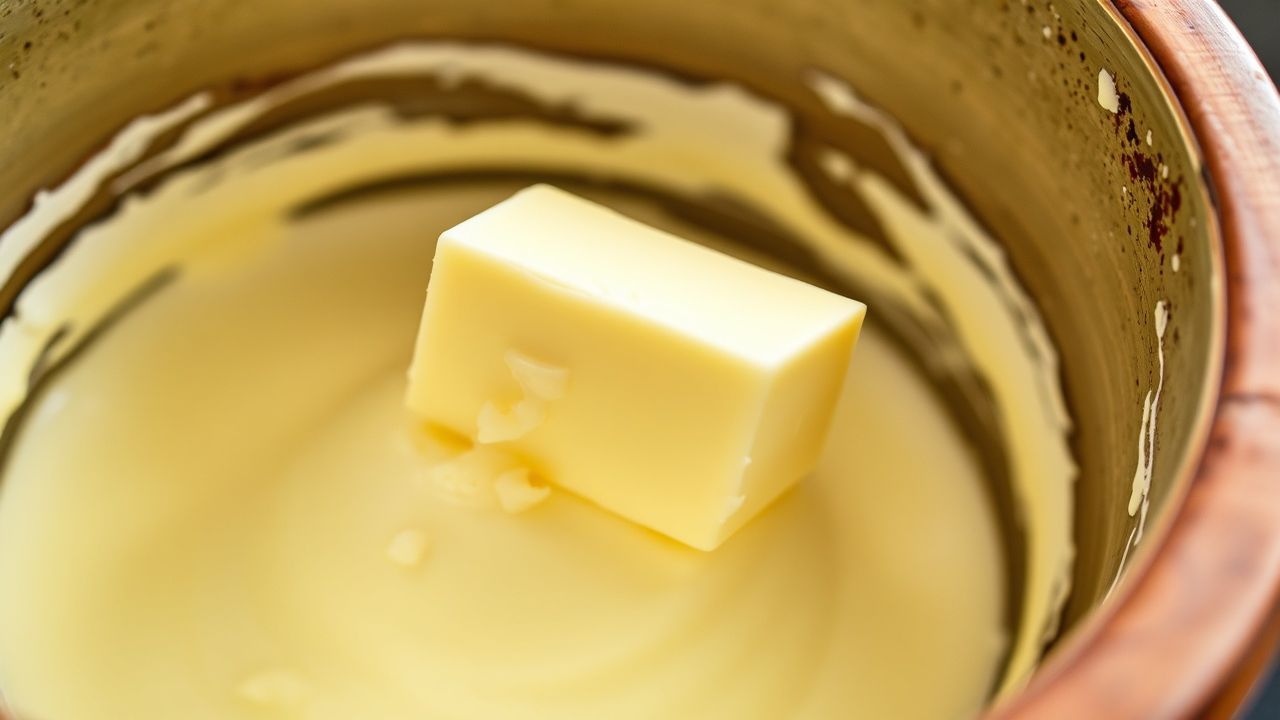
Stage two: continued churning breaks the foam and fat clumps form; pale liquid separates as buttermilk. When you see solid clumps and a clear liquid, drain the buttermilk and proceed to washing.
- Drain the buttermilk. Pour off the liquid and reserve it for baking or drinks; it has useful acidity and flavor.
- Wash the butter. Knead under ice water until the rinse runs clear to remove residual buttermilk and prevent early spoilage.
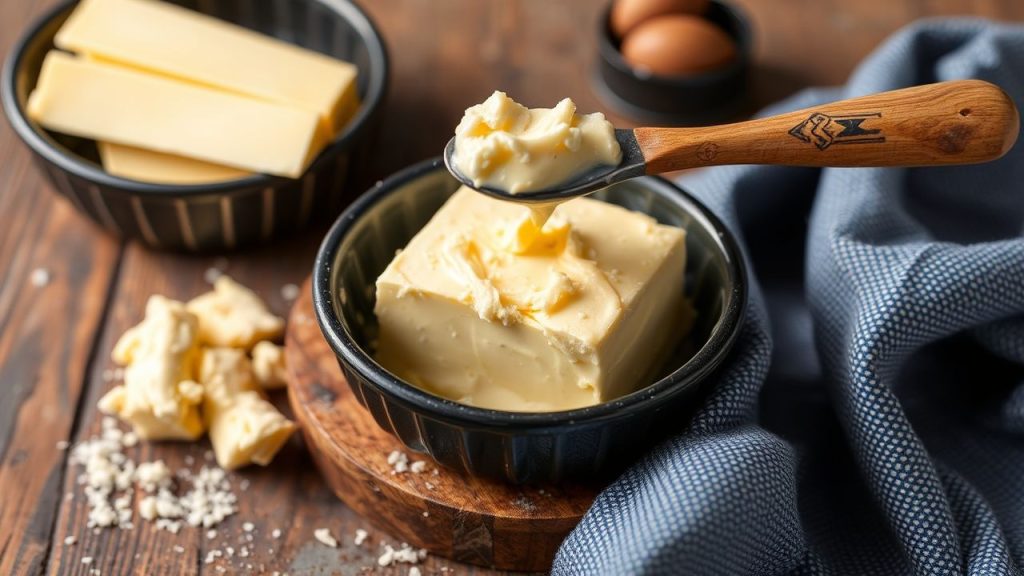
- Season and shape. Fold in salt if desired, then press into a block or roll into balls for storage and presentation.
- Store properly. Wrap in parchment or place in an airtight container and refrigerate; consume within a week for peak freshness.
Chef’s Tips for Success
Fresh cream yields superior butter. Local dairy cream with higher milkfat delivers a sweeter, creamier profile and churns reliably. Record the cream brand and harvest date to track performance.
Temperature control matters: too cold slows churning; too warm produces soft, greasy butter. Aim for consistent initial temp and adjust by small margins based on observed texture.
Serving Suggestions
Serve fresh butter simply to highlight its texture and aroma: a pat on warm sourdough or melted over steamed vegetables elevates both. Small touches like flaky salt or chopped herbs add contrast without masking freshness.
For compound butter, knead in herbs like chives or rosemary, or a small spoon of honey for a sweet version. Let compound butter firm briefly in the fridge before serving to stabilize the shape and flavor.
Nutritional Snapshot
Butter is primarily fat and provides concentrated calories and fat-soluble vitamins. A tablespoon typically contains about 100 calories and roughly 11–12 grams of fat, mostly saturated.
Use butter sparingly in balanced diets and consider cultured butter if you want a tangier flavor with the same fat content. Retain portion awareness when incorporating homemade butter into daily meals.
| Nutrient | Per 1 tbsp |
|---|---|
| Calories | 102 |
| Protein | 0.1 g |
| Carbohydrates | 0.0 g |
| Fat | 11.5 g |
Q&A
Below are concise answers to common questions that new churners ask. Each answer highlights practical steps or explanations drawn from technique and dairy science.
These responses draw connections to basic dairy concepts so you can apply them to your local cream and equipment. Refer to the FAQ section later for schema-ready queries and more details.
The Way Forward
Making butter by hand reconnects you with a tactile cooking skill and gives you full control over flavor and texture. Once you master temperature and timing, the process becomes fast and rewarding.
Keep notes on cream source, temp, and time to refine batches. Over several iterations you will establish a reliable routine that maximizes yield and taste.
Explore deeper technique and historical context via these resources: butter churn, cream, and buttermilk. For broader dairy industry context, see dairy.
Continue your practical exploration with internal guides on traditional methods and layered recipes: Traditional Dairy Methods and Homemade Dairy Recipes. These pages offer complementary techniques for cultured and preserved dairy items.
FAQ
How long does hand-churning cream take?
Expect 30–45 minutes for most chilled creams when churning by hand or jar. Time shortens with electric tools but stage recognition is still required.
If your cream is very fresh and high-fat, churning sometimes finishes near the lower end. Record times for each cream source to fine-tune expectations.
Can I use ultra-pasteurized cream?
Ultra-pasteurized cream often yields lower-quality butter because heat alters protein and fat interactions. Pasteurized (not ultra) cream gives a better mouthfeel and more reliable separation.
Local dairy cream or labeled heavy cream with standard pasteurization usually produces the most consistent results.
What do I do with the buttermilk?
Save buttermilk for baking pancakes, biscuits, or using as a tangy marinade; it adds acidity and tenderness. It stores in the fridge for several days and freezes well for longer use.
Buttermilk also works in dressings and savory batters where a mild lactic tang balances richness. Treat it as a useful byproduct rather than waste.
How should I store homemade butter?
Wrap in parchment or use an airtight container and refrigerate; this keeps flavor stable for about one week at peak quality. For longer storage, freeze in portions for up to three months.
Label and date packages to monitor freshness, and keep butter away from strong-smelling foods to avoid flavor transfer.
Why did my butter turn out greasy?
Greasy butter usually results from churning at too-warm a temperature or overworking the fat. Lower the starting temperature slightly next time and stop when clumps form with clear liquid separation.
Also ensure thorough washing to remove free fat and buttermilk residues that alter mouthfeel. Adjusting temperature and washing technique resolves most greasy outcomes.
Through careful control of temperature, rhythm, and washing, homemade butter becomes a reliably delightful kitchen staple. Enjoy the hands-on process and the superior flavor it yields.
See also: butter churn