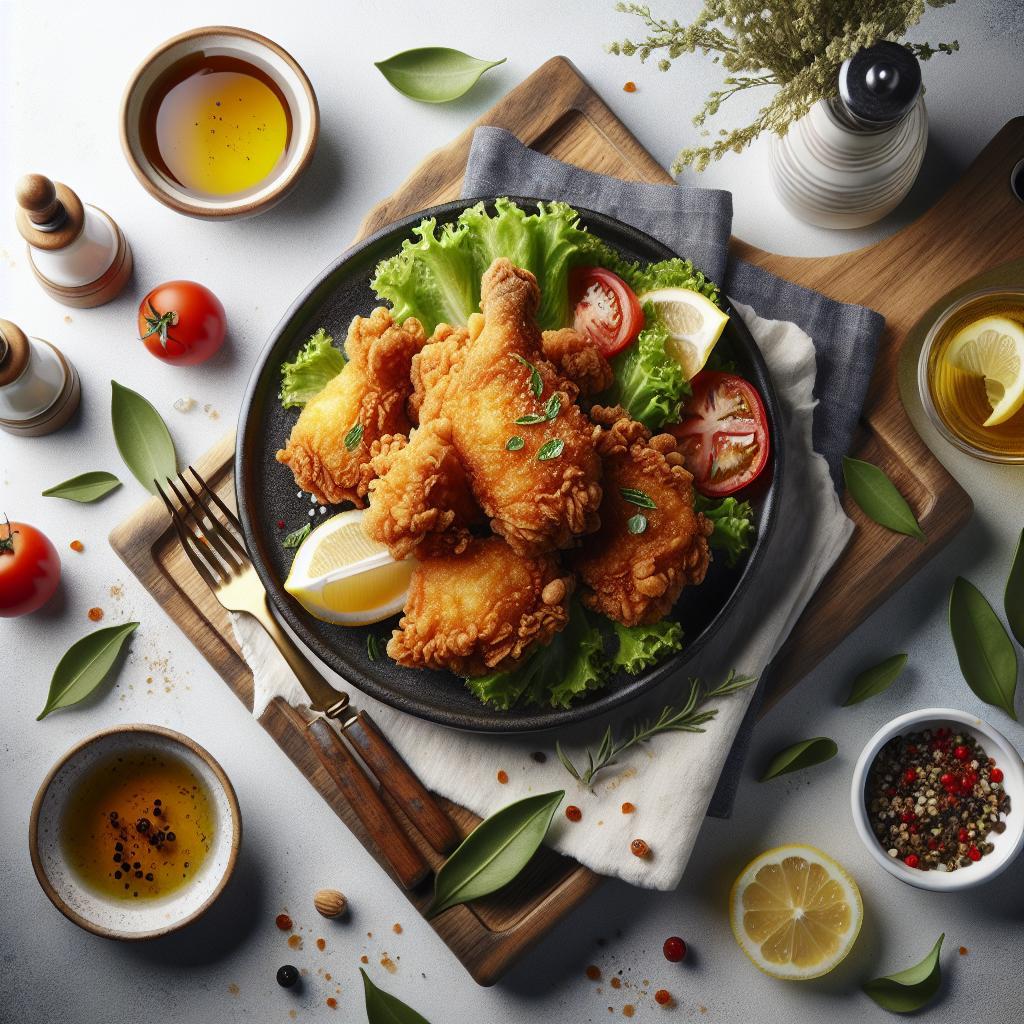

Buttermilk chicken delivers an ultra-crisp crust and a reliably juicy interior when technique and timing align. This guide lays out seven actionable steps—precise marinade ratios, a proven double-dredge, and strict temperature control—to replicate restaurant-quality fried chicken at home.
- Buttermilk chicken — Prep and Cook Time
- Buttermilk chicken — Yield
- Buttermilk chicken — Difficulty Level
- Buttermilk chicken — Ingredients
- Buttermilk chicken — Instructions
- Buttermilk chicken — Tips for Success
- Buttermilk chicken — Safety and Equipment
- Buttermilk chicken — Serving Suggestions
- Buttermilk chicken — Nutrition and Storage
- Buttermilk chicken — Science and Technique Notes
- Buttermilk chicken — Context and Culinary Notes
- FAQ
- Marinate 4–24 hours for tender meat and better adhesion.
- Double-dredge to build a durable, shatterable crust.
- Maintain 325–350°F oil to prevent greasiness and ensure even doneness.
- Rest on a rack to protect crispness and finish carryover cooking.
Buttermilk chicken — Prep and Cook Time
Prep: 20 minutes active plus 4–24 hours marinating. Allow at least four hours; an overnight soak (10–12 hours) deepens tenderness and seasoning penetration.
Cook: 15–25 minutes per batch depending on piece size and pan efficiency. Plan for carryover heat when you time final rests and holding.
Buttermilk chicken — Yield
This formulation yields about 6 hearty portions from a 4 lb chicken cut into eight pieces. Scale ingredients proportionally for larger crowds or smaller roasts.
Use roughly 3/4 cup buttermilk per piece when scaling the marinade; that volume keeps coating adhesion and interior moisture consistent across batches.
Buttermilk chicken — Difficulty Level
Rated Medium. The method requires precise temperature management, consistent coating technique, and basic equipment: a probe thermometer and a heavy pot or Dutch oven.
Avoid overcrowding and premature flipping by frying controlled batches. Those decisions affect texture far more than exotic spices do.
Buttermilk chicken — Ingredients
Stick to pantry staples and measure precisely the first few times. Bone-in, skin-on pieces provide the best flavor and a forgiving cook window.
Adjust spice levels after an initial trial batch so you lock a repeatable profile that suits your palate and cooking equipment.
- 1 whole chicken (about 4 lbs), cut into 8 pieces
- 3 cups buttermilk (or 3 cups milk + 3 tbsp vinegar, rested 10 minutes)
- 2 tbsp hot sauce (optional)
- 2 tsp kosher salt, divided
- 1 tsp black pepper
- 1 tsp smoked paprika
- 2 cups all-purpose flour
- 1 tsp garlic powder
- 1 tsp onion powder
- 1/2 tsp cayenne (optional)
- 2–4 tbsp cornstarch or rice flour (optional, for extra crisp)
- Vegetable or peanut oil for frying (about 2 inches deep)
Buttermilk chicken — Instructions
The method divides into clear stages: marinate, prepare the dredge, double-dip and rest, then fry. Use a probe thermometer for consistent results and repeatable timing.
Each stage protects moisture and builds a durable crust. If you skip one stage, the final texture will differ noticeably.
1. Buttermilk Marinade
Whisk buttermilk, hot sauce, 1 tsp salt, and black pepper. Submerge pieces fully and refrigerate 4–24 hours to allow acids and dairy fats to alter muscle proteins and improve water retention.
Buttermilk’s mild acidity helps tenderize without turning meat mushy when you respect the timing window. For background on buttermilk chemistry, consult the buttermilk entry.
2. Preparing the Dredge
Whisk flour with smoked paprika, garlic powder, onion powder, cayenne, and a pinch of salt. Add 2–4 tbsp cornstarch or rice flour for a lighter, brittle crust that fractures on the bite.
Season the dry mix aggressively; most perceived flavor comes from the coating. A well-seasoned dredge compensates for variations in meat fat and cooking loss.
3. Dredging, Double-Dip Technique, and Rest
Remove pieces, let excess marinade drip, then press into the flour so the dry mix bonds to skin and flesh. For a thicker shell, dip briefly back into the buttermilk and re-coat in seasoned flour.
Place coated pieces on a wire rack and rest 10–15 minutes to set the crust. That pause tightens adhesion so the coating does not slough off during frying.
4. Heating the Oil and Frying
Heat oil to 325–350°F (163–177°C) and hold that range while frying. Use a clip or probe thermometer to avoid wide swings that cause greasy or undercooked interiors.
Fry in batches without crowding; flip only once or twice to preserve the crust. Transfer finished pieces to a wire rack over a sheet pan and hold in a 200°F (95°C) oven if necessary.
Internal Temperature and Doneness
Check the thickest part of the thigh for 165°F (74°C) with an instant-read thermometer. Carryover heat will raise the internal temperature a few degrees during rest.
Do not rely on color alone; a well-browned crust can hide undercooked meat. Temperature gives the definitive indicator of safe doneness.
Buttermilk chicken — Tips for Success
Control oil temperature, avoid overcrowding, and favor bone-in pieces for forgiving cook windows. Small operational choices make significant differences in final texture and mouthfeel.
Press the dry mix into skin and allow a brief rest so the crust adheres before frying. Boldly seasoned flour ensures every bite carries flavor.
If you need to hold pieces warm, use a low oven and keep them spaced on a rack. That prevents steam buildup that would otherwise soften the crust.
Buttermilk chicken — Safety and Equipment
Use neutral, high-smoke-point oils such as peanut or refined vegetable oil. Those oils provide steady heat and predictable browning without off flavors.
Never leave hot oil unattended. Use long tongs, a splatter guard, and know how to smother a grease fire—do not use water. These precautions reduce risk when frying at home.
Let fried pieces rest on a rack rather than paper to preserve crispness. Reheating on a rack in a hot oven restores texture far better than microwaving.
Buttermilk chicken — Serving Suggestions
Serve with creamy mashed potatoes, tangy vinegar-based coleslaw, and warm cornbread for a balanced plate. Acids such as pickles or slaw cut the richness and refresh the palate.
For a regional contrast, offer honey or hot honey on the side. Sweet elements amplify perceived juiciness and round out the flavor profile.
For additional side ideas and plating approaches see our internal guides: Cooking Techniques and Frying Guide.
Buttermilk chicken — Nutrition and Storage
Per-serving calories depend on cut and breading thickness. A typical bone-in serving runs roughly 450–600 kcal with about 25–35 g fat depending on oil retention.
Store leftovers in an airtight container for up to three days. Reheat on a wire rack at 375°F (190°C) to restore crispness while keeping interiors moist.
| Nutrient | Per Serving |
|---|---|
| Calories | 520 kcal |
| Protein | 45 g |
| Carbohydrates | 25 g |
| Fat | 28 g |
Buttermilk chicken — Science and Technique Notes
Acidic dairy in the marinade mildly denatures proteins, which improves water retention and tenderness when kept within recommended times. That controlled denaturing supports juicier results after frying.
The crust forms when flour proteins and starches gel, then brown under high heat. Adding starches such as cornstarch or rice flour reduces gluten formation and yields a more brittle, shatterable crust.
For further technical context, consult the deep frying overview at deep frying and the broader fried chicken history at fried chicken.
Buttermilk chicken — Context and Culinary Notes
This technique aligns with classic preparations that pair milk-acid marinades and hot oil to render tender meat and crisp skin. Adapting the method unlocks variations across cuisines.
Boneless cuts work but require a shorter frying time and closer temperature monitoring to avoid drying. Adjust timings specifically for thickness rather than relying on bone-in cues.
For background on marinades and their functions, see the marinade article to better tailor times and acid levels to different proteins.
FAQ
How long should I marinate for best results?
Marinate at least four hours and up to 24 hours. Overnight (10–12 hours) typically gives the best balance of tenderness without textural breakdown.
Can I use boneless chicken for this method?
Yes. Boneless pieces cook faster and dry out more easily. Reduce frying time and monitor internal temperature closely to avoid overcooking.
What oil is best for frying?
Use oils with high smoke points such as peanut, canola, or refined vegetable oil. They provide stable heat and a neutral flavor so your seasoning stands out.
How do I keep the crust from falling off?
Rest coated pieces on a rack for 10–15 minutes before frying to set the crust. Press the dry mix into the skin and avoid excessive flipping during frying.
Can I bake instead of fry?
Baking on a wire rack at high heat or using an air fryer reduces oil but changes texture. Expect a less shatterable crust and a drier interior compared with true frying.
See also: Buttermilk chicken
Recommended Reading:
- 7 Expert Steps to Make Creamy Skim Mozzarella at Home
- 12 Golden Ghee Storage Secrets for Lasting Freshness
- Milkshakes Mastery: 7 Expert Techniques for Perfect Shakes