In the enchanting world of fermentation, yeast is the unsung hero transforming humble ingredients into bubbling brews and fluffy breads. But like any living ally, yeast has its limits-its vitality wanes with time, and a neglected starter can quickly turn from a fragrant forest of life into a sad, sluggish puddle. What if you could unlock simple, clever hacks to keep your yeast starter fresh and thriving longer, ensuring every bake or brew bursts with full-bodied flavor and fizz? Dive into this guide where science meets savvy, and discover the art of yeast preservation that will elevate your fermentation game from fleeting success to lasting craft.
Yeast Preservation Fundamentals Unveiled
Yeast Preservation Hacks unlock the secrets to maintaining a lively, active starter that fuels your bread-baking passion day after day. Whether you’re nurturing a wild sourdough culture or a simple commercial yeast starter, understanding innovative techniques to extend starter viability transforms your baking endeavors. This guide reveals practical approaches to keep your yeast vibrant, ensuring your dough rises with maximum vigor each time.
Prep and Cook Time
- Starter Refresh and Storage Setup: 10 minutes
- Yeast Rejuvenation After Storage: 6 to 8 hours
Yield
- Starter Volume: Approximately 1 cup of active starter ready for use
Difficulty Level
- Intermediate: Basic understanding of yeast cultivation and maintenance recommended
Ingredients
- 1 cup unbleached all-purpose flour, preferably organic and freshly milled
- 1/2 cup filtered water, lukewarm (70-75°F / 21-24°C)
- 1 teaspoon active dry yeast or 2 tablespoons mature wild yeast starter
- 1 tablespoon natural sugar (honey or maple syrup optional to boost yeast activity)
Instructions
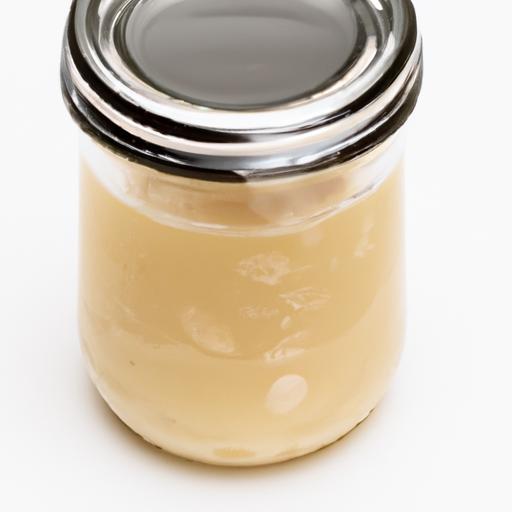
- Prepare the Starter: In a clean glass container, combine the lukewarm water and natural sugar to gently awaken the yeast. Stir until dissolved.
- Add Flour and Yeast: Gradually mix in the all-purpose flour and sprinkle the active dry yeast or add your wild starter. Stir until smooth with no dry pockets of flour remaining.
- Allow Initial Fermentation: Cover loosely with a breathable cloth or lid. Leave at room temperature (around 70°F) until bubbly and doubled in size, about 6 to 8 hours. This signals active yeast populations ready for preservation.
- Innovative Storage: For short-term storage (up to 5 days), refrigerate the starter tightly sealed with a plastic lid or food wrap to minimize air exposure while avoiding anaerobic conditions.
- Long-Term Techniques: To extend viability beyond a week, consider drying your starter onto parchment paper in thin layers or freezing small portions with a protective sugar or glycerol solution. Both methods dramatically slow yeast metabolism, preserving potency.
- Reviving Your Starter: When ready to use, gently rehydrate dried starter or thaw frozen portions at room temperature. Feed with equal parts flour and water, then allow it to become bubbly again over 6 to 8 hours before baking.
- Regular Feeding Schedule: Maintain peak yeast performance by discarding half of your starter daily or weekly (depending on storage) and replenishing with fresh flour and water to prevent exhaustion.
Tips for Success
- Humidity Control: Yeast thrives in moist environments, but excess moisture invites mold. Cover your starter with a cloth and plastic wrap combination to balance air flow and moisture retention.
- Avoid Metal Containers: Use glass or food-grade plastic as metal can react with acidic starters, impacting yeast vitality.
- Temperature Matters: Store refrigerated starters between 35-45°F (1.6-7°C) for slower activity and maximum preservation.
- Troubleshooting: If your starter develops a pink or orange hue, discard it immediately-this indicates contamination.
- Make-Ahead: Preserve excess starter by drying thin layers on parchment sheets. Once brittle, store in airtight containers at room temperature for months.
Serving Suggestions
Although this starter isn’t served directly, consider showcasing the fruits of its vitality with rustic artisan breads, soft dinner rolls, or tangy sourdough pizza crusts. Garnish your dough with flour dusting, sesame seeds, or sprigs of fresh herbs to enhance visual appeal and aroma. Capture the bubbles and airy crumb by slicing breads with a serrated knife or tearing into rustic loaves.

| Nutrient | Per 100g Starter |
|---|---|
| Calories | 85 kcal |
| Protein | 3g |
| Carbohydrates | 18g |
| Fat | 0.1g |
For a deeper dive on professional yeast starter care techniques, King Arthur Flour offers extensive guidance. Also, explore our Sourdough Starter Basics for complimentary tips on nurturing and utilizing your yeast.
Q&A
Q&A: Yeast Preservation Hacks – Keeping Your Starter Fresh Longer
Q1: Why should I even care about preserving my yeast starter?
A: Think of your yeast starter as your brewing best friend-alive, kicking, and ready to transform sugars into a flavorful symphony. Keeping it fresh means consistent fermentation, better-tasting brews, and saving money by not buying new yeast every batch. Plus, a healthy starter reduces the risk of off-flavors or stalled fermentation. Preservation is like giving your yeast a spa day, ensuring it stays plump and happy.
Q2: What’s the biggest enemy of yeast longevity?
A: Oxygen and time. Yeast loves a little air to grow, but too much oxygen exposure after fermentation can cause it to age prematurely. Also, overfeeding or neglecting your starter for days on end can weaken it. Temperature swings and contamination are sneaky saboteurs, too-always keep your starter in a stable, clean environment.
Q3: How often should I feed my yeast starter to keep it fresh?
A: Regular feeding is the key to vitality. For active starters stored at room temperature, feeding once every 12 to 24 hours keeps the yeast happy and robust. If you’re putting it in the fridge, feeding once a week is usually fine-just warm it up and give it a good stir before feeding again. Think of feedings like gourmet meals for your living culture.
Q4: Any quick hacks for extending starter life without daily fuss?
A: Absolutely! Try refrigerating your starter in a sealed jar to slow yeast metabolism-this lets it nap instead of turning into a stressed-out mess. Before brewing, simply warm it to room temp and feed it a day or two ahead to wake the yeast up gently. Another nifty trick: add a pinch of yeast nutrient or a little malt extract during feedings to keep the yeast energized.
Q5: Can I freeze my starter? Does it survive the cold?
A: Yes, yeast can be frozen, but it’s a delicate process. Freeze small aliquots with a cryoprotectant like glycerol or a bit of wort to shield cells from ice damage. When you’re ready to use it, thaw slowly in the fridge and then warm it up gradually. Freezing isn’t ideal for day-to-day preservation but works wonders for long-term yeast banking.
Q6: What’s the role of containers in yeast preservation?
A: Containers are your yeast’s cozy home. Use clean, airtight jars to prevent contamination and excessive oxygen intrusion. Wide-mouth jars make feeding and stirring easier, while glass containers help you monitor your starter’s activity visually. Avoid metal lids or old containers that can harbor unwelcome bacteria.
Q7: Any final yeast-preserving pearls of wisdom?
A: Treat your starter like a prized pet. Keep it clean, well-fed, and comfy. When in doubt, propagate a fresh batch rather than pushing your old starter too hard. The better cared for your yeast is, the more vibrant and flavorful your brews will be. Remember: healthy yeast = happy beer (or bread) adventures! Cheers to your brewing success!
In Summary
In the ever-evolving art of brewing and baking, mastering the preservation of your yeast starter is like unlocking a secret ingredient to consistent, flavorful results. By applying these yeast preservation hacks, you’re not just extending the life of your starter-you’re cultivating a living partner in your culinary adventures, ready to bring your creations to life whenever inspiration strikes. So, whether you’re a seasoned fermenter or a curious beginner, keep these tips close, nurture your yeast with care, and watch as your starter continues to thrive, one batch at a time. After all, great yeast is the heart of every great brew or bake-and with a little ingenuity, you can keep that heart beating strong for as long as you need. Cheers to freshness, flavor, and the timeless magic of fermentation!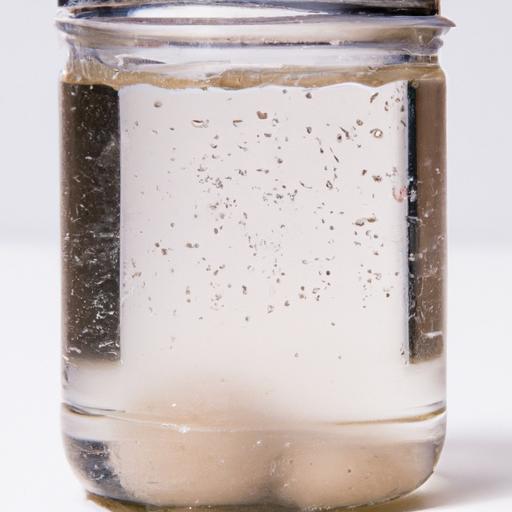


