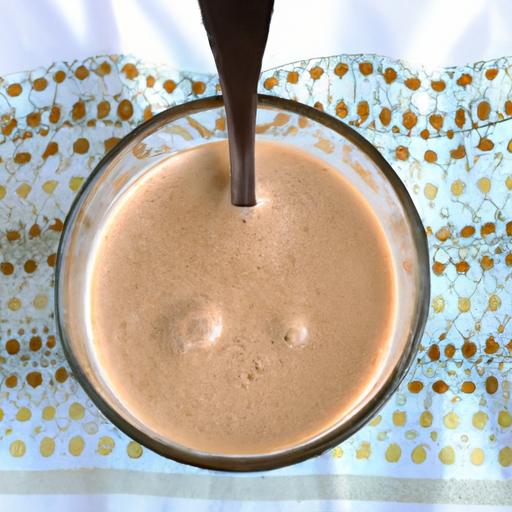
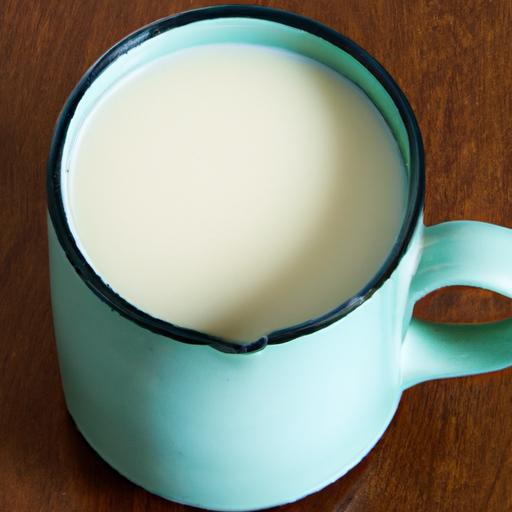
There’s something undeniably magical about the perfect cup of coffee-the rich aroma, the comforting warmth, and the subtle dance of flavors on your palate. But what if you could transform that daily ritual into an extraordinary experience with just a splash? Enter homemade vanilla coffee creamer: a luscious, velvety addition that elevates your brew from ordinary to indulgent. In this delicious DIY guide, we’ll delve into the art of crafting your own vanilla-infused creamer at home, blending simple ingredients to create a creamy companion that’s as wholesome as it is flavorful. Say goodbye to store-bought additives and hello to a personalized touch that makes every sip a moment of pure delight.
Crafting homemade vanilla coffee creamer starts with selecting the finest vanilla beans and extracts, balancing a silky cream base, and tailoring sweetness to your unique palate. This guide will unlock the secrets to creating a luscious, aromatic creamer that elevates every morning cup with comforting vanilla notes and a velvety texture.
Choosing the Perfect Vanilla Beans and Extracts for Your Creamer
Vanilla is the heart of this recipe, and the quality of your beans or extract shapes the flavor’s depth and purity. Opt for Madagascar Bourbon vanilla beans for their sweet, creamy aroma and rich flavor. Their soft, oily seeds infuse the creamer with an authentic vanilla intensity that’s unmatched. If beans are not accessible, select a pure vanilla extract made with alcohol extracted from real pods-avoid artificial or imitation extracts which often taste harsh or synthetic.
Split the beans lengthwise to release the fragrant seeds, scraping them gently into the cream base. Steeping the split pods in warm cream intensifies the infusion, creating a smooth, aromatic blend that simply transforms your coffee. For an exciting twist, experiment with Mexican vanilla beans for a spicy, rich note or Tahitian vanilla for a floral, tropical elegance. Each variety offers a unique nuance to tailor your creamer’s character.
Mastering the Cream Base for a Smooth and Creamy Texture
The perfect cream base is where silky texture meets subtle richness. Use a blend of heavy cream and whole milk to balance creaminess and pourability-heavy cream contributes luxurious body, while whole milk keeps it light enough to mix effortlessly into coffee. Gently warming the cream and milk helps dissolve the vanilla seeds and extracts without scalding.
For a dairy-free option, substitute with full-fat coconut milk or oat milk, but keep in mind these will subtly influence flavor and consistency. Stirring frequently as you heat the base prevents skin formation and ensures an evenly smooth texture. Avoid boiling; just warm until the mixture is fragrant and steaming, preserving the delicate vanilla essence.
Customizing Sweetness and Flavor Notes to Suit Your Taste
Sweetness is subjective-whether you prefer a hint of sugar to round out flavors or a richer, dessert-like creamer, this step lets you control your indulgence. Granulated sugar, honey, maple syrup, or even agave nectar create distinct sweetness profiles. Start with 2 tablespoons of your chosen sweetener per cup of cream base and taste as you go. Stir well to dissolve completely.
Infusing complementary flavors like a sprinkle of cinnamon or a dash of nutmeg deepens the experience, while a touch of almond or hazelnut extract can add unexpected warmth. Experiment with subtle layers until your vanilla coffee creamer perfectly matches your morning ritual. Remember, homemade creamer adapts-it’s all about crafting that personal, comforting cup.
Storing and Serving Tips to Keep Your Vanilla Coffee Creamer Fresh
Store your homemade vanilla coffee creamer in an airtight glass jar or bottle to maintain freshness and avoid contamination. Keep it refrigerated, where it will stay fresh for up to two weeks. Shake well before each use to re-incorporate any natural separation of cream and milk.
Serving your creamer chilled adds a luxuriously cool swirl to hot coffee but it also shines beautifully when gently warmed-simply heat a small amount in a microwave-safe container for 15-20 seconds. Remember to use clean utensils every time to prolong shelf life. Garnish your coffee with a light dusting of ground cinnamon or a single vanilla bean pod alongside your cup to elevate presentation and indulge the senses.
Prep and Cook Time
- Preparation Time: 10 minutes
- Infusion Time: 15 minutes
- Total Time: 25 minutes
Yield
- Approximately 2 cups (16 fluid ounces) of vanilla coffee creamer
Difficulty Level
- Easy – Perfect for beginners and home baristas alike
Ingredients
- 1 cup heavy cream
- 1 cup whole milk
- 1 Madagascar Bourbon vanilla bean, split and scraped
- 2 tablespoons pure vanilla extract
- 2 tablespoons granulated sugar (or preferred sweetener)
- Optional: ¼ teaspoon ground cinnamon or nutmeg
Instructions
- In a medium saucepan, combine the heavy cream and whole milk. Warm over medium-low heat until steaming but not boiling, approximately 5 minutes.
- Add the scraped vanilla seeds and the split vanilla bean pod into the warm cream mixture. Stir gently.
- Lower heat and simmer gently for 10-15 minutes, stirring occasionally to prevent skin formation. This step infuses deep vanilla flavor.
- Remove from heat. Discard the vanilla bean pod.
- Stir in the pure vanilla extract and granulated sugar until fully dissolved. Adjust sweetness to taste by adding more if desired. Optionally, stir in cinnamon or nutmeg for an extra layer of flavor.
- Allow the creamer to cool to room temperature, then transfer to an airtight container and refrigerate.
- Shake well before each use, and enjoy within two weeks for the best flavor and freshness.
Chef’s Notes
- For a dairy-free version, substitute heavy cream and milk with coconut milk and almond milk, respectively, but note this changes flavor and texture.
- Use FDA-approved pure vanilla extracts to guarantee quality and safety.
- Customize sweetness with natural alternatives like honey or maple syrup for health-conscious options.
- Consider adding a pinch of salt to enhance sweetness and round out flavors.
Serving Suggestions
Pour this dreamy vanilla coffee creamer into your favorite morning brew for an instant upgrade-whether it’s a bold espresso, a smooth latte, or a rich cold brew. Garnish your cup with a whole vanilla bean pod across the rim or a sprinkle of cinnamon powder atop for visual appeal. For a festive touch, pair it with a dash of whipped cream and a cinnamon stick stirrer to create a café-worthy indulgence right at home.
| Nutrient | Per 2 tbsp Serving |
|---|---|
| Calories | 50 |
| Protein | 1g |
| Carbohydrates | 3g |
| Fat | 4g |

For more cozy coffee enhancements, check out our Homemade Flavored Coffee Syrups guide that complements this creamer perfectly.
Q&A
Q&A: Crafting Homemade Vanilla Coffee Creamer: A Delicious DIY Guide
Q1: Why should I make my own vanilla coffee creamer at home?
A1: Making your own vanilla coffee creamer lets you customize flavors, control ingredients, and avoid preservatives found in store-bought versions. Plus, it’s a fun, budget-friendly way to elevate your morning brew with a homemade touch.
Q2: What are the key ingredients for a flavorful homemade vanilla coffee creamer?
A2: The essentials include milk or cream (dairy or plant-based), natural vanilla extract, and a sweetener like honey, maple syrup, or sugar. For a richer creamer, heavy cream is perfect; for lighter options, try almond or oat milk.
Q3: Can I adjust the sweetness and vanilla intensity?
A3: Absolutely! One of the joys of DIY creamer is control. Gradually add sweetener and vanilla extract while tasting until you hit the perfect balance for your palate.
Q4: How do I prepare the creamer?
A4: Simply whisk together your chosen milk or cream with sweetener and vanilla extract until fully combined. For a deeper vanilla flavor, gently warm the mixture while stirring, then cool before storing.
Q5: How long does homemade vanilla coffee creamer last?
A5: Stored in a sealed container in the fridge, your homemade creamer should stay fresh for about one week. Always give it a sniff and a swirl before use to ensure freshness.
Q6: Can I make this creamer vegan or dairy-free?
A6: Definitely! Use almond, coconut, oat, or soy milk as your base, and sweeten with pure maple syrup or agave nectar. Swap heavy cream for coconut cream for extra richness.
Q7: Are there fun variations to try?
A7: For sure! Add a dash of cinnamon, nutmeg, or even a hint of almond extract to personalize your creamer. You can also blend in cocoa powder for a mocha twist or caramel syrup for an indulgent treat.
Q8: Is homemade creamer easy to scale up for guests or gifting?
A8: Yes! Just multiply the ingredients by the number of servings you want. Bottled with a decorative label, your vanilla coffee creamer makes a thoughtful and tasty gift for any coffee lover.
With this guide, your mornings will be brighter and your coffee moments even more delicious-one homemade pour at a time!
In Summary
As you savor that first creamy sip of your homemade vanilla coffee creamer, you’re not just enjoying a drink-you’re celebrating a simple, satisfying creation crafted with your own hands. This delightful DIY treat transforms your daily coffee ritual into a moment of personalized indulgence, free from unnecessary additives and full of rich, comforting flavor. So next time you reach for that creamer, remember: a little kitchen magic and a touch of vanilla can turn an ordinary cup into an extraordinary experience. Cheers to homemade goodness, one cup at a time!