
Unlocking Sweetness: What Is the Jam Spoon Test?
The Jam Spoon Test gives home cooks a reliable, tactile way to judge jam readiness without relying on gadgets. It relies on observing how the hot preserve behaves on a spoon and on a cooling plate to determine gel stage and spreadability.
This method pairs kitchen intuition with basic food science. For a quick primer on the preserve category, see jam on Wikipedia.
- Simple sensory check: spoon drip and chilled-plate wrinkle confirm set.
- Timing matters: test during the final boil to avoid overcooking.
- Ingredient balance: pectin, sugar, and acid control gel strength.
- Safety and storage: proper canning seals and sterilization preserve quality.
Understanding the Science Behind the Jam Spoon Test
The Jam Spoon Test measures gel formation driven by the interaction of pectin, sugar, and acid. Pectin molecules link when heated with sugar under acidic conditions, creating a three-dimensional network that traps water and creates that spreadable texture.
For a deeper look at pectin chemistry, consult the pectin reference. Use that knowledge to predict how different fruits set and how much extra pectin you might need.
How temperature and time affect gel
At about 220°F (104°C), water evaporates quickly enough to concentrate sugars and push pectin into a firm gel. Professional preserves often aim for this boil point for predictable results.
However, visual and tactile cues from the spoon test let you adjust time-based decisions in real time. That flexibility helps you avoid both undercooking and excessive caramelization.
Prep and Cook Time
Preparation Time: 15 minutes. Prepare fruit by hulling, chopping, or mashing; measure sugar and acid so you can work steadily once the heat is on.
Cooking Time: 25–35 minutes. Boil steadily, and test during the last 5–10 minutes. The Jam Spoon Test becomes most useful as the mixture concentrates.
Total Time: 40–50 minutes, including finishing and jarting steps. Allow cooling time after jarring to complete the set and form a proper vacuum seal.
Yield and Difficulty
Yield: Approximately 4 cups (about two half-pint jars) from the recipe quantities listed below. Yields vary with fruit water content and evaporation loss during cooking.
Difficulty: Medium. This method suits beginners who want a dependable, low-tech technique, and it scales well for intermediate cooks refining texture control.
Ingredients
4 cups fresh or frozen fruit (strawberries, raspberries, blueberries) prepared as needed. High-pectin fruits like apples or quinces require less added pectin.
3 cups granulated sugar; 1 tbsp lemon juice; 1 package fruit pectin (optional). Add lemon zest or flavorings after testing if desired.
Step-by-Step Guide to Conducting Your Own Jam Spoon Test
1) Prepare fruit in a heavy-bottomed pot with lemon juice and pectin if you use it. Heat gently until the fruit breaks down and releases juices.
2) Add sugar gradually, stirring to dissolve. Then raise the heat to bring the mixture to a vigorous boil and maintain even stirring to prevent scorching.
Performing the spoon test
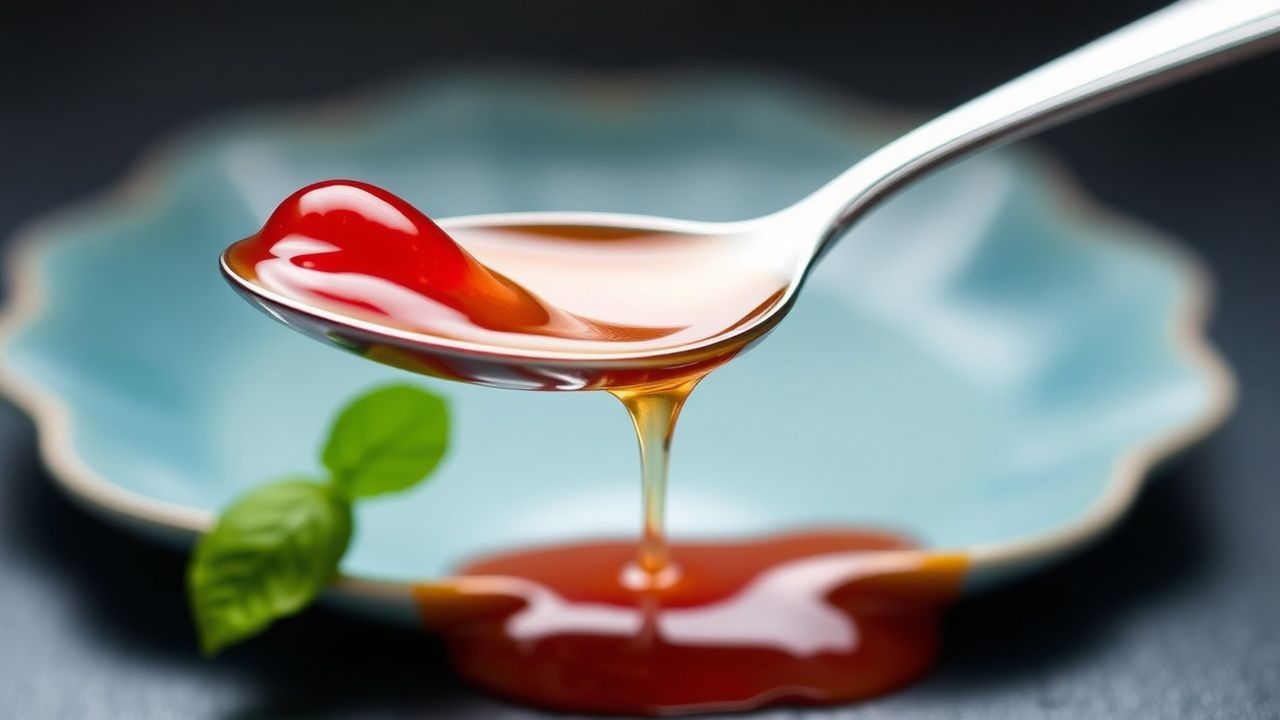
3) Dip a cold, clean metal spoon into the boiling jam. Hold the spoon horizontally and allow jam to flow off the edge. Observe the drip behavior closely when the mixture concentrates.
4) If the jam flows off like a thin stream, it needs more cooking. If it falls in thick, slow folds and clings to the spoon without immediately running off, you’re approaching the correct gel stage.
Cooling plate check for confirmation
5) For a precise verification, place a chilled plate in the freezer before you start. Spoon a small drop of jam onto that plate and wait 45–60 seconds. Push gently; if the surface wrinkles and holds shape, the jam has reached set.
6) If the drop remains runny, return the batch to a boil and retest after 2–3 minutes. If over-set, add a small amount of fruit juice and reheat briefly to soften the texture.
Jarring and sealing
7) Remove jam from heat once set. Ladle into sterilized jars and apply lids. Follow proven canning protocols to create a vacuum seal and ensure long-term shelf stability.
For a concise overview of sterilization and jar-sealing practices, see the canning process. Proper seals and storage extend shelf life and reduce spoilage risk.
Expert Tips for Achieving Ideal Sweetness and Texture Every Time
Choose the right fruit: Use high-pectin fruits for firmer jams or blend low-pectin fruit with high-pectin partners to reach your preferred texture. Balance yields predictable results.
Control sugar precisely: Sugar contributes to gel formation and flavor. Lower-sugar recipes change gel behavior, so compensate with pectin or longer cooking if needed.
Use lemon juice to adjust acidity and activate pectin. If you substitute with citric acid, scale carefully because acid level directly affects gel strength.
Test early and often during the final boil. Small, frequent tests protect texture and prevent overcooking which leads to darkened color and cooked-off fruit flavor.
Chef’s Notes
You can replace commercial pectin with homemade apple-peel pectin for a clean-label approach. Extract pectin from apple peels by simmering and reducing; then measure the gelling power before use.
If your jam remains runny after the test, return to a boil and retest. If it becomes too firm, gently reheat with a little fruit juice or water to loosen the set and rebalance texture.
Store unopened jars in a cool, dark place for up to a year. After opening, refrigerate and consume within four weeks for best quality.
For broad context on preserving food safely and the factors that influence shelf life, consult food preservation.
Serving Suggestions
Serve your homemade jam warm or chilled on bread, scones, or yogurt. The spoon test produces spreads that show vibrant color and the right mouthfeel for both sweet and savory pairings.
Garnish with citrus zest, herbs, or edible flowers for presentation. Pair with complementary cheeses or use the jam as a glaze for roasted proteins to highlight fruit flavor.
Nutritional Snapshot
Per 2-tablespoon serving, a typical fruit jam contains about 50 calories and 13 g carbohydrates, mostly from sugar. Adjust serving sizes to fit dietary needs.
If you reduce sugar for dietary reasons, expect a different set and mouthfeel. Use formulated low-sugar pectin products to help mimic traditional texture.
FAQ
What exactly is the Jam Spoon Test?
The Jam Spoon Test is a hands-on method for judging jam set by observing how hot jam drips from a spoon and how a cooled drop wrinkles on a chilled plate. It combines sensory checks with basic pectin chemistry to indicate readiness.
It works well with classic sugar-and-pectin recipes. For unconventional preserves, use it as a first guide and confirm with other checks.
How often should I test during the boil?
Begin testing when the mixture has reduced and the boil looks vigorous. Test every 1–3 minutes during the final 5–10 minutes to catch the gel stage before it passes you by.
Frequent, small tests limit water loss and prevent overcooking that darkens color and damages fresh fruit flavor.
Can I rely on the spoon test for low-sugar or chia-based jams?
The spoon test gives a visual cue but may behave differently for low-sugar or gelled-with-seeds recipes. Use it alongside specialized instructions—such as commercial low-sugar pectin directions—or texture expectations for chia gels.
When in doubt, perform a chilled-plate check and taste for flavor balance before jarring.
What if my jam never seems to set?
Check acidity, sugar concentration, and pectin level. Adding a small amount of commercial pectin or returning to a hard boil to reduce water can often rescue a runny batch.
Also consider the fruit: overly ripe or low-pectin fruit sometimes needs a pectin boost or mixing with high-pectin fruit to set properly.
How do I ensure jars stay safe long-term?
Sterilize jars and lids, fill hot jam into hot jars, and apply seals according to tested canning methods. Proper vacuum seals and storage conditions significantly reduce spoilage risk.
For sealed storage protocols and more, review authoritative canning guidance and local public health resources.
Final note: practice builds accuracy. The Jam Spoon Test rewards repetition, so keep notes on fruit type, cook time, and test behavior to refine results batch to batch.
See also: Jam Spoon


