There’s something truly magical about transforming simple milk into a luscious, creamy homemade yogurt-a culinary alchemy that hinges on one key ingredient: the starter culture. These tiny, mighty microorganisms don’t just ferment; they sculpt texture, shape flavor, and unlock the probiotic treasures that make yogurt a powerhouse of health. Whether you’re a curious kitchen experimenter or a devoted dairy devotee, choosing the right starter culture is your first step towards yogurt nirvana. In this article, we’ll dive into the top starter cultures that turn ordinary milk into velvety, tangy, spoon-worthy perfection, helping you craft homemade yogurt that’s as wholesome as it is delicious.
Exploring Probiotic Strains That Boost Flavor and Health Benefits
Top Starter Cultures to Craft Creamy Homemade Yogurt begin with selecting the right probiotic strains, which not only define the tangy flavor but also unlock remarkable health perks. The most cherished strains in yogurt-making are Streptococcus thermophilus and Lactobacillus delbrueckii subsp. bulgaricus, a dynamic duo that delivers a luscious, creamy texture with a balanced tang.
These live cultures ferment milk sugars, producing lactic acid that thickens the yogurt while enriching it with digestive enzymes and boosting gut health. Beyond tradition, some innovative starters incorporate Lactobacillus acidophilus and Bifidobacterium species, celebrated for enhancing probiotic content and depth of flavor.
How to Select and Store Starter Cultures for Consistent Yogurt Quality
Choosing the perfect starter culture mandates attention to quality and freshness. Opt for freeze-dried packets from reputable brands or trusted local suppliers to guarantee purity and potency. Always check expiration dates and storage recommendations for optimal results. Once opened, starter cultures should be stored airtight in the refrigerator between 2°C and 5°C to maintain viability.
For ongoing success, keep a portion of your homemade yogurt as a starter for the next batch, but limit reuse to 4-5 generations to preserve fermenting power and flavor clarity. Maintaining a clean environment and using fresh milk will further elevate consistency and safety in every pot.
Expert Recommendations for Reliable and Easy-to-Use Yogurt Starters
When striving for creamy, dreamy yogurt at home, the key lies in trusted starters known for both reliability and ease of use. Brands offering standardized, freeze-dried cultures unleash consistent tang without fuss. Powdered forms simplify dosing, while some liquid starters provide quick activation.
Pro tip: For an extra silky texture, blend in a small amount of powdered milk before heating your milk base. This enriches the protein content, improving yogurt body and creaminess.
Embrace the art of fermentation with starter cultures that have been test-driven by professionals and home cooks alike, ensuring your creamy homemade yogurt becomes a staple with every fridge visit.
Prep and Cook Time
- Preparation: 10 minutes
- Fermentation: 6 to 8 hours
- Total Time: 6 hours 10 minutes to 8 hours 10 minutes
Yield
- Approximately 1 quart (4 cups) of creamy homemade yogurt
Difficulty Level
- Easy – Perfect for beginners and seasoned yogurt artisans alike
Ingredients
- 4 cups whole milk (preferably organic, fresh)
- 2 tablespoons plain yogurt containing live active cultures (starter culture)
- Optional: 1 tablespoon powdered milk for enhanced texture
Instructions
- Heat the Milk: Pour 4 cups whole milk into a heavy-bottomed saucepan and gently warm over medium heat to 180°F (82°C), stirring occasionally to prevent scorching. This step ensures the milk proteins will set perfectly.
- Cool the Milk: Remove from heat and let the milk cool to 110°F (43°C), ideal for starter activity. Use a kitchen thermometer for accuracy (approximately 30-45 minutes).
- Mix the Starter: In a small bowl, combine 2 tablespoons plain yogurt with a few tablespoons of warm milk to temper it gently, then whisk back into the cooled milk.
- Incubate: Transfer the mixture to a clean jar or container, cover with a lid or cloth, and place in a warm environment (110°F or 43°C) for 6-8 hours. A yogurt maker, oven with light on, or insulated thermos are ideal.
- Check for Firmness: After incubation, the mixture should be thickened with a slightly tangy aroma. Refrigerate for at least 4 hours to set the texture fully.
- Serve or Store: Once chilled, your yogurt is ready to enjoy! Save a small amount as fresh starter for your next batch.
Tips for Success
- Select high-quality milk to maximize flavor and creaminess. Avoid ultra-pasteurized milk for best results.
- Maintain consistent incubation temperatures using a reliable yogurt maker or an insulated container to encourage ideal bacterial growth.
- If the yogurt is too tart, shorten fermentation time; if too mild, extend it by an hour.
- Avoid stirring immediately after incubation to preserve silky texture-wait until fully chilled.
- Experiment with different probiotic strains to create subtle flavor nuances and tailor health benefits.
Serving Suggestions
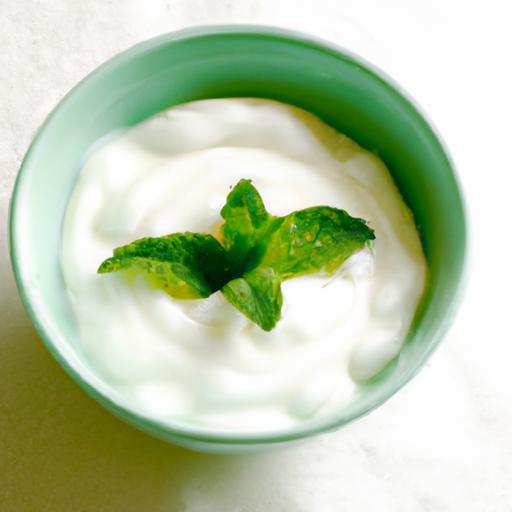
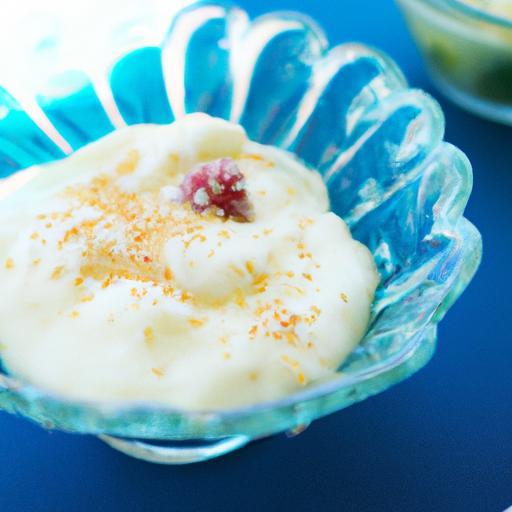
Spoon your creamy homemade yogurt into bowls and garnish with fresh berries, a drizzle of local honey, and a sprinkle of toasted nuts for a visually stunning, nutrient-rich breakfast or snack. You can also mix in natural vanilla extract or cinnamon for extra warmth and depth.
Use the yogurt as a luscious base for smoothies, salad dressings, or traditional dishes like tzatziki and raita, allowing the vibrant probiotics and creamy texture to shine in every bite.

| Nutrient | Per 1 Cup Serving |
|---|---|
| Calories | 150 kcal |
| Protein | 8 g |
| Carbohydrates | 12 g |
| Fat | 8 g |
For more in-depth techniques on yogurt-making, explore our Homemade Yogurt Basics guide, or dive into the latest scientific findings on probiotic benefits at NCBI.
Q&A
Q&A: Top Starter Cultures to Craft Creamy Homemade Yogurt
Q1: Why is the choice of starter culture important for homemade yogurt?
A1: The starter culture is the heartbeat of your yogurt-it dictates texture, flavor, and tang. Different strains of bacteria ferment milk sugars into lactic acid, thickening the yogurt and lending that signature creamy tartness. Picking the right culture is like choosing the perfect band to perform your favorite song-it makes all the difference!
Q2: What are the most common bacteria found in yogurt starter cultures?
A2: The dynamic duo leading the charge are Lactobacillus bulgaricus and Streptococcus thermophilus. These traditional yogurt makers work in harmony to create thick, luscious yogurt with a balanced tang. Some blends also include Lactobacillus acidophilus or Bifidobacterium to boost probiotics and add subtle flavor notes.
Q3: Can I use store-bought yogurt as a starter culture?
A3: Absolutely! Using a live-culture yogurt from the store is a classic, convenient method to jumpstart your batch. Just make sure it lists “live and active cultures” on the label. Keep in mind, the flavor and texture of your final yogurt will echo the starter’s unique profile-so choose wisely.
Q4: What are some specialty starter cultures for creamier textures?
A4: For ultra-creamy yogurt, look for starter cultures containing Lactobacillus helveticus or Lactococcus lactis. These strains produce extra-rich, velvety yogurt with a mild, sweet tang. Some cultures also come with natural thickening agents or exopolysaccharide-producing bacteria that enhance creaminess without additives.
Q5: How do probiotic starter cultures enhance homemade yogurt?
A5: Probiotic-enriched starters usually include beneficial strains like Lactobacillus casei or Bifidobacterium bifidum. Besides crafting a delightful yogurt experience, they boost gut health by supporting digestion and immunity, turning your simple snack into a functional superfood.
Q6: Is it possible to mix different starter cultures?
A6: Yes! Combining cultures can create unique flavor profiles and textures. Just ensure the bacteria strains are compatible and thrive at similar temperatures. Experimenting with blends can elevate your yogurt-making from science to art.
Q7: How do I store and handle my starter cultures for the best results?
A7: Keep starters refrigerated and avoid contamination-sterile utensils are your friends! For powdered cultures, store them in a cool, dry place in airtight containers. If using yogurt as a starter, use it fresh and save a small amount from each batch to seed the next, nurturing your yogurt lineage.
Q8: Will different types of milk affect culture performance?
A8: Yes, milk type impacts fermentation. Cow’s milk is most forgiving and familiar to cultures. Goat, sheep, or plant-based milks may require tailored cultures or incubation tweaks. Full-fat milk yields creamier results, while skim milk can produce tangier, thinner yogurt.
Q9: Can I find starter cultures for homemade yogurt online?
A9: Definitely! Many specialty brands offer pure, freeze-dried starters tailored for various textures and probiotic effects. Shopping online opens a garden of options to explore and customize your yogurt adventure.
Q10: Any final tips for crafting the creamiest homemade yogurt?
A10: Be patient, choose quality starters, maintain a steady incubation temperature (around 110°F/43°C), and use fresh, good-quality milk. Experiment with cultures and methods to find your perfect creamy concoction-your taste buds will thank you!
To Wrap It Up
As you embark on your homemade yogurt journey, choosing the right starter culture is the secret ingredient that transforms simple milk into a luscious, creamy delight. Whether you crave tangy, thick, or mild flavors, the starters highlighted here offer a flavorful foundation tailored to your taste and texture dreams. Remember, each culture brings its own unique character to the bowl, making every batch a delicious experiment in tradition and creativity. So gather your favorite starter, warm up your milk, and get ready to craft yogurt that’s not just homemade-but handcrafted with care, culture, and a touch of culinary magic. Happy culturing!