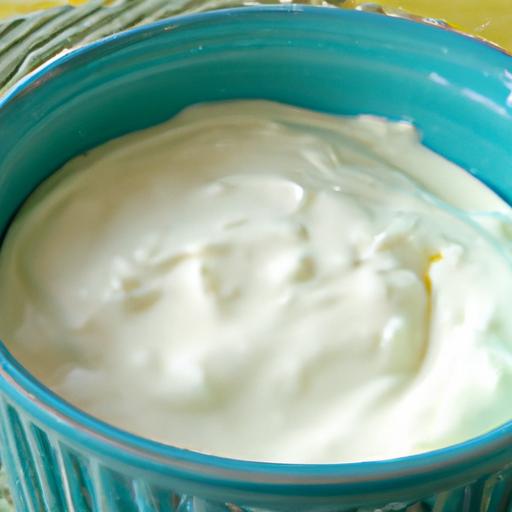
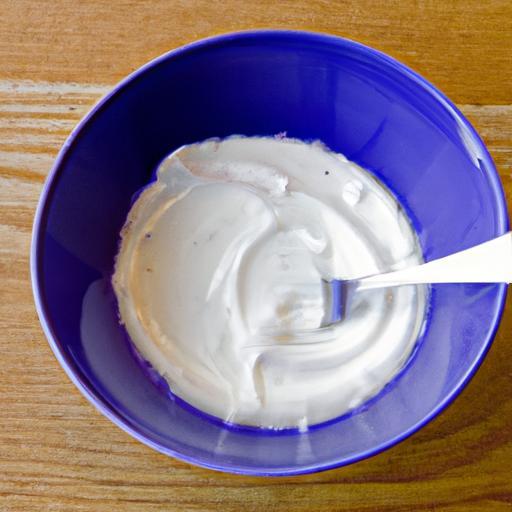
In the world of homemade yogurt, the quest for that luxuriously thick, creamy texture is nothing short of a culinary adventure. While store-bought varieties often boast a velvety richness, recreating that indulgence at home can feel like an elusive art. But fear not-“Creamier Creations: Secrets to Thicker Homemade Yogurt” peels back the curtain on the simple science and subtle techniques that transform your kitchen’s humble ingredients into a luscious, spoon-worthy delight. Whether you’re a seasoned yogurt enthusiast or a curious beginner, this guide will unlock the creamy secrets that elevate homemade yogurt from ordinary to extraordinary. Prepare to deepen your understanding, sharpen your skills, and savor the thick, tangy perfection only homemade can deliver.
Creamier Creations: Secrets to Thicker Homemade Yogurt begins with selecting the ideal milk and mastering the delicate art of culturing. The journey to perfectly thick and luscious yogurt is more accessible than you might think. By understanding the interplay between milk types and innovative techniques, you can craft creamy, rich yogurt at home that rivals artisanal varieties. This guide dives deep into those secrets, ensuring your Homemade Yogurt is not only thick but decadently smooth and satisfying.
Prep and Cook Time
- Prep Time: 15 minutes
- Incubation Time: 8-12 hours
- Chilling Time: 4 hours (recommended)
Yield
Approximately 4 cups (1 quart) of creamy, thick homemade yogurt.
Difficulty Level
Medium – Perfect for food enthusiasts eager to elevate their homemade dairy creations.
Ingredients
- 1 quart whole milk (preferably fresh, non-ultra-pasteurized for optimal thickness)
- 2 tbsp plain yogurt starter with active live cultures
- 1/4 cup powdered milk (optional, to boost creaminess and thickness)
- 1 tbsp heavy cream (for extra richness, optional)
- 1 tsp gelatin or agar-agar (optional, natural thickener)*
Instructions
- Pour the whole milk and powdered milk into a heavy-bottomed saucepan. Slowly heat over medium until it reaches 180°F (82°C), stirring occasionally to avoid scorching. This step improves yogurt thickness by denaturing milk proteins.
- Remove from heat and cool the milk quickly to about 110°F (43°C). Use a kitchen thermometer for accuracy-too hot and it kills beneficial bacteria, too cool and cultures won’t activate.
- In a small bowl, mix the plain yogurt starter with a few tablespoons of the cooled milk to temper it.
- Stir the tempered yogurt back into the cooled milk gently. If using, whisk in the heavy cream for added decadence and creaminess.
- For those seeking the thickest texture, dissolve gelatin or agar-agar in a bit of warm water and add it to the milk mixture now. Stir thoroughly.
- Pour the mixture into a clean glass or ceramic container. Cover loosely with a lid or breathable fabric to allow slight air circulation.
- Incubate your yogurt at a steady 110°F (43°C) for 8-12 hours. Use a yogurt maker, oven with light on, or thermos for consistent warmth. Longer incubation increases tartness and thickness-personalize to your preference.
- Once set, refrigerate the yogurt for at least 4 hours. Chilling stabilizes the texture, making it creamier and firmer.
- Before serving, gently whisk to achieve a slightly fluffy texture or leave as-is for spoonable thickness.
Tips for Success: Enhancing Creaminess and Troubleshooting
- Milk Selection: For the richest texture, whole milk is essential. Avoid ultra-pasteurized varieties as they hinder thickening. Experiment with organic or grass-fed options for nuanced flavors.
- Powdered Milk: Adding 1/4 cup boosts solids and creaminess without altering flavor-ideal for thicker results.
- Incubation Conditions: Maintain a warm, stable environment. Fluctuating temperature leads to inconsistent curd formation.
- Gelatin/Agar Use: Natural thickeners add firmness without overpowering taste-perfect for Greek-style textures.
- Got Runny Yogurt? Try increasing incubation time or adding powdered milk next batch. Also, ensure starter yogurt is fresh and active.
- Make-Ahead: Homemade yogurt lasts 1-2 weeks refrigerated. For convenience, reserve 2 tbsp as starter for your next batch.
Serving Suggestions
Unveil your creamy masterpiece with a drizzle of local honey and a scattering of toasted nuts or fresh berries for a vibrant contrast. For a savory twist, whisk in fresh herbs and a pinch of salt to create a dollop-worthy accompaniment to grilled vegetables or roasted meats. Layer homemade granola and yogurt in a clear glass for a beautiful parfait presentation, garnished with edible flowers or a sprinkle of cinnamon to engage both eyes and palate.

| Nutrition | Per Serving (1 cup) |
|---|---|
| Calories | 150 |
| Protein | 8g |
| Carbohydrates | 12g |
| Fat | 8g |
For a deep dive into more fermentation secrets, visit The New York Times Cooking Guide on Yogurt. Also, explore our article on Homemade Kefir Fermentation Techniques to expand your cultured dairy repertoire.
Q&A
Q&A: Creamier Creations – Secrets to Thicker Homemade Yogurt
Q1: Why does my homemade yogurt turn out runny instead of thick and creamy?
A1: Runny yogurt often results from insufficient fermentation time or using low-fat milk, which lacks the proteins and fats needed for a creamy texture. Also, heating the milk inadequately or cooling it too quickly can affect the final thickness. Proper temperature control and patience are key to transforming your milk into luscious, thick yogurt.
Q2: What role does milk choice play in achieving thicker yogurt?
A2: Whole milk, or even milk enriched with cream, contains more fat and protein, which helps yield a fuller-bodied yogurt. Skim or low-fat milk naturally produces thinner yogurt, so for creamier results, opt for higher-fat milk or add cream before heating.
Q3: How does heating milk influence yogurt thickness?
A3: Heating milk to about 180°F (82°C) before cooling denatures the proteins, making them better at trapping water as the yogurt sets. This step creates a stronger network that results in thicker, creamier yogurt. Skipping this step often leads to watery consistency.
Q4: Can straining homemade yogurt make it thicker?
A4: Absolutely! Straining yogurt through cheesecloth or a fine mesh removes excess whey, concentrating the solids and resulting in rich, velvety Greek-style yogurt. The longer you strain, the thicker and tangier it becomes.
Q5: What’s the ideal incubation time and temperature for thick yogurt?
A5: Incubate your yogurt at a steady 110°F to 115°F (43°C to 46°C) for 6 to 12 hours. Longer incubation typically yields thicker and tangier yogurt, but be mindful not to exceed 12 hours as texture and taste can be compromised.
Q6: Are there any natural thickening additives to enhance homemade yogurt?
A6: Yes, ingredients like powdered milk, gelatin, agar-agar, or pectin can be gently introduced to boost thickness without altering flavor. Powdered milk is a favorite for boosting protein content naturally, leading to creamier results.
Q7: How important is the starter culture in yogurt thickness?
A7: The starter culture is paramount! Using a robust, fresh culture ensures active bacterial strains that coagulate milk proteins effectively. Choosing cultures labeled for Greek or thick yogurt can enhance firmness and creaminess.
Q8: Can I mix different milk types for creamier yogurt?
A8: Certainly! Blending cow’s milk with richer options like goat or sheep’s milk, or adding cream, can create layered flavors and luxurious texture. Experiment to find your perfect creamy concoction.
Q9: Is homemade thick yogurt healthier than store-bought Greek yogurt?
A9: Homemade yogurt lets you control ingredients-avoiding additives and excess sugar common in store-bought brands. Thicker homemade yogurt retains beneficial probiotics and proteins, delivering wholesome, creamy goodness straight from your kitchen.
Q10: Any final expert tips for consistently thick, creamy yogurt?
A10: Patience and precision are your best friends: heat milk properly, use a quality starter, maintain steady incubation temperatures, and don’t rush straining. Embrace the art of yogurt-making as a mindful craft, and savor each spoonful of your creamy creation!
Final Thoughts
As you embark on your homemade yogurt journey, remember that the secret to creamier creations lies in patience, quality ingredients, and a few tried-and-true techniques. From carefully selecting your cultures to mastering the art of straining, each step brings you closer to that luscious, thick texture you crave. Armed with these insights, your kitchen will soon be filled with the satisfying tang and velvety richness of yogurt made just the way you like it. So go ahead-stir up your next batch with confidence, and savor the homemade difference that only true craftsmanship can deliver.