
There is a simple, repeatable approach to baking classic baguettes at home that delivers crisp crust and an open, airy crumb. This guide strips the process into precise steps you can follow across batches to improve consistency and flavor.
- One dough, multiple bakes: slow fermentation builds flavor; timing beats tricks.
- Key tools: a hot stone or steel plus steam produce a signature crust.
- Shaping matters: gentle handling and proper tension give the ideal profile.
- Repeatable routine: consistent water temperature and flour choice stabilize results.
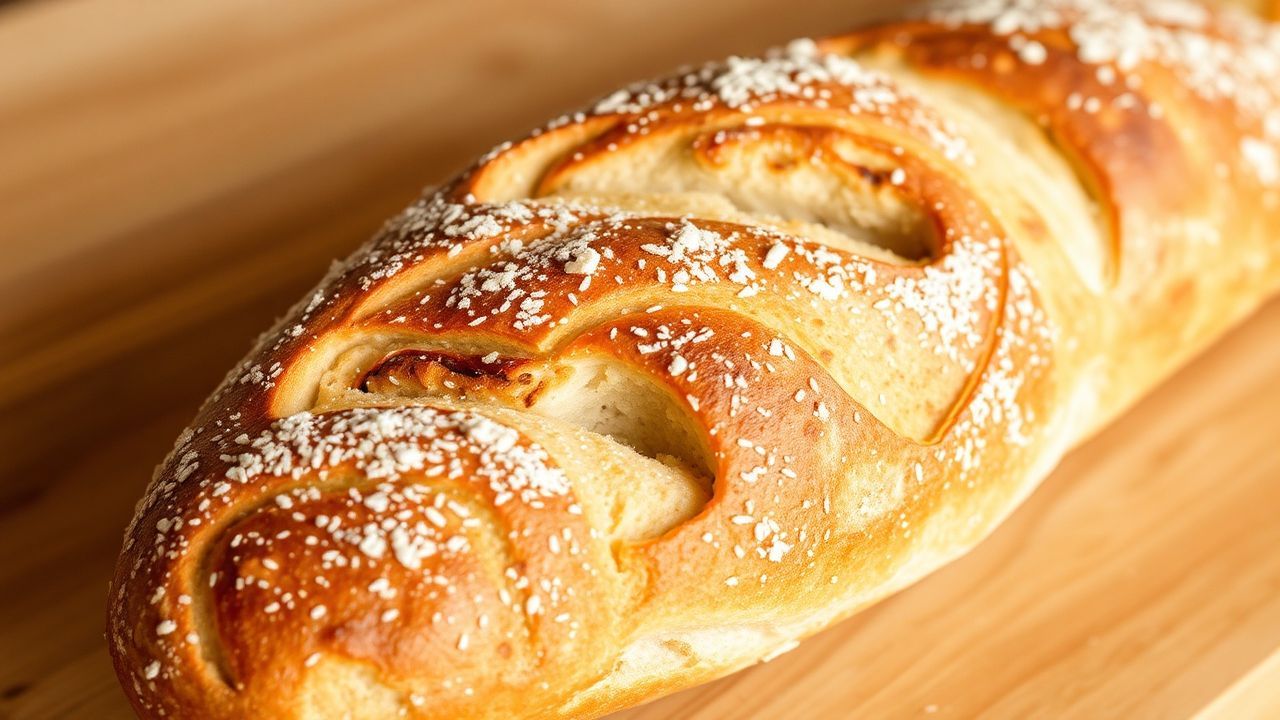
Introduction to the Baguette
The baguette is a lean, long loaf defined by crust, crumb, and shape. If you want technical context, read the historical and cultural overview on baguette.
Bread science links gluten development, fermentation, and oven conditions to final texture. For background on how gluten behaves in dough, consult gluten.
Prep and Cook Time
Preparation: about 30 minutes active work, with most time reserved for bulk and final fermentation. Short, targeted sessions of shaping and scoring concentrate the craftsmanship where it matters.
Baking: 25–30 minutes in a 475°F (245°C) oven, depending on your stone and oven dynamics. A brief steam period at the start optimizes oven spring; later dry heat intensifies crust color.
Yield and Difficulty
This recipe yields three classic baguettes, roughly 14 inches (35 cm) each, ideal for sandwiches and shared meals. Volume and yield scale linearly, so you can double ingredients for larger batches without changing technique.
Difficulty is moderate: the technical demands are shaping, controlled fermentation, and confident scoring. Bakers with basic dough experience will progress quickly by repeating the same routine and adjusting hydration and timing by small increments.
Ingredients
A true baguette uses four core ingredients: flour, water, yeast, and salt. This lean dough highlights technique and ingredient quality rather than enrichments.
Use the following as a starting point and adjust for local flour proteins and humidity.
- 500 g bread flour (unbleached, high-protein)
- 350 ml filtered water, lukewarm (~24°C / 75°F)
- 10 g fine sea salt
- 5 g active dry yeast
If you need technical context on bread varieties and preparation methods, the general bread article gives useful framing for lean versus enriched doughs.
Instructions
Follow a clear sequence: mix, autolyse, knead gently, bulk ferment, divide, shape, proof, score, and bake. Each step targets a specific dough property: strength, extensibility, gas retention, and crust formation.
Below, the numbered steps align with common professional workflow to make repetition efficient and measurable.
Step-by-step Method
- Activate the yeast: Combine lukewarm water and yeast. Wait ~5 minutes until foamy to confirm viability; use immediately once active.
- Mix the dough: Combine flour and salt, then add the yeast water. Stir until a cohesive, sticky mass forms; avoid aggressive mixing at this stage to preserve hydration.
- Autolyse and knead: Rest the dough 20 minutes to hydrate flour; this boosts extensibility. After autolyse, knead lightly 8–10 minutes until the dough is smooth and slightly tacky.
- Bulk fermentation: Place dough in an oiled bowl and ferment 12–18 hours at a cool room temperature for slow flavor development. Slow fermentation increases acidity and aroma by allowing yeast and bacteria to act gradually; see the science of fermentation.
- Divide and pre-shape: Turn the dough onto a lightly floured surface and divide into three equal parts. Pre-shape rounds, rest 20 minutes, then proceed to final shaping to build surface tension.
- Final shaping: Flatten each piece into a rectangle, fold the long edges to the center, and roll toward the seam to form a tapered cylinder. Maintain even pressure to create surface tension for oven spring.
- Proofing: Place shaped loaves seam-side down on a floured couche or parchment. Proof 60–90 minutes until puffy but not overexpanded; underproofed dough tears, overproofed dough collapses in the oven.
- Preheat the oven: Heat a baking stone or steel at 475°F (245°C) for at least 45 minutes. Place a metal pan on the oven floor for steam generation during the initial bake phase.
- Score and steam: Use a sharp lame or blade to make 3–5 diagonal slashes about 6–8 mm deep. Transfer to the hot stone and introduce steam immediately to delay crust set and maximize oven spring.
- Bake: Bake 20 minutes with steam, then remove the steam source and bake 5–10 minutes more until deep golden brown. Tap the bottom; a hollow sound indicates full bake and proper crumb structure.
- Cool: Move loaves to a wire rack and cool completely before slicing. Cooling completes internal gelatinization and stabilizes crumb structure.
Tips for Success
Small technique changes yield big differences: use a digital scale, keep consistent water temperature, and control proofing environment. A predictable routine removes guesswork and shortens the learning curve.
Practice shaping with scraps: repeated motion builds muscle memory and helps you feel the correct tension. Also, adjust hydration slowly if flour absorbs more or less water in your climate.
Serving Suggestions
Serve baguettes warm for the best contrast between crisp crust and tender crumb. They pair naturally with butter, cheese, and charcuterie, but are equally valuable as sandwich bread or a table staple.
For a rustic presentation, use a wooden board and simple garnishes like fresh herbs. Warm slices briefly under a grill or broiler to revive crust when serving later in the day.
Nutrition (per serving)
| Nutrient | Per Serving (1/3 baguette) |
|---|---|
| Calories | 180 kcal |
| Protein | 6 g |
| Carbohydrates | 37 g |
| Fat | 0.5 g |
Common Troubleshooting
If the crust is too pale, increase final bake time or raise the top heat briefly for deeper color. Monitor closely to avoid burning the base; oven characteristics vary substantially.
Sticky dough during shaping usually means higher hydration or insufficient surface tension. Use minimal extra flour on hands and build tension by rolling the loaf with a firm, even pressure.
Questions & Quick Answers
Home bakers often ask about equipment and timing; most successful adjustments relate to fermentation time and oven behavior. Experiment in small increments to isolate variables.
Another frequent concern is yeast activity: if activation fails consistently, test with a fresh packet or slightly warmer water and ensure the yeast is within its shelf life. For more on the organism used in baking, see Saccharomyces cerevisiae.
In Summary
Baking baguettes at home rewards consistency and patience more than fancy equipment. By mastering mixing, fermentation, shaping, scoring, and steam, you control texture and flavor reliably.
Repeat the same workflow and record small changes: hydration, proof time, and oven setup. Over a few bakes you will refine a method that suits your flour and kitchen.
FAQ
How long should I ferment the dough?
Bulk fermentation for this method is 12–18 hours at a cool room temperature for flavor development. Shorter fermentation reduces complexity while very long, warm fermentation risks overproofing.
Can I use all-purpose flour instead of bread flour?
Yes, but expect a softer crust and a less chewy crumb because all-purpose flour has lower protein. If using all-purpose, reduce hydration slightly and handle the dough gently to avoid collapse.
Do I need a baking stone or steel to get good results?
A stone or steel improves bottom heat and oven spring, but a heavy baking sheet and careful preheating can work. For crust development, steam is more critical than the exact heat conductor.
How do I know when to score and how deep the cuts should be?
Score just before loading into the oven with a razor-sharp blade. Cuts about 6–8 mm deep allow controlled expansion; shallow scores trap gas and deep ones can deflate the loaf.
How long should I cool before slicing?
Cool completely on a wire rack, roughly 60–90 minutes for a standard baguette. Cooling completes gelatinization and prevents a gummy interior when you slice.
See also: baguette


