
Overview
Brine and dry rub deliver two distinct routes to superior meat. One method builds moisture from inside; the other builds concentrated flavor on the surface.
As a chef with two decades of roasting and smoking experience, I apply both methods selectively and sometimes together to control texture, seasoning, and crust. Learn the science-backed techniques and exact steps that produce consistent results.
- Brining increases moisture retention and tenderizes through osmosis.
- Dry rubs form a flavorful crust via spice concentration and browning.
- Combine brine then rub for juicy interior and bold exterior.
- Use a thermometer and timing to repeat success.
Why These Methods Work
Brining relies on salt diffusion and protein modification to increase water retention in muscle tissue. For a technical summary, see brining.
Dry rubs rely on surface seasoning and the Maillard reaction to build aroma and crust. Both methods affect flavor and texture in measurable ways.
Prep and Cook Time
Plan prep and passive time separately. Brining requires advance planning; dry rubs require little active prep and can be applied closer to cooking time.
Typical windows: quick brines run 30–90 minutes for thin proteins; full brines run 4–12 hours for medium cuts; long brines or cures can reach 24 hours for whole birds. Use time, salt concentration, and temperature to control results.
- Preparation: 15 minutes active
- Brining time: 4–12 hours for shoulder-sized cuts
- Cooking time: 20–240 minutes depending on method
Ingredients
Choose simple, high-quality components. Salt quality, sugar type, fresh herbs, and whole spices make measurable differences in outcomes.
Below are tested ingredient lists for a 3–4 lb pork shoulder. Scale linearly by weight and record salt percentage for repeatability.
Brine Ingredients
Standard brine: cold water, kosher salt, brown sugar, garlic, bay, peppercorns, and fresh herbs. Use a 5–8% salt solution by weight for most cuts.
Adjust sugar and aromatics to taste; sugar helps color during cooking while aromatics add layered notes.
- 6 cups cold water
- ¾ cup kosher salt (approx. 6–8% solution; calculate by weight for precision)
- ½ cup brown sugar
- 3 cloves garlic, smashed
- 2 sprigs fresh rosemary
- 1 tbsp whole black peppercorns
- 2 bay leaves
Dry Rub Ingredients
Use coarse spices that tolerate heat. Smoked paprika, garlic and onion powders, brown sugar, cumin, chili powder, and salt provide a balanced profile.
Keep rub salt lower if you brined the meat first; record your salt split for reproducible seasoning.
- 2 tbsp smoked paprika
- 1 tbsp garlic powder
- 1 tbsp onion powder
- 1 tbsp brown sugar
- 1 tsp chili powder
- 1 tsp ground cumin
- 1 tsp kosher salt
- ½ tsp freshly ground black pepper
Instructions
Follow the steps deliberately: brine first if you plan to combine methods, then dry thoroughly before applying a rub. Control surface moisture to develop a proper crust.
Use a calibrated thermometer and cook to target temperature rather than time alone. For pulled pork, the target is about 195°F (90°C) internal for easy shredding.
Brining Steps
Combine salt and sugar in cold water and stir until dissolved. Add aromatics and chill the solution before introducing meat to maintain food-safety temperatures.
Submerge the meat fully in the brine and refrigerate. Typical hold is 8–12 hours for a 3–4 lb pork shoulder; reduce time for thinner cuts and increase for larger roasts.
- Mix and chill brine in a non-reactive container.
- Fully submerge meat; weigh it down if needed.
- Refrigerate at 40°F (4°C) or lower for the prescribed time.
Dry Rub Application
After brining, rinse briefly and pat the meat completely dry. Surface dryness is critical to obtain a maillard crust and to prevent steam from blocking browning.
Apply the dry rub evenly, pressing it into the surface. Rest the rubbed meat for 30–120 minutes at cool room temperature to let flavors adhere and mellow.
- Pat meat dry with paper towels; ensure no pooling moisture.
- Rub evenly and press spices into the grain and folds.
- Allow a short rest before searing to improve crust formation.
Cooking Technique
Start with a sear on medium-high heat to jump-start caramelization. Use indirect heat for low-and-slow finishing to break down collagen without burning the rub.
For pork shoulder: sear 4–6 minutes per side, then finish at ~275°F (135°C) until the internal temperature reaches ~195°F (90°C). Rest 15 minutes before serving.
- Sear all sides until a deep brown crust forms.
- Move to indirect heat or a roasting pan and cook low and slow.
- Rest under foil, then shred or slice against the grain.
Chef’s Notes & Practical Tips
Salt management is the single most important variable. If you brine, reduce the rub salt by at least half. Record your salt split and brine percentage to repeat successful results.
Fat content influences how a rub behaves: fattier cuts develop a more pronounced bark; lean cuts benefit most from brines. Choose your approach by cut and final texture goal.
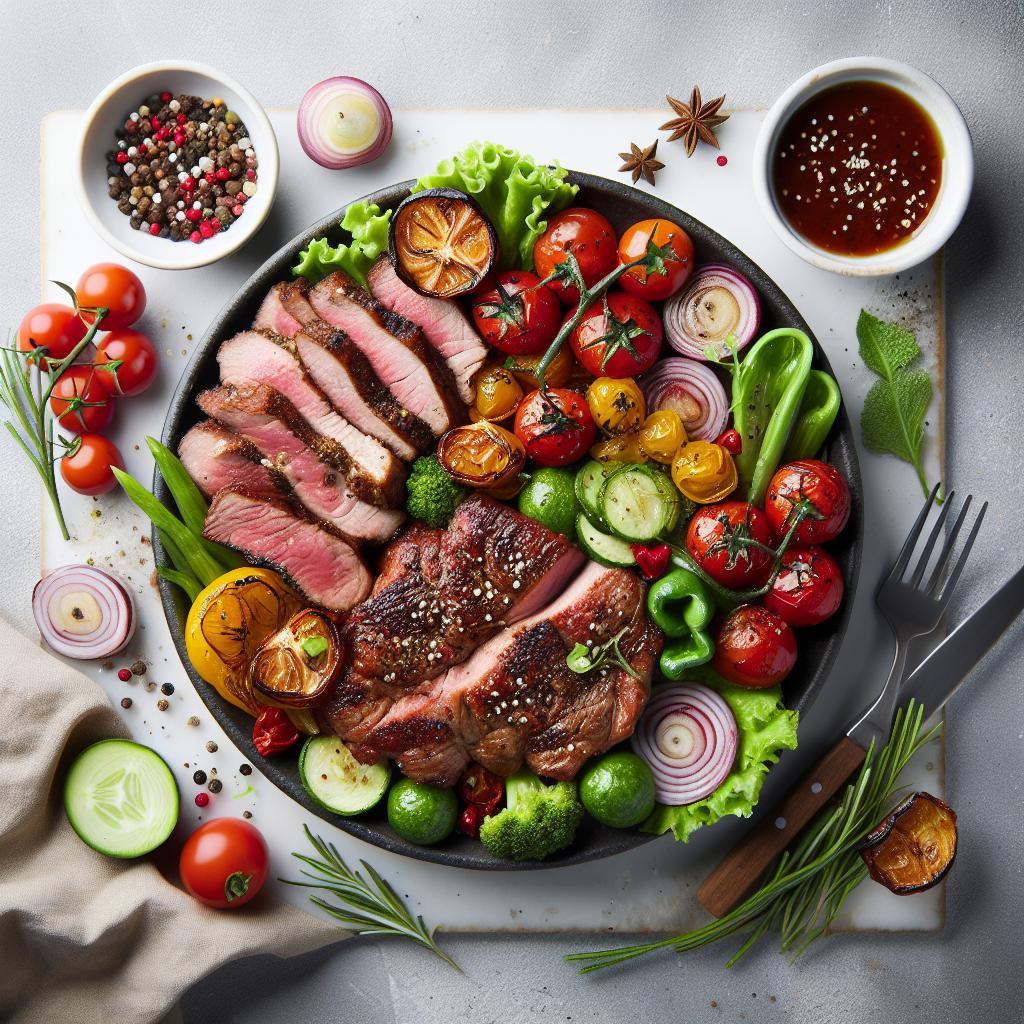
Serving Suggestions
Serve sliced or shredded with complementary condiments. Acidic sides like pickles or coleslaw cut fat and refresh the palate.
Garnish with fresh herbs to add a bright counterpoint to a deep, smoky crust. Slice against the grain to maximize perceived tenderness.
Ingredient Science and Safety
Salt draws water into muscle cells by osmotic action and then modifies proteins to hold that water during cooking. That process increases yield and juiciness on lean cuts.
Use common-sense food safety: keep brining temperatures at or below refrigeration range and discard used brine unless you intend to reboil it for another use.
For terminology and broader context, see the Wikipedia article on salt and its culinary roles.
Protein-Specific Notes
Pork shoulder tolerates long, low cooking and benefits from both brine and rub. Treat each cut differently: poultry brines for moisture control; beef brisket often skips brining and relies on a heavy rub and smoke.
For meat identification and butchery context, review the entry on pork shoulder, which clarifies fat distribution and connective tissue behavior under slow heat.
Nutrition Snapshot
Nutrition depends on cut and added ingredients. A 3–4 lb preparation serving four typically falls in the 400–500 kcal range per portion with substantial protein and variable fat.
Reduce sugar in rubs and brines for lower carb counts; swap brown sugar for alternative sweeteners if desired. Monitor sodium when brining for low-sodium diets.
| Nutrient | Per Serving |
|---|---|
| Calories | 450 kcal |
| Protein | 38 g |
| Carbohydrates | 6 g |
| Fat | 28 g |
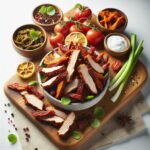
Serving Examples and Pairings
Pair pulled shoulder with roasted root vegetables, tangy mustard sauce, or crisp coleslaw to add texture contrast and acidity. Those contrasts keep plates balanced and diners engaged.
For smoky profiles, consider a light wood smoke during the low-and-slow phase. Match beverage acidity to cut richness to refresh the palate between bites.
FAQ
Q: What’s the difference between brining and a dry rub?
Brining soaks meat in a saline solution to increase water retention and tenderize. A dry rub places concentrated spices on the surface to form a flavorful crust via browning.
Both methods change final texture and flavor, and you can combine them sequentially for both effects.
Q: How long should I brine different cuts?
Thin fish fillets need 15–30 minutes while whole turkeys require many hours. For a 3–4 lb pork shoulder, 8–12 hours is typical. Scale time by thickness and salt concentration.
Shorter brines with higher salt can reach similar effects but risk over-salting; calculate by weight for control.
Q: Can I apply a rub after brining?
Yes. Rinse and pat the meat dry, then apply a reduced-salt rub. The dry surface ensures the rub sticks and browns properly during searing.
Allow a brief rest for the rub to adhere before cooking to avoid losing spice to the pan or grill.
Q: Will brining make meat too salty?
If you exceed recommended salt percentages or soak too long, meat can taste oversalted. Monitor salt by using a measured brine recipe and timed hold.
Also reduce rub salt if you brined; the combined sodium can otherwise become excessive.
Q: Why did my crust burn before the meat finished cooking?
High direct heat can char sugars and spices before connective tissues break down. Use a moderate sear then finish at lower indirect heat to protect the crust while cooking slowly.
Trim excess sugar in the rub for particularly long cooks to reduce burning risk on the surface.
For broader culinary context on spices and seasoning techniques, consult the topic of spice on Wikipedia.
See also: Dry Rub


