
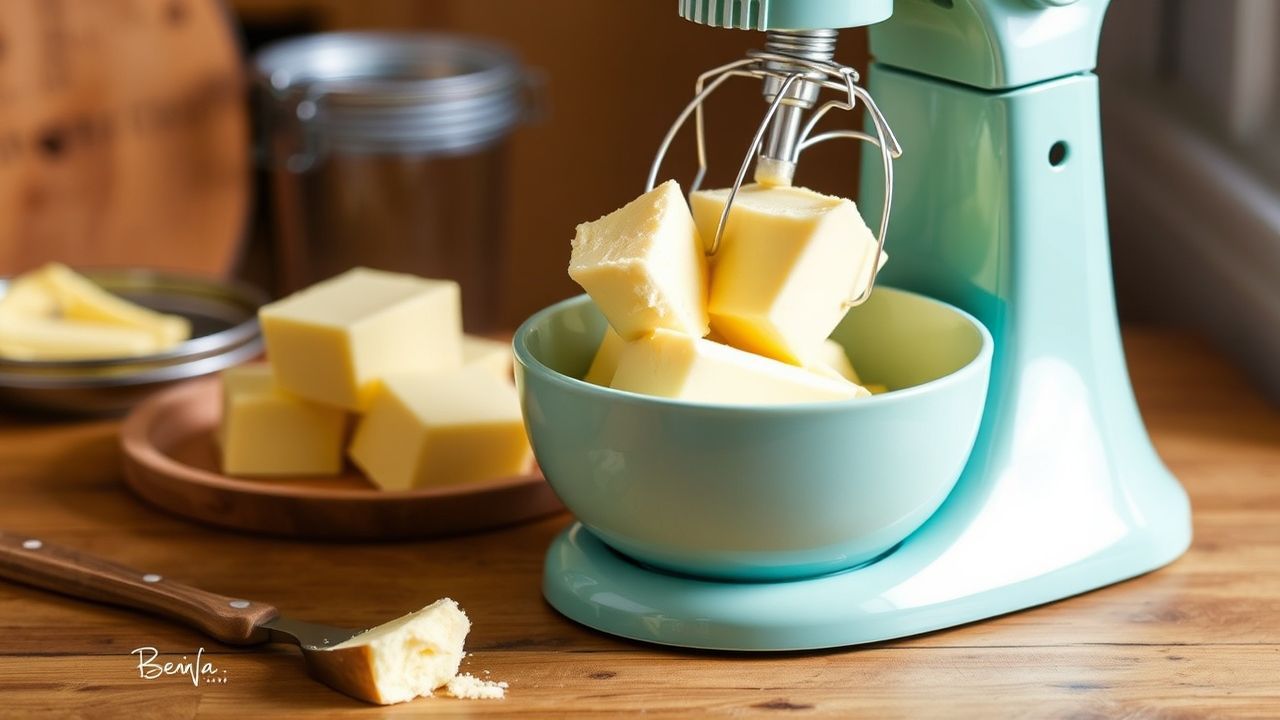
There is a simple magic in transforming ordinary cream into golden, homemade butter — a timeless craft that ties modern kitchens to traditional food skills. Use a stand mixer to replicate churning physics quickly and reliably, producing butter with controlled texture and superior freshness.
- At a glance: Make butter from heavy cream in under an hour with minimal equipment.
- Flavor control: Add herbs, salts, or sweeteners at the pressing stage for consistent results.
- Shelf life: Proper rinsing and cold storage extend freshness to about two weeks in the fridge.
Prep and Cook Time
Preparation: 10 minutes to chill equipment and measure ingredients. Cold equipment speeds separation and reduces processing time.
Processing: 15–20 minutes of active churning in a stand mixer followed by 10 minutes rinsing and shaping. Total time approximates 40 minutes for an efficient workflow.
Yield
This recipe yields about 1 cup (8 ounces) of butter from 2 cups of heavy cream. Expect a byproduct of roughly 1 to 1 1/4 cups of liquid buttermilk depending on cream fat content.
Yield varies with the fat percentage of the cream and how thoroughly you press and rinse the solids. High-fat cream produces slightly more butter per cup than lower-fat alternatives.
Difficulty Level
Easy. The technique suits beginners but rewards attention to temperature and timing. Stand mixers streamline the mechanical action that traditional churns once provided.
Follow the timing guidelines and use the whisk attachment to get consistent curd formation without overworking the solids. Treat this as a controlled mechanical separation process.
Ingredients
- 2 cups heavy cream (preferably chilled)
- 1/4 tsp fine sea salt (optional)
- Ice-cold water for rinsing
Choose heavy cream labeled at least 36% milk fat for a rich, stable butter. For a native dairy flavor, unpasteurized cream works where legally available and properly handled.
Salt is optional; add at the pressing stage to control dispersal. Flavored butters incorporate herbs, spices, or sweeteners after the rinse and drain step to avoid interfering with curd formation.
Equipment
- Stand mixer fitted with the whisk attachment
- Large mixing bowl (chilled)
- Sieve or cheesecloth for draining buttermilk
- Spatula for pressing and shaping
- Butter mold (optional)
- Storage container with airtight seal
The stand mixer functions as an electric mixer optimized for shear and aeration. The whisk attachment agitates fat globules into clumps while releasing liquid buttermilk efficiently.
Chill the bowl and whisk in the refrigerator for 10–15 minutes before starting; cold surfaces maintain stable fat crystals and speed separation. A splash guard helps keep the workspace tidy.
Mastering the Mixing Process: Tips for Using Your Stand Mixer Efficiently
Pour the chilled heavy cream into the cold bowl and start at medium-high speed. The cream first turns into whipped cream, then breaks down into grainy curds and clear buttermilk.
Watch for the visual cues: a glossy whipped stage, then sudden collapse into curds and yellow solids. Reduce speed slightly when separation begins to avoid splatter and to let curds coalesce.
Texture and Flavor Enhancements: How to Customize Your Butter Creations
After rinsing and pressing, you can incorporate flavors without affecting shelf stability. Fold in fresh herbs, citrus zest, or spice blends to taste for compound butter varieties.
Try savory blends like chive-garlic or sweet versions like honey-cinnamon. Add solids at the end and press gently to distribute evenly without introducing air pockets.
Storing and Serving Suggestions: Keeping Homemade Butter Fresh and Delicious
Rinse butter solids with ice-cold water until the wash runs clear to remove residual buttermilk. Proper rinsing prevents rapid spoilage and off-flavors.
Wrap chilled butter in parchment and store in an airtight container in the refrigerator for up to two weeks. For longer storage, portion into tablespoon-size cubes, freeze flat in resealable bags, and use as needed.
Instructions
1. Chill equipment: Refrigerate the mixer bowl and whisk for 10–15 minutes. Cold metal preserves fat crystals and reduces processing time.
2. Pour cold cream: Add 2 cups of heavy cream to the chilled bowl and start the mixer at medium-high speed. Count on 5–12 minutes total active mixing depending on fat content.
3. Watch for separation: Continue past whipped cream until you see small curds and a clear liquid. Stop and strain through a sieve or cheesecloth to collect solids.
4. Rinse and press: Rinse the solids with ice-cold water while pressing with a spatula to remove residual buttermilk. Change water until it runs clear to extend shelf life.
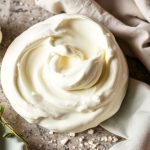
5. Season and shape: Add salt or flavorings, then press into a block or mold. Chill before serving for firmer texture and cleaner slices.
Chef’s Notes & Tips for Success
Starting temperature: Keep cream cold but not frozen; ideal is 35–45°F (2–7°C). Temperature controls the speed and texture of separation.
Speed control: Medium-high accelerates separation without overheating. If you see butter oiling, pause, chill, and resume at a lower speed.
Serving Suggestions
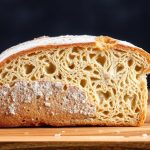
Serve fresh butter on warm crusty bread with flaky salt and a drizzle of honey for contrast. Compound butters pair well with roasted vegetables, grilled meats, and pasta finishes.
For presentation, press into a silicone mold or wooden butter press for consistent shapes. Garnish with edible flowers, chopped herbs, or a crack of black pepper for a refined touch.
Nutritional Information
Per tablespoon, homemade butter delivers roughly 100–110 calories and about 11–12 grams of fat, primarily saturated. The exact values depend on cream fat content and added ingredients.
Use homemade butter sparingly as an energy-dense ingredient and balance portions with vegetables and whole grains. Save drained buttermilk for baking to reduce waste and add tangy flavor to recipes.
Q&A
Why make homemade butter when store options exist?
Homemade butter gives direct control over freshness, texture, and flavor additions. The tactile process also offers a clear view of dairy chemistry and a rewarding culinary outcome.
Can a stand mixer replace a traditional churn?
Yes. A stand mixer reproduces the agitation and shear forces that break fat globules into solids and release buttermilk. It offers speed and consistency without the labor of a hand churn.
What cream yields the best butter?
Use heavy cream or heavy whipping cream with at least 36% milk fat for optimal yield and texture. Colder, higher-fat cream separates more cleanly and produces a denser, creamier butter.
How long does the process take from start to finish?
From chilled equipment to shaped butter expect about 35–45 minutes. Active mixer time typically ranges 10–20 minutes depending on fat content and ambient temperature.
How should I store leftovers and buttermilk?
Wrap butter in parchment and refrigerate up to two weeks or freeze for longer storage. Bottle buttermilk and keep it in the fridge for up to a week for baking and dressings.
To Wrap It Up
As golden butter solids form beneath your stand mixer’s whisk, you gain both a pantry staple and a practical lesson in dairy separation. The process rewards precision, and small adjustments produce predictable outcomes.
Return to this method to refine texture, try new flavor pairings, and preserve the byproducts for baking. Homemade butter elevates simple dishes and reconnects you to the fundamentals of making food from primary ingredients.
See also: Homemade Butter


