
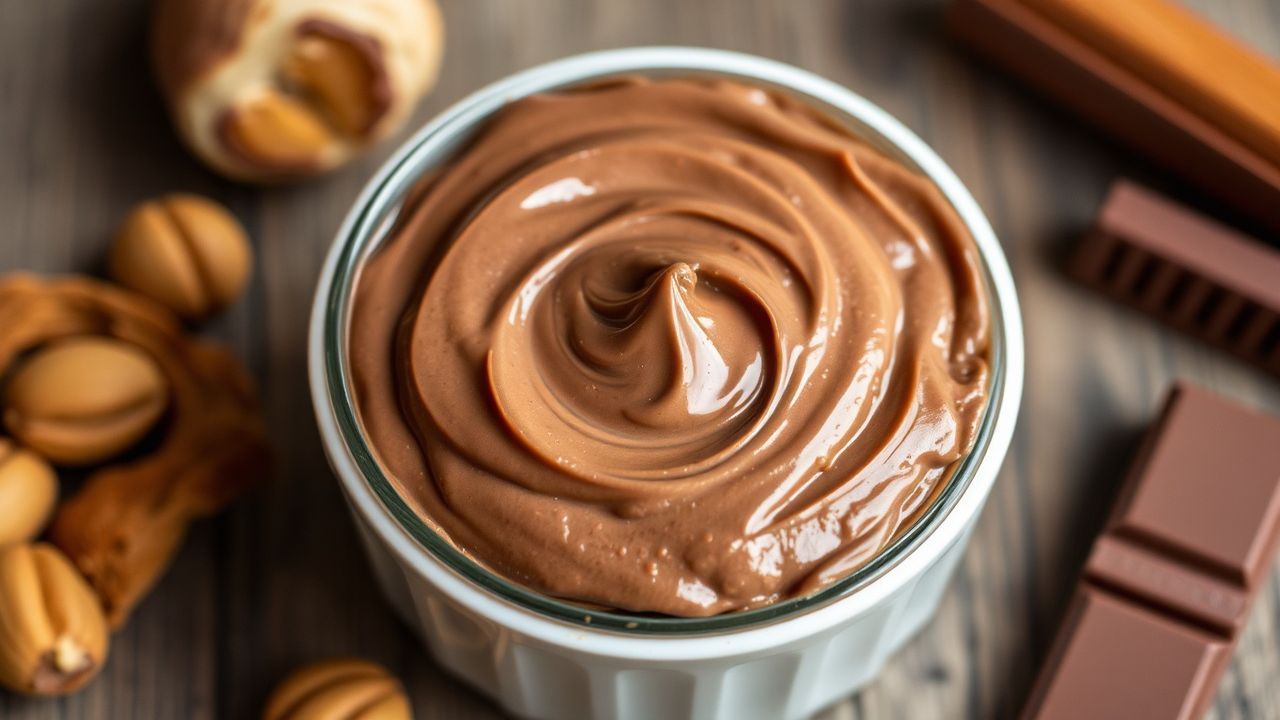
There is a simple, repeatable method to turn roasted nuts and quality cocoa into a silky, spreadable treat you can control from seed to spoon. When you make your own hazelnut and chocolate spread, you tune roast profiles, sweetness, and texture to your taste while avoiding unwanted stabilizers.
- Homemade control: adjust roast, sweetness and texture.
- Fast process: about 40 minutes from raw nuts to jar.
- Better ingredients: no added preservatives or industrial oils.
Why make your own hazelnut spread?
Making a jar at home gives you ingredient-level control and transparency. You choose the sweetener, chocolate intensity, and whether the spread stays fully plant-based.
A home recipe also lets you emphasize freshness. Properly roasted hazelnuts release natural oils that yield a superior mouthfeel compared with many commercial formulations. See the botanical and culinary background on hazelnut for origin and varietal notes.
Ingredients
Gather measured, high-quality inputs; small changes make a big sensory difference. Use room-temperature liquids and fully dried nuts for best results.
Core ingredients below will yield about two cups of spread. Scale linearly if you want a larger batch.
- 2 cups raw hazelnuts
- 1/2 cup high-quality cocoa powder
- 1/2 cup pure maple syrup (or honey)
- 1/4 cup coconut oil, melted
- 1/4 teaspoon sea salt
- 1 teaspoon vanilla extract
- 1/4 cup almond milk or plant milk as needed for texture
Prep and timing
Plan a short window: total active work is under 30 minutes; roasting adds another 15–20 minutes. A standard oven and a good food processor will do the job.
Typical timings: prep 15 minutes, roasting and cool 15–20 minutes, processing 10–15 minutes, total roughly 40–50 minutes depending on equipment and patience.
Instructions
Follow these seven focused steps to reach a creamy, stable result. The sequence controls texture development and flavor balance.
Work methodically: roast, remove skins, grind to butter, then integrate cocoa and sweetener. Each stage influences the final viscosity and aroma.
Step 1 — Roast the hazelnuts
Preheat the oven to 350°F (175°C). Spread hazelnuts in a single layer on a rimmed sheet and roast 15–18 minutes, tossing once for even color.
Roasting develops Maillard aromas and loosens skins. Learn how dry-heat techniques affect flavor at the roasting (food) overview.
Step 2 — Remove skins
While still warm, transfer nuts to a clean towel, fold, and rub vigorously to remove loose skins. Discard skins; they add bitterness and grain to the texture.
If skins cling tightly, brief additional roast time in small increments helps. Aim for a pale golden kernel with most skins detached.
Step 3 — Grind to nut butter
Use a food processor or high-speed blender. Start on low, then increase speed. Stop periodically to scrape down the bowl for uniformity.
Expect a progression: crumbs → coarse paste → glossy butter as oils release. This physical transformation is identical to other spreads; read more at nut butter.
Step 4 — Incorporate chocolate and sweetener
Add cocoa powder, maple syrup, melted coconut oil, salt, and vanilla once the nuts have reached a butter-like stage. Blend until smooth and glossy.
If you prefer melted chocolate over powder for a richer profile, fold it in at this stage and warm slightly to maintain fluidity.
Step 5 — Adjust creaminess
With the processor running, stream in almond milk a tablespoon at a time until the desired scoopable texture appears. Too much liquid will thin the spread.
For a thicker, spreadable paste, rely on oil content and extended grinding. Use milk to soften and increase spreadability only as needed.
Step 6 — Taste and tweak
Sample the spread and correct balance with small additions: a pinch more salt brightens flavors; another tablespoon of cocoa deepens chocolate notes.
Adjust sweetness carefully. The sensory impact amplifies after chilling, so err slightly on the less-sweet side if you plan to refrigerate.
Step 7 — Store the jar
Transfer to an airtight glass jar. Chill promptly to reduce oil separation and slow rancidity. Use clean utensils to avoid contamination.
Refrigerated, the spread keeps well for two to three weeks. Bring it to room temperature briefly before serving for easiest spreading.
Tips for success
Small technique choices elevate the final texture and flavor. Control heat, time, and particle size during processing for a professional result.
Invest in a quality food processor with a wide bowl; it reduces heat generation and yields a smoother emulsion.
- Fresh nuts: use recently purchased hazelnuts for optimal oil content and aroma.
- Even roast: stir halfway and watch for uniform browning.
- Patience: allow processing time for oils to release to achieve silkiness.
- Sweetener swaps: maple syrup gives caramel tones; agave offers milder sweetness.
For recipe variation, swap some hazelnuts for toasted almonds or add a pinch of espresso powder for amplified chocolate depth.
When handling hot ingredients, protect your hands and avoid sealing warm jars immediately; trapped heat can create condensation and shorten shelf life.
Serving suggestions
Use the spread as a versatile ingredient beyond toast: swirl into porridge, fold into yogurt, or fill crepes and pastries. Its fat content makes it a great binder in baking.
For a plated finish, top with crushed roasted hazelnuts or a light cocoa dust. The spread also pairs well with banana, apple slices, and sturdy crackers.
Nutrition snapshot
The spread is calorie-dense because of nuts and oils, but it also supplies protein, healthy fats, and minerals. Portion control matters for daily calorie planning.
A typical tablespoon contains roughly 90 kcal, about 7 g fat, 2 g protein, and 5 g carbohydrates depending on exact ingredients and portion sizes.
| Nutrient | Per Serving (1 tbsp) |
|---|---|
| Calories | 90 kcal |
| Protein | 2 g |
| Carbohydrates | 5 g |
| Fat | 7 g |
Common technical adjustments
If your spread is grainy, continue processing; particle size must reduce to microns for a truly silky mouthfeel. Industrial spreads use conching and emulsifiers to accelerate this effect, but time and high-speed blades will achieve it at home.
To reduce oil separation, stabilize with a small amount of extra fat (coconut oil) and store cold. Warm jars may show a thin oil layer on top; stir briefly and return to cold.
FAQ
How long will homemade hazelnut spread keep?
Stored sealed in the refrigerator, it remains fresh for 2–3 weeks under typical home conditions. Use a clean spoon each time to prevent microbial contamination.
Can I make this vegan or dairy-free?
Yes. Use plant-based milk and ensure any chocolate or cocoa product you add is dairy-free. Honey can be replaced with maple syrup for a fully vegan jar.
Why does my spread separate?
Oil separation is natural. Stir thoroughly and refrigerate. Proper grinding minimizes separation by creating a stable emulsion between solids and fats.
Can I use roasted hazelnuts straight from the store?
Yes, but fresh-roasted at home lets you control roast time and flavor. Store-bought roasted nuts may be older and have diminished oil quality.
Is there a nut-free alternative?
For nut allergies, try roasted sunflower or pumpkin seeds. The texture will differ, and the flavor profile shifts, but processing techniques remain identical.
Final notes
Recreating hazelnut and chocolate spread at home rewards attention to roast, grind, and balance. The procedure scales easily and adapts to taste, from intense dark chocolate to lightly sweet spreads for children.
Use fresh ingredients, practice patience during grinding, and store cold. The result will be a clean, flavorful spread that outperforms many commercial options on taste and ingredient transparency.
For further reading on chocolate origins and processing, consult the overview of chocolate and the natural role of the cocoa bean in flavor development.
See also: Hazelnut spread


