
The iconic texture of an English muffin—those irregular nooks and crannies—translates beautifully into a loaf when you control hydration, fermentation, and surface treatment. This loaf form gives you sliceable convenience while keeping the same open crumb that soaks up butter and spreads.
- Hybrid texture: Loaf yields English muffin-style pockets for toast and sandwiches.
- Simple method: Mildly enriched dough, cornmeal dusting, gentle proofing.
- Reliable timing: Two rises plus a warm oven produce consistent results.
About English Muffin Bread
English muffin bread adapts the small, griddle-baked [English muffin] texture to a loaf pan by using a slightly higher hydration and a cornmeal-studded surface. The objective is an airy crumb with a chewy bite and a thin crisp crust on the outside.
This loaf still draws on traditional techniques from classic [bread] making: controlled yeast fermentation, gentle degassing, and a final shaping that preserves gas pockets. The result is a slice that toasts quickly and absorbs toppings effectively.
Prep and Cook Time
Plan about four hours from start to finish when you include bulk fermentation and the second proof; active hands-on time is under 30 minutes. The schedule produces consistent gas development without rushing the gluten network.
- Preparation: 20 minutes
- First Rise: 1 hour 15 minutes
- Second Rise: 45 minutes
- Baking: 30–35 minutes
- Total Time: Approximately 3 hours 55 minutes
Temperatures matter: aim for a warm proofing environment around 78–82°F (25–28°C) to promote steady yeast activity. Oven preheat stability at 375°F (190°C) finishes the crumb structure and browns the crust evenly.
Yield and Difficulty
This recipe yields a 9×5-inch loaf, typically 10–12 slices depending on thickness, serving 8–10 people. It suits home bakers who understand basic kneading and timing and want to refine crumb structure.
Difficulty rates as medium because the process emphasizes texture over speed; precise temperatures and gentle handling are the difference between open nooks and a dense crumb. Adjust small variables—flour type, hydration, and fermentation time—to match your local conditions.
Ingredients
Use standard pantry ingredients with a few technique-driven tweaks to create the signature crumb. Key functional components are flour for structure, milk for softness, yeast for leavening, and cornmeal for surface texture.
Refer to the yeast science overview for why temperature and activation matter: active yeast performance links directly to gas production and crumb formation, and the [Yeast] guide explains that relationship in technical terms. Likewise, the optional alkali leavening component can tweak pocket formation; see the [Baking powder] summary for a basic mechanism primer.
- 3 ½ cups all-purpose flour, sifted
- 1 ¼ teaspoons table salt
- 2 teaspoons sugar
- 2 ¼ teaspoons active dry yeast (1 packet)
- 1 ½ cups warm milk (105–115°F / 40–46°C), whole milk preferred
- 3 tablespoons unsalted butter, melted and slightly cooled
- ½ cup fine cornmeal, for dusting and textural crispiness
- 1 tablespoon baking powder (optional, enhances nooks and crannies)
Instructions
Follow a staged approach: activate yeast, combine ingredients, knead for strength, then allow two controlled rises. Gentle handling after the first rise preserves gas pockets and yields the open crumb characteristic of English muffin-style bread.
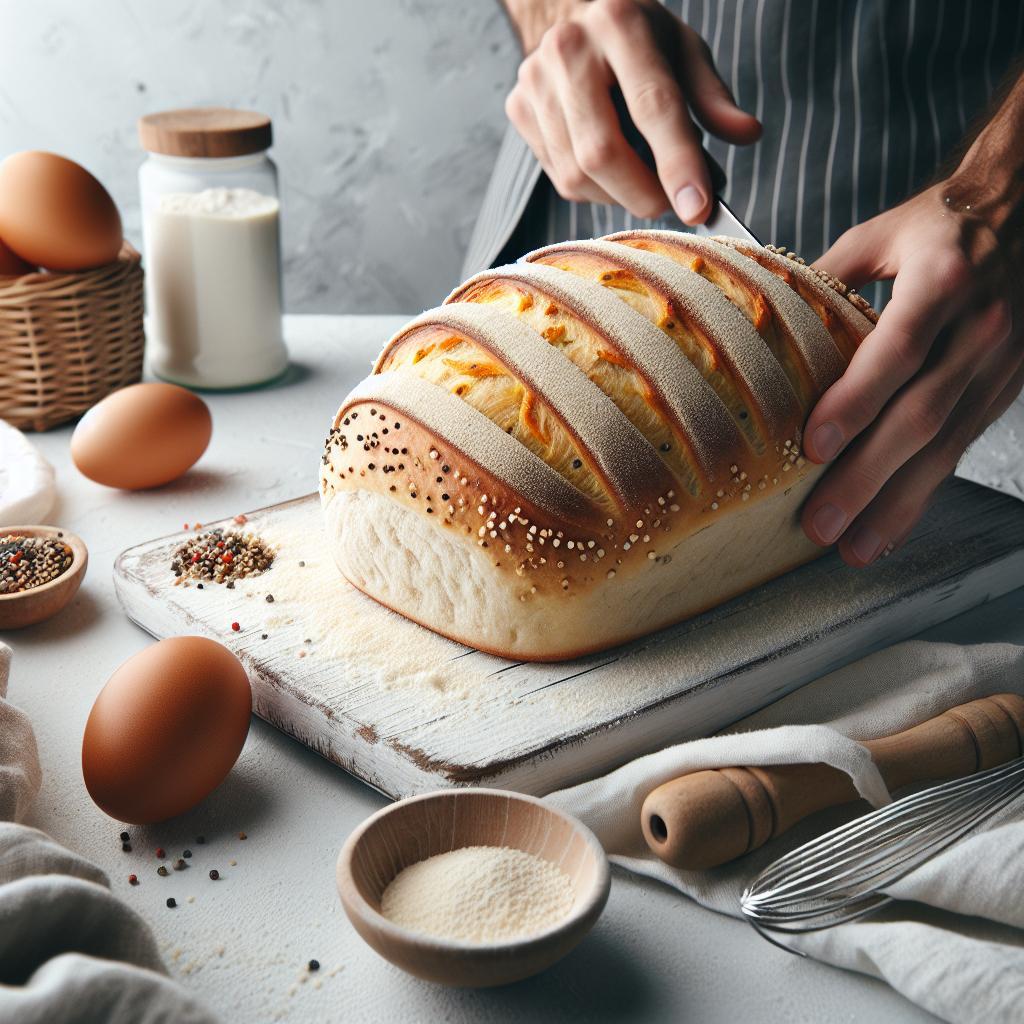
Before shaping, prepare the loaf pan and dust generously with cornmeal to encourage the characteristic textured base and to prevent sticking. The cornmeal also creates a tiny separation layer that highlights the nooks on the exterior crust.
Step-by-step Method
Start by proofing the yeast in warm milk with the sugar until foamy; this confirms viability and speeds the early fermentation phase. Mix dry ingredients separately to ensure even distribution of salt and optional baking powder, which affects gas expansion during baking.
After combining wet and dry, knead until the dough becomes smooth and elastic; this builds gluten to trap gas effectively. Do a brief bench rest, then bulk proof in an oiled bowl until doubled in size before shaping gently into a log for the loaf pan.
- Activate the yeast: Stir sugar into warm milk, sprinkle yeast on top, and rest 5–7 minutes until frothy.
- Mix dry ingredients: Whisk flour, salt, and baking powder (if using) in a large bowl.
- Combine wet and dry: Create a well, add yeast mixture and melted butter, and mix into a shaggy dough.
- Knead: Knead by hand 8–10 minutes or with a mixer 6–7 minutes until smooth and elastic.
- First proof: Oil a bowl, place dough inside, cover, and let rise about 1 hour 15 minutes until doubled.
- Prepare pan: Dust a 9×5-inch loaf pan with cornmeal; shape dough into a log and place in pan.
- Second proof: Cover loosely and let rise 45 minutes to fill the pan and form gentle domes.
- Bake: Preheat oven to 375°F (190°C). Score the top lightly and bake 30–35 minutes until deep golden and hollow-sounding.
- Cool: Remove from pan immediately and cool on a wire rack to prevent sogginess before slicing.
Chef’s Notes and Tips for Success
Small adjustments make big differences: substituting up to ½ cup bread flour increases gluten and can improve pocket definition. Alternatively, keep 100% all-purpose for a softer, more tender crumb if you prefer less chew.
Using slightly warmed milk stabilizes yeast activation; too hot will deactivate cells and too cool will slow fermentation. When in doubt, use an instant-read thermometer so your liquid stays within the 105–115°F window favored for active dry yeast.
- Substitute up to ½ cup bread flour for improved chew and stronger gluten development.
- Include the optional baking powder to nudge pocket formation without making the crumb cakey.
- Dust the pan generously with fine cornmeal to protect texture and enhance crust contrast.
- Cool completely before slicing to set crumb; premature slicing compresses the nooks.
Serving Suggestions
Toasting slices highlights the interior cavities and crisps the crust, making the loaf ideal for butter, jam, or nut butters. The open crumb holds melted cheese and sauces, which makes this loaf perfect for breakfast sandwiches and grilled melts.
Try a fried egg and sharp cheddar for a classic sandwich or use thick slices as a base for open-faced toasts topped with ricotta and honey. The bread also freezes well; slice before freezing for convenient, toast-ready portions.
Nutritional Information
A typical slice delivers moderate calories and macronutrients similar to other enriched white breads. Below is an approximate breakdown per slice for planning purposes.
| Nutrient | Per Slice (approx.) |
|---|---|
| Calories | 140 kcal |
| Protein | 5 g |
| Carbohydrates | 25 g |
| Fat | 3 g |
Adjust portion size or ingredient ratios for dietary goals, such as reducing butter or swapping milk for a lower-fat option. If you need higher protein, consider blending in a small portion of whole grain flour or adding seeds to the dough for texture and nutrition.
Troubleshooting & Pro-Cautions
Dense crumb often traces back to underproofing or over-kneading; assess dough elasticity and allow sufficient time for the first rise to double. Ambient temperature and ingredient freshness (especially yeast) are common hidden variables.
Overly wet dough will spread in the pan and yield flatter results, while excessively dry dough resists expansion and traps less gas. Adjust hydration by a tablespoon at a time if your dough feels off during mixing.
Related Reading
Understanding technical background helps you replicate results consistently; review the science of yeast and flour to fine-tune recipes. The [Yeast] entry explains fermentation basics and why temperature control matters during proofing.
For historical context on ingredient roles and baking techniques, the [Bread] article summarizes traditional approaches across cultures. For details on specific ingredients like cornmeal and its effect on texture, see the [Cornmeal] page.

FAQ
How do I get more nooks and crannies in a loaf?
Allow a slightly longer, cooler first rise and handle the dough gently during shaping to preserve gas bubbles. Use the optional baking powder sparingly to increase lift without making the crumb cakey.
Can I use instant yeast instead of active dry yeast?
Yes. If using instant yeast, reduce proofing time slightly and directly mix it into dry ingredients; hydration and temperature guidelines remain the same. Instant yeast tolerates cooler mixing conditions and often speeds early rise.
Is cornmeal necessary?
Cornmeal provides a textured base and prevents sticking; it also contributes to the characteristic exterior feel. If unavailable, fine semolina works as a substitute, though flavor and mouthfeel will shift subtly.
How should I store the loaf to keep crust texture?
Store at room temperature in a breathable paper bag for up to 2 days to maintain crust contrast. For longer storage, freeze sliced portions wrapped tightly; toast from frozen for best results.
Can beginners make this successfully?
Yes. Bakers who follow timing and temperature guidelines while practicing gentle handling will achieve repeatable results. Start with tested quantities and room-temperature ingredients for predictable fermentation.
For deeper technical context on fermentation and ingredient function, consult these reference entries: yeast, bread, and cornmeal.
See also: English muffin

