
Crafting Magic: Your Ultimate Guide to Sourdough Starter
Crafting Magic: Your Ultimate Guide to Sourdough Starter explains the practical science of cultivating a vigorous sourdough starter, a living culture that leavens bread with natural wild yeasts and lactic acid bacteria.
- Feed regularly: daily refreshes until mature, then weekly refrigeration maintenance.
- Use quality flour and water: whole grains and low-chlorine water accelerate microbial activity.
- Temperature matters: keep starter warm but not hot for steady fermentation.
- Test for readiness: the float test and doubling time confirm baking strength.
Welcome to a methodical, science-forward guide that keeps explanations concise and actionable.
What a Sourdough Starter Is
A sourdough starter is a stable ecosystem of wild yeasts and bacteria in flour and water that ferments dough and adds flavor. You can read the technical background on sourdough for context and historical notes.
Fermentation produces gas and acids that both leaven bread and change its taste and texture. For the microbial players, see yeast and lactic acid bacteria.
Prep and Cook Time
Active Prep Time: roughly 10 minutes daily while building, then minimal weekly time once established. Maturation takes about 5–7 days under normal conditions, sometimes longer in cool homes.
Total Time: plan one week to reach reliable maturity, with ongoing maintenance that fits your baking rhythm. Fermentation fundamentals are summarized on the fermentation page for deeper reading.
Yield and Difficulty
From the quantities below you will end up with approximately 1¼ cups (about 300g) of mature starter, enough to bake two to three loaves depending on your recipes. The technique rates as easy to medium because routine and observation matter more than complex equipment.
As you gain confidence you can scale quantities and feeding ratios to match baking frequency. Scaling is a straightforward arithmetic task once you understand hydration and ratio principles.
Ingredients
Use a blend of whole-grain and white flour to jump-start activity: whole wheat or rye supplies minerals and microbes, while unbleached all-purpose adds fermentable starch for steady growth. Avoid bleached flour and ultra-refined products until starter is established.
Water should be low in chlorine; filtered or spring water works best because municipal chlorination can slow microbial growth. If your tap water is heavily treated, let it sit uncovered for an hour or use filtered water.
- 120g whole wheat flour
- 120g unbleached all-purpose flour
- 180ml filtered water
Equipment and Environment
Use a clear glass jar for observation, a spoon for mixing, and a breathable cover such as cheesecloth or a loose lid. Clear containers let you watch bubble formation and rise, which are key readiness indicators.
Keep the jar at a stable room temperature between 21–24°C (70–75°F) for predictable fermentation. Avoid direct sunlight and drafts while the culture becomes established.
Instructions
Follow a measured, repeatable feeding schedule. Consistency in amounts and timing gives you an active, reliable starter for baking.
Below is a practical, stepwise method to get a mature culture within a week in most kitchens. Adjust slightly for cooler or warmer climates by increasing or decreasing feed frequency.
Day 1–7: Build and Feed
Day 1: Mix whole wheat and all-purpose flour with filtered water to pancake-batter consistency. Stir vigorously to hydrate flour and trap initial air; mark the jar to track rise.
Days 2–4: Each morning discard half, then feed with equal weights of flour and water. Watch for bubbles and a gentle rise; smell should turn mildly tangy as acids develop.
Days 5–7: By now the starter should double within 4–6 hours of feeding and show abundant bubbles. Perform a float test: a spoonful that floats indicates good aeration and baking strength.
Storage and Long-Term Care
Once mature, store the starter in the refrigerator and feed weekly to keep it healthy. For frequent baking, keep a small jar at room temperature and feed daily for high activity.
When refrigerated, allow the starter to come to room temperature and give a couple of refreshed feedings before using in dough. Always discard or use excess to control volume and maintain freshness.
Chef’s Notes: Tips for Success and Flavor Enhancement
Choosing flour: whole grains like rye and whole wheat introduce enzymes and microbes that speed up activity and add complexity to flavor. Experimentation with rye or spelt will alter tang and crumb structure predictably.
Hydration and schedule: adjusting hydration changes fermentation speed and acidity; higher hydration tends to favor tang development. Keep a simple feeding log for the first month to understand how your starter responds.
Common Issues and Troubleshooting
Hooch, a thin gray liquid on the surface, signals hunger; pour it off or stir it in and feed immediately. A pleasant vinegar or fruity scent is normal, but strong unpleasant odors or visible mold indicate problems.
If you see pink, orange tints, or fuzzy mold, discard the starter and begin anew to avoid spoilage. Clean your jar and utensils thoroughly before restarting to reduce initial contamination risk.
Temperature extremes will slow or stress the culture; keep the starter out of locations that exceed roughly 29–30°C (85–86°F). Cooler kitchens will require longer to mature but will still produce a robust culture if you maintain regular feedings.
Flavor Control and Advanced Techniques
To increase tang, allow longer fermentation between feeds or use cooler fermentation temperatures to favor acid production. Decreasing feed frequency slightly concentrates acids and intensifies flavor over time.
Add small percentages of rye or whole-grain flours to shift flavor and enzymatic activity; each grain changes fermentation dynamics and aroma. Keep records of changes so you can reproduce preferred profiles.
Serving Suggestions and Uses
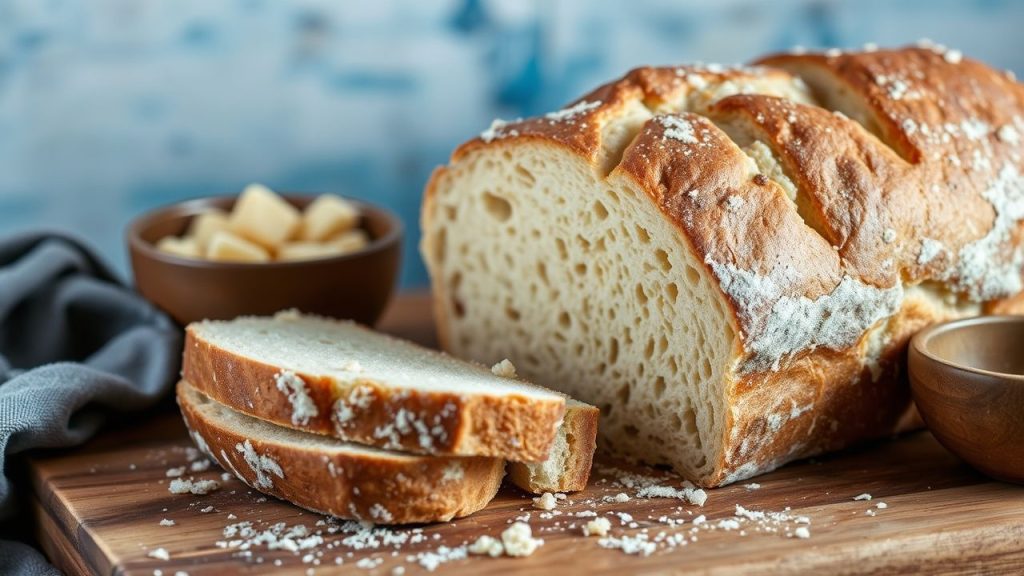
Your starter becomes the base for a range of baked goods: rustic loaves, tangy sandwich bread, crisp crackers, and even pancakes. The same culture will behave differently with hydration and flour changes, so adapt recipes as needed.
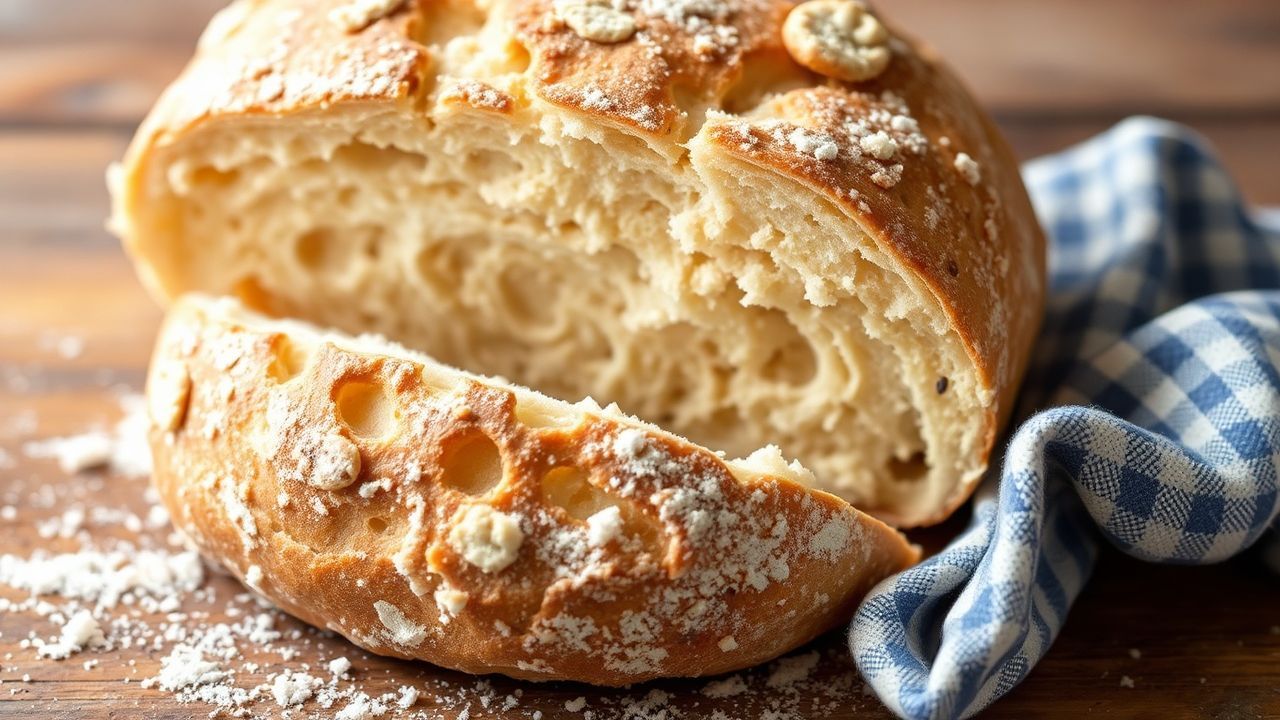
To showcase sourdough’s flavor, bake a simple country loaf with high-hydration dough for an open crumb and thin crust. For daily toasts, a refreshed starter used in a higher-percentage levain yields milder tang and quicker bake times.
Nutritional Note
Sourdough fermentation affects starch and protein structure and may increase mineral availability by reducing phytic acid in whole grains. This transformation contributes to flavor and may improve digestibility for some people.
Starter itself supplies negligible calories in typical use; nutrition comes primarily from the final baked bread. For reference, standard sourdough loaves vary widely in macronutrients depending on flour blends and hydration.
Quick Reference Table
| Nutrient | Per 100g Starter (approx) |
|---|---|
| Calories | 150 kcal |
| Protein | 5 g |
| Carbohydrates | 30 g |
| Fat | 1 g |
Further Reading
For historical and scientific context, consult the entry on bread. These resources clarify fermentation roles in baking and give a foundation for experimental techniques.
When you want deeper microbiology or troubleshooting theory, revisit the pages on fermentation and yeast to ground your practice in validated science.
FAQ
What exactly is a sourdough starter?
A sourdough starter is a stable culture of wild yeasts and bacteria maintained in flour and water. These microbes ferment carbohydrates, producing gas and acids that leaven bread and shape flavor.
How long until my starter is ready to bake with?
Most starters become reliably active in 5–7 days with daily feedings at warm room temperature. Readiness shows as consistent doubling within 4–6 hours and a successful float test.
Can I change my starter’s flavor?
Yes. Use different flours, alter hydration, or change feeding frequency to shift acid balance and aroma. Small, deliberate changes produce predictable flavor outcomes over time.
How do I store the starter when I bake less often?
Refrigerate mature starter and feed weekly to keep it alive. Before baking, bring it to room temperature and give one or two refresh feedings to restore peak activity.
What should I do if something goes wrong?
Identify signs of contamination: pink or orange hues or fuzzy mold require discarding the starter and sanitizing equipment. For slow activity, increase feed frequency and check water and flour quality.
With steady practice and close observation you will develop a starter that reliably supports a wide range of baking projects. Treat it as a living ingredient and you will be rewarded with consistent, flavorful loaves.
See also: sourdough starter


