
Creamier Creations: Secrets to Thicker Homemade Yogurt
Making consistently thick, spoonable yogurt at home depends on a handful of controllable variables: milk composition, heat treatment, culture quality, and finishing technique. These factors interact predictably, so small adjustments deliver reliably better texture and flavor.
- Increase milk solids (powdered milk or cream) for denser curds.
- Heat correctly to denature proteins and trap whey.
- Maintain stable incubation temperature for uniform fermentation.
- Strain or thicken after culture for Greek-style body.
Why thickness matters
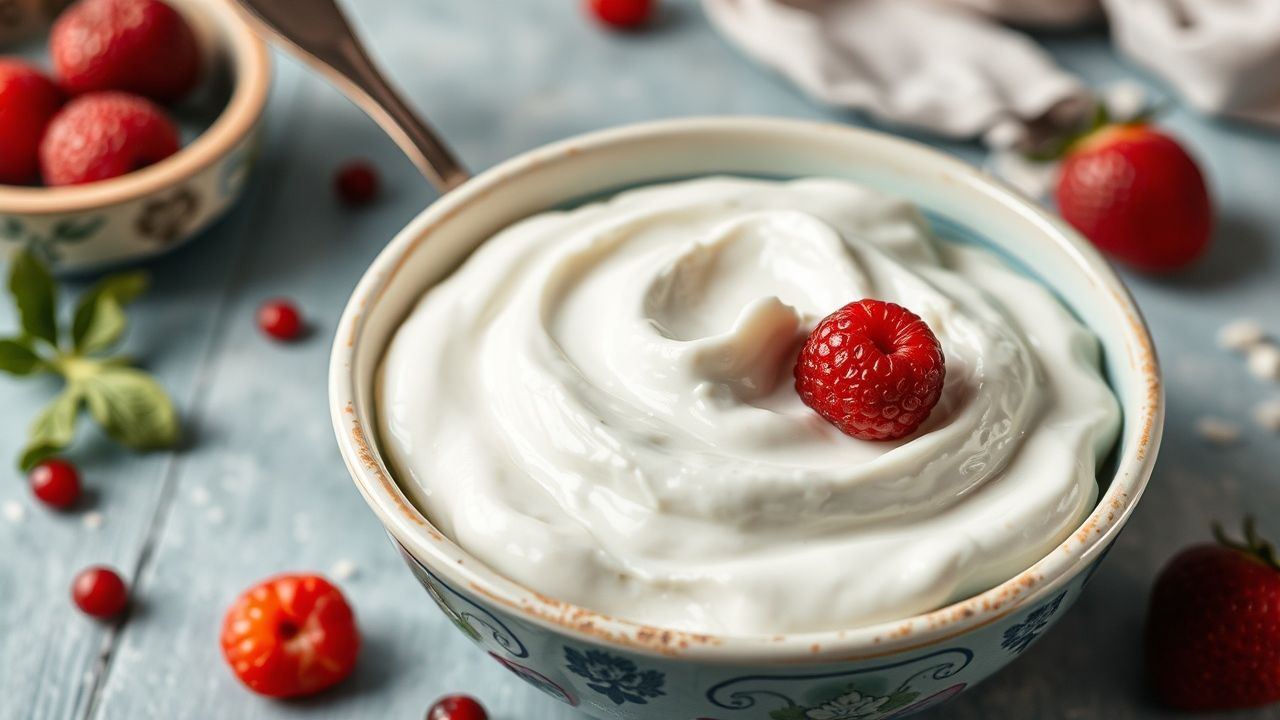
Texture defines how yogurt feels on the tongue and how it behaves in recipes. Thick yogurt holds toppings, layers well in parfaits, and gives a satisfying mouthfeel that thin yogurt cannot match.
Beyond sensory appeal, thickness reflects protein network strength and water-holding capacity. That network forms when milk proteins are altered by heat and then coagulated by lactic acid bacteria during fermentation.
Key ingredients and tools
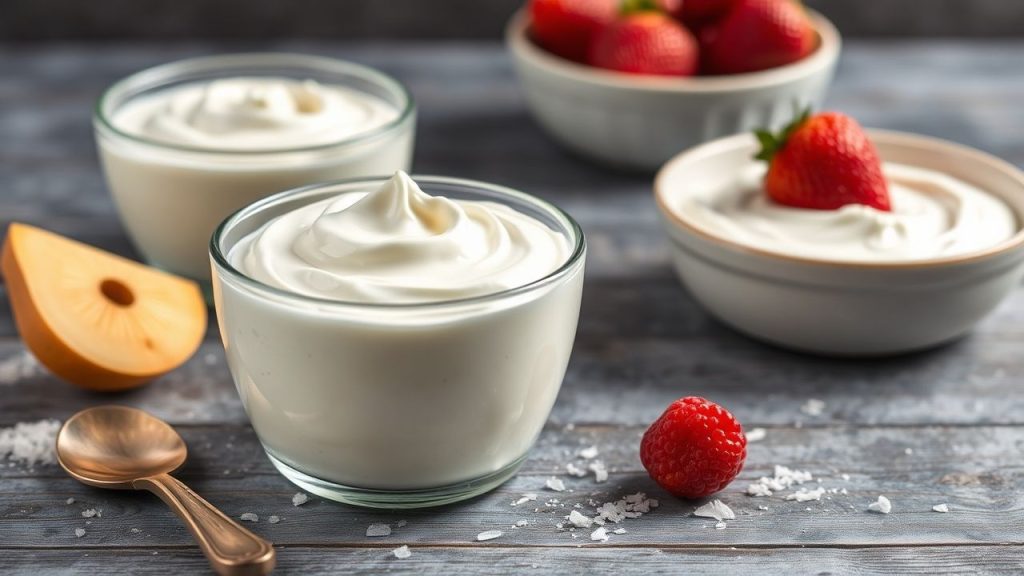
Start with high-quality whole milk for the best baseline. Whole milk contains more fat and casein protein, both of which contribute to a creamier, more stable curd.
Add powdered milk or a splash of heavy cream to boost solids without changing procedure. Powdered milk increases total solids and protein concentration, improving final firmness.
Milk selection and science
Use fresh, non-ultra-pasteurized whole milk when possible: ultra-high-temperature processing alters proteins and often reduces thickening potential. For background on milk processing methods, see pasteurization.
Blending milks—such as cow with sheep or goat milk—or adding cream changes fat-to-protein ratios and can create a richer texture. Try small test batches to find your preferred balance.
Starters, thickeners, and equipment
Select a fresh, active starter culture labeled for yogurt or Greek-style yogurt for stronger coagulation. Active strains of lactic acid bacteria form the acid that sets milk into yogurt.
Optional thickeners include powdered milk, gelatin, or agar-agar. Gelatin will set firmer and slightly jellied; agar-agar suits vegetarian diets. Read more about gelatin at gelatin.
Step-by-step technique for thicker yogurt
Follow a consistent heating, cooling, and incubation rhythm. Heat to near 180°F (82°C) to denature whey proteins, then cool to 110°F–115°F (43°C–46°C) before adding starter.
Maintain stable incubation at 110°F (43°C) for 6–12 hours depending on how tangy and firm you want the result. Use a dedicated yogurt maker, oven with a light and thermometer, or an insulated cooler with a warm water bottle for steady heat.
Heating and cooling
Heat milk slowly while stirring to avoid scorching. Hold the milk at 180°F for a few minutes to denature proteins and improve water-holding during set.
Cool quickly to the inoculation temperature to limit bacterial lag phase. Use an ice bath under the pot to bring temperature down to 110°F within 10–20 minutes.
Inoculation and incubation
Temper the starter by mixing a few tablespoons of warm milk into it before stirring it back into the pot. That prevents shocking the bacteria with a sudden jump in temperature.
Incubate undisturbed. Agitation during early set breaks curd formation and increases whey separation. Allow 8–12 hours for fuller tang and firmer structure; reduce time if you prefer milder yogurt.
Finishing: straining and stabilizing
After incubation, chilling the yogurt for several hours firms texture. Cold strengthens the protein network and slows enzymatic activity that could otherwise thin the product.
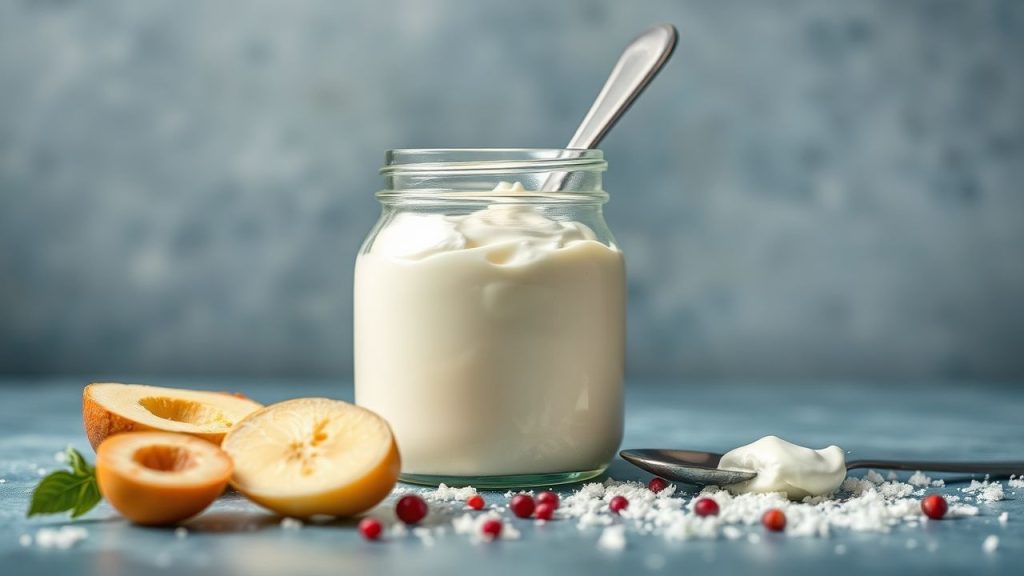
For thicker, Greek-style yogurt, strain through cheesecloth or a fine mesh for 1–4 hours in the refrigerator. The longer the strain, the denser and tangier the result.
To avoid over-tightening texture, add a small amount of heavy cream before chilling for silkiness. Alternatively, dissolve dissolved gelatin or agar earlier in the process if you need a non-dairy set.
Troubleshooting and optimization
Runny yogurt most often signals insufficient milk solids, low incubation time, or a weak starter culture. Confirm your starter is fresh and properly refrigerated.
Temperature swings during incubation can produce uneven curd and whey separation. Use a thermometer and a steady heat source for consistent results.
Common fixes include increasing powdered milk by 2 tablespoons per quart, lengthening incubation by 1–3 hours, or straining post-culture to concentrate solids.
Serving suggestions, yield, and storage
A standard recipe using 1 quart of whole milk yields about 4 cups of yogurt. Chilling overnight improves slicing and scooping behavior.
Store homemade yogurt in sealed containers in the refrigerator for up to 1–2 weeks. Reserve 2 tablespoons as starter for the next batch within the first 7 days for best culture viability.
Use thick yogurt in sauces, baked goods, chilled soups, parfaits, or as a base for labneh by further draining. For recipe ideas, see our internal guides: Homemade Kefir Fermentation Techniques and How to Strain Yogurt for Greek Texture.
Nutrition and practical notes
Homemade yogurt provides protein, calcium, and live probiotics when made with active cultures. Fat content will vary with milk choice and added cream.
Label jars with production date and starter batch to track freshness and culture performance. Rotate starters every 6–10 generations to avoid culture drift and reduced activity.
| Nutrition | Per Serving (1 cup) |
|---|---|
| Calories | 150 |
| Protein | 8g |
| Carbohydrates | 12g |
| Fat | 8g |
FAQ
Q1: Why is my yogurt runny despite following the recipe?
Runny results often come from low milk solids or too-short incubation. Increase powdered milk by 2–4 tablespoons per quart or incubate a few hours longer to firm the set.
Also confirm starter freshness. If cultures are old or stored poorly, they produce less acid and weaker coagulation.
Q2: Can I make thick yogurt without gelatin or powdered milk?
Yes. Proper heat treatment and stable incubation with a strong starter will produce good thickness. Straining after fermentation yields very thick yogurt without additives.
For naturally thicker results, start with higher-fat milk or add a small portion of cream before heating.
Q3: What temperature and time produce the best texture?
Heat milk to about 180°F (82°C), cool to 110°F–115°F (43°C–46°C), then incubate 6–12 hours. Aim for steady 110°F during fermentation for consistent curd formation.
Adjust incubation length for tanginess: longer incubations increase acidity and firmness, shorter ones create milder yogurt.
Q4: How do I preserve probiotic benefits in homemade yogurt?
Use active, fresh cultures and avoid overheating them. Chill yogurt promptly after the set to slow bacteria activity while keeping them alive.
Consume within 1–2 weeks and avoid storing at room temperature to maintain probiotic counts and flavor clarity.
Q5: Can I reuse my own yogurt as a starter indefinitely?
You can reuse your yogurt as starter for several generations, but performance may decline over time due to microbial drift. Refresh with a commercial culture occasionally for consistency.
Maintain good hygiene and refrigeration practices to preserve culture health between batches.
For technical context on fermentation processes, consult the Wikipedia article on fermentation. For broader information about yogurt history and varieties, see yogurt.
See also: homemade yogurt


