
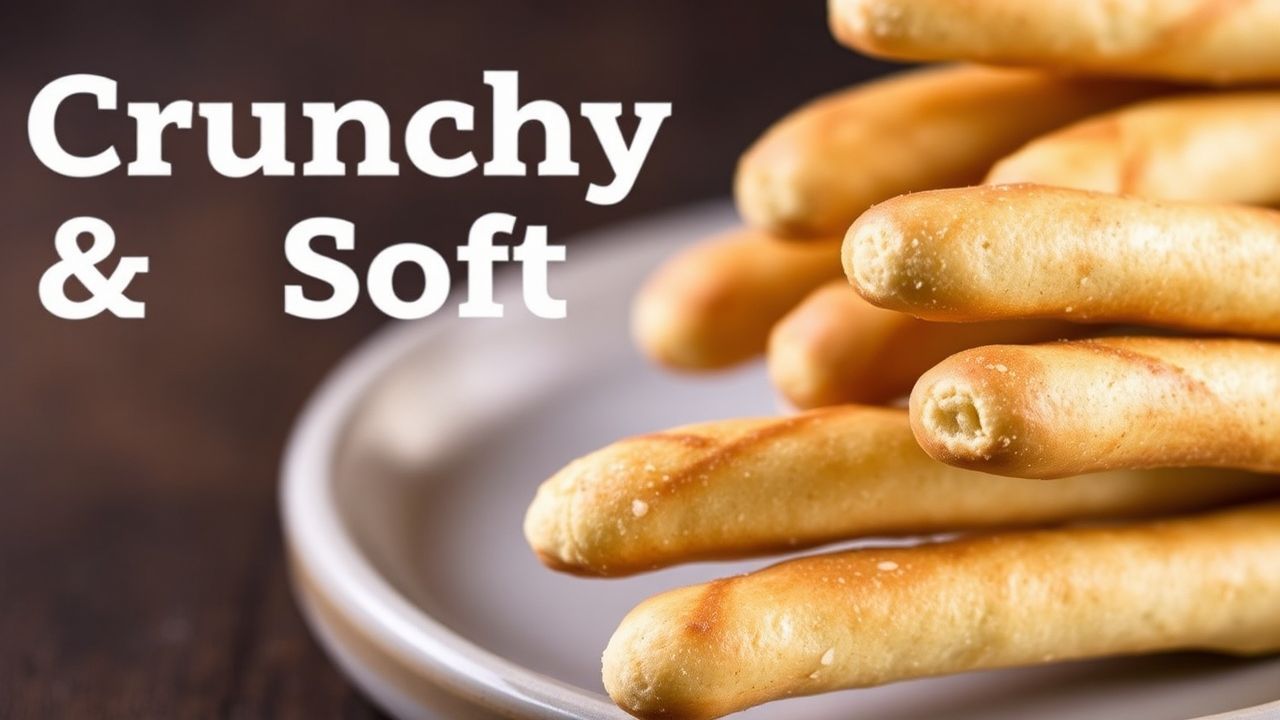
There is a simple, technical joy in producing breadsticks that are crunchy on the exterior and tender inside. This recipe focuses on dough structure, temperature control, and shaping so you reliably get both textures in a single bake.
- Balance flours: combine bread and all-purpose for crunch plus a soft crumb.
- Control temperature: water at 105–115°F activates yeast without stress.
- Even shaping: uniform ropes prevent underbaked centers and ensure consistent crisping.
- Finish right: brush with olive oil after baking to lock moisture and flavor.
Introduction
This recipe produces about 20 breadsticks with an ideal contrast between a golden, crunchy surface and a soft, pillowy interior. The steps below emphasize gluten development, oven spring, and finishing touches used by professional bakers.
The approach uses a mixed-flour dough and short high-heat baking to deliver texture. You will learn precise handling, timing, and optional flavor variations to adapt the recipe to your kitchen.
Prep and Cook Time
Preparation: 20 minutes. Rising: 1 hour 15 minutes. Baking: 12–15 minutes. Total time is about 1 hour 50 minutes depending on ambient temperature.
Time control matters: a too-short rise limits oven spring and chewiness while overproofing collapses structure. Watch dough volume rather than the clock for best results.
Yield
Makes 20 breadsticks; this feeds 4–6 people as a side or snack. Each stick weighs roughly 30 g when portioned evenly.
Scale the recipe by weight for accuracy: double all ingredients to make 40 sticks or halve them for a smaller batch. Consistent portioning is the key to even baking.
Difficulty Level
Medium — suitable for confident beginners and intermediate bakers. The techniques are straightforward, and the outcomes are forgiving when you monitor proofing and oven time.
Expect learning moments around dough feel and shaping. With practice you will dial in hydration and elasticity for your local flour and humidity.
Ingredients
Use fresh ingredients for the best results. Measure by weight when possible; the list below uses common kitchen measurements for accessibility.
- 2 ¼ teaspoons active dry yeast (1 packet)
- 1 ½ cups warm water (110°F/43°C)
- 3 ½ cups all-purpose flour
- 1 cup bread flour
- 2 tablespoons granulated sugar
- 1 tablespoon fine sea salt
- 3 tablespoons extra virgin olive oil, plus more for brushing
- 1 teaspoon garlic powder (optional)
- Coarse sea salt for sprinkling
- Fresh rosemary or dried Italian herbs (optional garnish)
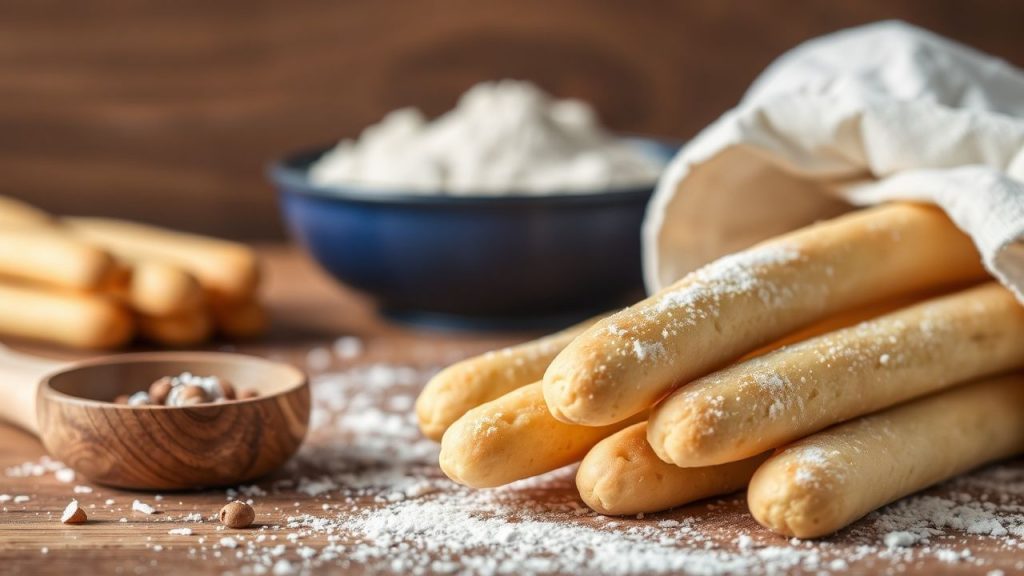
Using a blend of gluten-rich bread flour with all-purpose creates a sturdy crust while keeping the interior soft. Adjust hydration if your flours absorb differently.
Keep olive oil on hand for both dough incorporation and post-bake glazing to retain moisture and add sheen.
Instructions
The method below stresses controlled yeast activation, effective kneading, and consistent shaping. Follow the order and watch the dough rather than a strict timer.
Where possible, use a scale. If you hand-knead, expect 8–10 minutes to reach windowpane stage; a mixer will shorten that time.
Step-by-step
- Activate the Yeast: In a large bowl, combine warm water (105–115°F) with sugar. Sprinkle the active dry yeast over the surface and let it bloom 5–10 minutes until foamy.
- Mix Dry Ingredients: Whisk all-purpose flour, bread flour, and salt in a separate bowl. Add garlic powder into the dry mix if using.
- Form Dough: Add dry ingredients to the yeast mixture with 2 tablespoons of olive oil. Stir until a shaggy dough forms.
- Knead: Turn dough onto a floured surface. Knead 8–10 minutes until smooth and elastic; the dough should tack slightly but pull away cleanly.
- First Rise: Lightly oil a bowl, place dough inside, cover with a damp cloth, and let it rise until doubled, about 60 minutes in a warm spot.
- Shape: Deflate dough gently and divide into 20 equal pieces. Roll each piece into 6″ ropes, keeping thickness uniform for even baking.
- Second Rest: Place sticks on parchment, brush lightly with oil, and sprinkle coarse salt and herbs. Rest 15 minutes to relax gluten and puff the interior.
- Bake: Preheat oven to 400°F (200°C). Bake 12–15 minutes until golden and crisp. Remove and brush immediately with olive oil, then add herbs.
Baking notes
A short, hotter bake favors a crisp shell while preserving an interior crumb. Watch the color: remove when light golden to avoid drying the core.
For an ultra-crispy exterior, leave the sticks in slightly longer but reduce oven temperature by 10–15°F and check frequently. Small ovens vary—learn yours.
Tips for Success
Small technique changes significantly affect texture. Consistent rope diameter, accurate water temperature, and proper proofing create predictable results.
Always preheat thoroughly. Place the tray in the center rack to get even browning without bottom scorching.
After the tip, shape the sticks with light, even pressure. Heavy rolling compresses gas pockets and reduces interior softness.
When storing, keep breadsticks in an airtight container at room temperature for up to 3 days. Re-crisp in a 300°F oven for 3–5 minutes before serving.
Flavor Variations and Make-Ahead
Mix-ins like grated Parmesan, finely chopped rosemary, or chili flakes can go into the dough or on top. Sprinkle additions sparingly to avoid weighing down the dough.
For make-ahead convenience, shape sticks and freeze them on a tray. Transfer frozen sticks to a resealable bag and bake from frozen, adding 3–4 minutes to baking time.
These breadsticks pair well with sauces and salads. Link recipes like Fluffy Soft Artisan Breads or Homemade Pizza Dough showcase related dough techniques and hydration control used here.
Serving Suggestions
Serve warm with classic marinara, herb-infused olive oil, or a garlic butter dip. Presentation in a rustic basket elevates a casual meal into a memorable spread.
They also perform well on a charcuterie board, providing crunch and texture contrast to soft cheeses and cured meats. Try fresh herbs for aroma and a finishing sprinkle of flaky salt.
Nutritional Information
Estimate per breadstick (~30 g): 90 kcal, 3 g protein, 15 g carbs, 2 g fat. Values depend on exact ingredients and portion sizes.
If you require precise nutrition figures, weigh your final batch and use a nutrition calculator with your specific brands to generate accurate results.
| Per Breadstick | Calories | Protein | Carbs | Fat |
|---|---|---|---|---|
| 1 Breadstick (~30g) | 90 kcal | 3 g | 15 g | 2 g |
For technical reading on bread structure and methods, consult reputable references and encyclopedic overviews like bread science entries.
Q&A
This section answers common technical and practical questions encountered when making crunchy-yet-soft breadsticks at home. Each answer includes actionable guidance to troubleshoot typical issues.
What creates the crunchy exterior while leaving a soft interior?
Short, high-heat baking and proper dough hydration produce a thin, crisp crust while trapping moisture inside. The mixed-flour strategy supports both an open crumb and a sturdy crust.
Can I make these gluten-free?
Yes. Use a trusted gluten-free flour blend and add xanthan gum to mimic gluten elasticity. Expect different handling; hydrate gradually and accept a slightly different crumb structure.
How do I prevent dry breadsticks?
Avoid overbaking and brush sticks with oil immediately after they exit the oven. Store in an airtight container and reheat briefly to restore crunch without drying the interior.
How long do these keep?
Best within 24 hours for texture. Proper storage extends freshness to 2–3 days; freezing shaped, unbaked sticks preserves quality for longer.
Where can I learn more about the ingredients used?
For background on fermentation and ingredients, see the yeast overview and the olive oil article for oil selection guidance.
Final Thoughts
Homemade breadsticks that combine crunch and softness reward attention to dough structure and baking temperature. The technique scales easily and adapts to flavor variations without losing its core texture profile.
Practice shaping and timing to suit your oven and flour. With a few bakes you will internalize the cues that make every batch reliably excellent.
See also: Breadsticks