
Fluffy Homemade White Sandwich Bread: Simple Recipe Guide
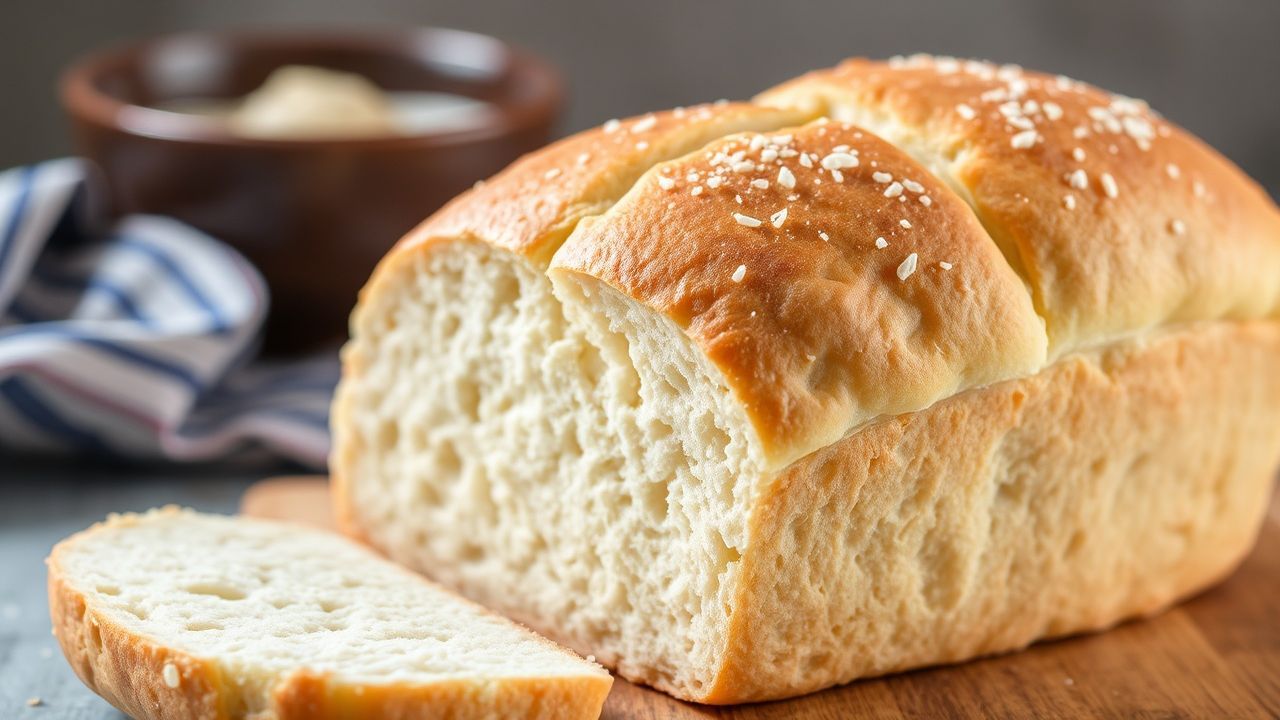
There’s something quietly satisfying about pulling a warm, golden loaf of white sandwich bread from the oven: even slices, a pillowy crumb, and that fresh-bread aroma that makes any sandwich taste better. This guide walks you through a dependable, beginner-friendly method to bake one 9×5-inch loaf with soft texture and predictable results.
Why bake your own white sandwich bread?
Store-bought sandwich bread can be convenient, but a homemade loaf gives you control over ingredients, texture, and flavor. With basic pantry staples—flour, milk, yeast, a little sugar and butter—you can produce a softer crumb that stays tender for days. The technique is straightforward: warm liquids for yeast activation, consistent kneading, and two gentle rises.
Recipe at a glance
- Prep: 20 minutes
- First rise: 1–1.5 hours
- Shaping & final proof: 45–60 minutes
- Bake: 30–35 minutes
- Total time: Roughly 3 hours
- Yield: One 9×5-inch loaf (about 12 slices)
- Difficulty: Easy–Moderate
Ingredients
- 3 1/2 cups all-purpose flour, sifted (≈420 g)
- 1 cup whole milk, warmed to about 110°F (43°C)
- 1/4 cup unsalted butter, softened
- 2 tbsp granulated sugar
- 1 1/2 tsp fine salt
- 2 1/4 tsp (1 packet) active dry yeast
- 2 tbsp warm water (110°F / 43°C) to activate yeast
- 1 large egg, room temperature
- Optional: 1 tbsp honey or malt syrup for a slightly sweeter, moister crumb
Equipment
- 9×5-inch loaf pan
- Mixing bowl (or stand mixer with dough hook)
- Measuring cups and scale (recommended)
- Digital thermometer (helpful)
- Cooling rack
Step-by-step instructions
1. Activate the yeast
Combine the 2 tablespoons warm water, 1 teaspoon of the sugar, and the active dry yeast in a small bowl. Let sit for 5–10 minutes until the surface becomes foamy. If nothing happens, the yeast may be old—discard and start again with fresh yeast.
2. Mix the wet ingredients
In a large bowl whisk together the warmed milk, softened butter, remaining sugar, salt, and the egg until uniform.
3. Combine yeast and optional sweetener
Stir the foamy yeast into the milk mixture along with honey or malt syrup if using. The sweetener is optional but contributes to a tender crumb and an appealing golden crust.
4. Add the flour
Fold in the sifted flour gradually, about 1 cup at a time, using a wooden spoon or the dough hook on low speed. When the dough starts pulling away from the sides and forms a loose mass, transfer it to a lightly floured surface.
5. Knead the dough
Knead by hand for 8–12 minutes or with a stand mixer for 6–8 minutes. You’re aiming for a smooth, elastic dough that’s slightly tacky but not sticky. Proper gluten development is what gives the loaf its springy, even crumb.
6. First rise (bulk fermentation)
Lightly oil a clean bowl, place the dough inside, and turn it once to coat. Cover and set in a warm spot (75–85°F) until doubled in size—typically 60–90 minutes depending on ambient temperature.
7. Shape the loaf
Gently deflate the dough, fold the edges under to create surface tension, and roll into a tight log that fits a greased 9×5-inch pan. Smooth the seam and tuck ends under so the top is taut.
8. Final proof
Cover the pan and let the dough rise for 45–60 minutes, until it sits just above the rim of the pan. Avoid overproofing; the dough should have visible lift but still show structure.
9. Bake
Preheat the oven to 350°F (175°C). Place the loaf on the center rack and bake for 30–35 minutes, rotating halfway through for even coloring. The crust should be golden; an instant-read thermometer in the center should register about 190°F (88°C).
If you don’t have a thermometer, tap the bottom of the loaf— a hollow sound indicates doneness.
10. Cool before slicing
Remove the loaf from the pan and set it on a cooling rack. Cool completely before slicing to prevent a gummy interior; patience pays off here.
Practical technique notes
Milk and butter add richness and moisture. Full-fat milk yields the softest crumb. If the dough resists smoothing during kneading, allow a 10-minute rest and then continue; this relaxation period lets the gluten align and makes kneading easier.
When shaping, creating surface tension is critical. Tight surface tension encourages an even rise and avoids large, irregular holes in the crumb. If you’re unsure, practice with small rolls to develop a feel for the dough’s elasticity.
Variations and add-ins
- Swap up to half the all-purpose flour for bread flour for a chewier, slightly taller loaf.
- Fold in 1/2 cup grated cheese or 2 tbsp poppy/sesame seeds for a flavor twist.
- For a slightly heartier loaf, replace up to 50% of the flour with whole-wheat and increase hydration by 1–2 tbsp.
Storage and freezing
After the loaf is fully cool, slice and store in an airtight bag at room temperature for up to 3 days. For longer storage, freeze individual slices wrapped in plastic or foil for up to one month—toast straight from frozen.
Common pitfalls and how to fix them
Under-kneaded dough feels shaggy and tears rather than stretches; give it more kneading time or rest and try again. Adding too much flour during kneading produces a dry, dense loaf; aim for slightly tacky dough.
Serving suggestions
Use thick slices for buttered toast, deli sandwiches, grilled cheese, or French toast. Before baking, brush the top with melted butter for a softer crust or sprinkle seeds for texture.
Nutritional estimate (approx. per slice)
Calories: ~110 kcal | Protein: ~3 g | Carbs: ~20 g | Fat: ~2 g
Key Takeaways
- Control of temperature and correct kneading technique are the main drivers of a soft, airy crumb.
- Two rises—bulk fermentation and final proof—create volume and even texture.
- Allow the loaf to cool completely before slicing to maintain structure and avoid a gummy center.
FAQ
Why does my homemade white bread sometimes turn out denser than expected?
Dense loaves usually come from under-kneading, using cold liquids that slow yeast activity, or shortening the rise times. Adjust kneading, ensure liquids are warmed to around 110°F (43°C) for activation, and allow full rises.
Can I skip the egg?
Yes. The egg enriches the dough and improves color, but you can omit it. Replace with an equal weight of additional milk or a neutral oil if you prefer an egg-free loaf.
How do I know if my yeast is still good?
Proof it: mix a little warm water, a pinch of sugar, and the yeast—if it foams within 10 minutes, it’s active. If not, replace it.
Can I make this recipe in a bread machine?
Yes. Use the dough cycle for mixing and first rise, then shape and bake in a conventional oven for best crust control. Alternatively, follow your machine’s white loaf program, adjusting times as needed.
How can I make the crust softer?
Brush melted butter over the warm loaf right after baking or cover the loaf loosely with a clean towel while cooling to soften the crust.
Enjoy the process—baking bread is both skill and patience, and every loaf teaches you something about dough, heat, and timing.
See also: fluffy homemade white sandwich bread


