
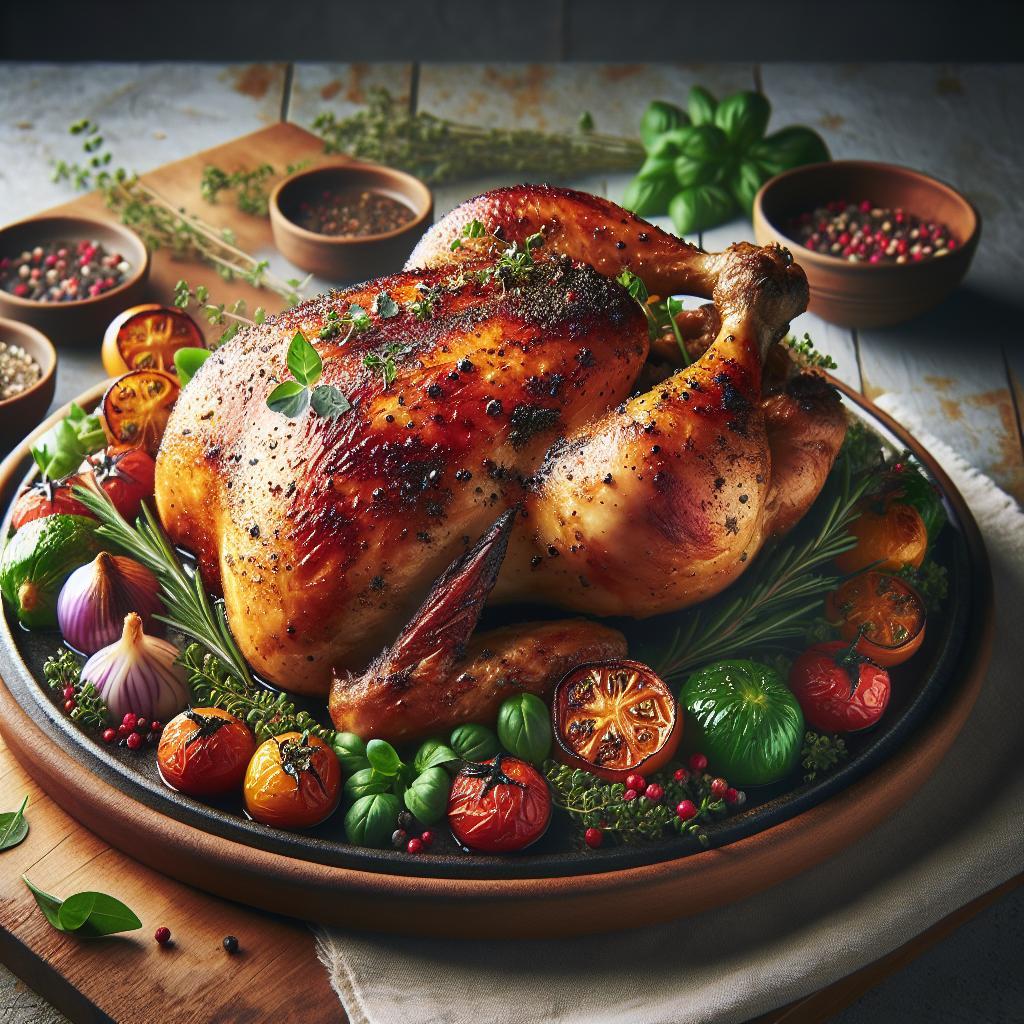
Savor the Secrets: Mastering the Perfect Chicken Roast
A perfectly roasted chicken gives golden-crisp skin, evenly cooked meat, and aromas that fill the kitchen. This guide lays out dependable techniques used by experienced cooks so you can repeat a great roast every time.
- At a glance: Dry the skin thoroughly, season generously, begin at high heat then reduce, and rest before carving.
- Timing tip: Marinate or brine for several hours or overnight to boost flavor and tenderness.
- Tool focus: A calibrated cooking thermometer removes guesswork and prevents overcooking.
Prep and Cook Time
Preparation: Allow roughly 20 minutes of active prep plus any optional marination or brine time. A 4-pound bird usually finishes in about 60–75 minutes when started hot then finished at a lower temperature.
Plan for longer if you brine or stuff the bird. Rest time and refrigeration for brining add to total time, so stage tasks the day before when possible.
Yield
This roast chicken yields about 4–6 servings depending on portion size. Choose a bird with even proportions to keep breast and thigh cooking times consistent.
If you need to feed a crowd, increase bird size rather than crowding multiple birds in one pan. Give each bird room for airflow so the skin crisps and heat distributes evenly.
Difficulty Level
Marked Medium, this roast requires basic roasting familiarity and attention to timing, seasoning, and resting. The method uses simple steps and a few reliable tools.
Once you master heat staging and accurate temperature checks with a cooking thermometer, you will reproduce moist meat and crisp skin consistently.
Ingredients
Ingredient quality affects the final result more than exotic spices. Use a fresh whole bird, olive oil, citrus, garlic, coarse salt, black pepper, smoked paprika, herb sprigs, onion, and low-sodium broth for the pan.
Prefer well-handled or free-range poultry for better texture. If you brine, follow measured ratios and timing to avoid over-salting; learn basic brining technique before you begin.
- 1 whole chicken (about 4 lbs)
- 3 tablespoons olive oil
- Juice and zest of 1 lemon
- 4 cloves garlic, minced
- 2 teaspoons coarse salt
- 1 teaspoon freshly ground black pepper
- 2 teaspoons smoked paprika
- Fresh herb sprigs: rosemary, thyme, sage
- 1 medium onion, quartered
- 1 cup low-sodium chicken broth
Instructions
Roasting Steps
Choose and prepare the bird. Inspect for even skin and remove any excess fat or giblets. Pat the chicken completely dry with paper towels to encourage even browning.
Trim loose skin where needed so seasoning contacts the meat. Dry skin forms a better crust than damp skin.
Marinade and herb placement
Whisk oil, lemon juice and zest, garlic, salt, pepper, and smoked paprika. Tuck rosemary and thyme into the cavity and brush the mixture over skin and inside the cavity.
If time allows, refrigerate the seasoned bird uncovered for several hours so the surface dries slightly and flavors penetrate. For deeper salt and moisture change, brine per a measured recipe.
Oven staging and initial high heat
Preheat the oven to 425°F (220°C). Spread quartered onion in the roasting pan and place the bird breast-side up to promote even browning.
Roast uncovered at high heat for 12–20 minutes to jump-start browning. That short blast renders fat and helps the skin crisp before the interior cooks.
Reduce to finish cooking
Lower oven to 375°F (190°C) after the initial high-heat phase. Continue roasting until the thigh reads 165°F (74°C) in the thickest place away from bone.
Pour broth into the pan before reducing heat so drippings don’t burn. The pan liquid collects juices you can reduce into a sauce after the bird rests.
Basting and timing
Baste occasionally with pan juices to keep the exterior flavorful and the meat moist. Do not baste so often that the oven door remains open for long periods; that slows cooking.
If you stuff the cavity, add 20–30 minutes to total time and confirm the stuffing reaches a safe temperature. Stuffing and meat cook at different rates.
Resting & Carving
Rest properly. Remove the bird from the oven and tent loosely with foil for 15 minutes. Resting lets juices redistribute so slices stay moist and carve cleanly.
Carve methodically. Remove legs and thighs at the joint first, then wings, and slice breast meat against the grain. A sharp carving knife improves presentation and tenderness.
Tips for Success
Short, deliberate actions deliver repeatable results: dry well, season boldly, manage the heat, and rest. Use measured salt and fresh herbs to balance aroma and taste across the bird.
Small technique shifts improve texture without changing the core method. For example, a thin smear of compound butter under the skin deepens flavor and insulates the meat during roasting.
[NOTE]This paragraph provides internal resources to help you refine technique.[/NOTE]
See our detailed guide on brining and seasoning for step-by-step brine ratios and timing. Use that resource when you plan a longer prep cycle.
Also consult our equipment guide to pick a reliable probe or instant-read thermometer so temperature checks are consistent and fast.
Tools and Techniques References
Use a calibrated cooking thermometer to confirm internal temperature rather than rely on time alone. Thermometers remove guesswork and protect food safety.
Understand basic processes like roasting and brining so you can adjust technique intelligently. Those processes influence texture, moisture retention, and surface browning.
For ingredient science, review the baking powder entry to understand how its alkalinity speeds browning when used sparingly on skin. Use minimal amounts and test on a small skin area first.
When you probe meat, insert the thermometer into the thickest part of the thigh, avoiding bone. Bones conduct heat and give false high readings if you probe too close.
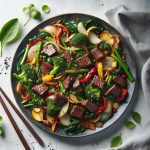
Variations & Flavor Twists
Swap herbs and aromatics to change the profile while keeping the same roast method. Citrus halves, garlic bulbs, or spice rubs reshape flavor without altering timing significantly.
Try cumin and coriander for a warm, earthy accent or stuff the cavity with apple or orange halves for a sweeter roast. Maintain core steps so texture and doneness remain reliable.
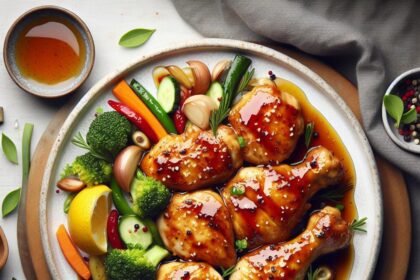
Serving Suggestions
Serve roast chicken on a bed of roasted root vegetables or a crisp salad dressed with lemon vinaigrette. Garnish with extra herb sprigs and a sprinkle of coarse salt for a clean finish.
Use the pan jus reduced briefly on the stove as a spooned sauce. For leftovers, shred meat into salads or sandwiches to preserve tenderness and flavor.
Nutritional Snapshot
Nutrition varies by portion size and skin-on versus skin-off servings. A standard serving of roast chicken with skin provides protein, moderate fat, and minimal carbohydrates.
For precise tracking, weigh portions and calculate values based on skin use and side dishes. Adjust servings to match dietary targets or portion control goals.
Internal Resources
For more techniques, consult our in-depth brining tutorial and thermometer recommendations on the site. These pages explain ratios, timing, and gear selection in practical terms.
Explore our roast-chicken tag for recipes, variations, and reader-tested techniques that pair well with this method. Those internal guides speed learning and save trial time.
Related site resources: roast chicken tag and how to brine.
FAQ
Q1: What is the single most important step to ensure a juicy, flavorful roast chicken?
A1: Season generously and rest the bird before carving so flavors penetrate and juices redistribute. Proper resting has the largest single impact on moisture retention.
Use a thermometer to confirm doneness rather than relying on time alone. That removes guesswork and reduces overcooking.
Q2: How can I create crispy skin without drying the meat?
A2: Pat skin dry, start the roast at high heat to crisp the exterior, then lower the oven so the interior cooks without drying out. A brief high-heat phase sets the skin texture early.
Also consider a light dusting of baking powder with salt on the skin to accelerate browning; use sparingly and test on small birds first.
Q3: Is brining necessary and how does it affect the roast chicken?
A3: Brining increases moisture retention and yields a juicier result, especially for lean birds. It is optional but beneficial when you want consistent tenderness across the bird.
Use a measured brine ratio and rinse gently before roasting to avoid excess surface salt. Follow time guidelines for the bird size to prevent over-salting.
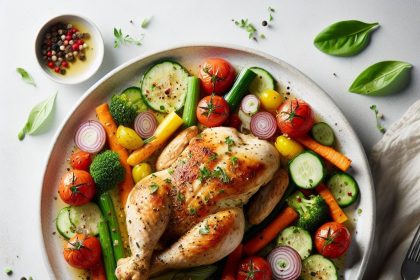
Q4: Can I roast vegetables alongside the chicken and ensure even cooking?
A4: Yes. Cut vegetables uniformly and position them so they roast in the same time window, or start denser vegetables earlier. Nestling them around the bird helps them absorb flavorful drippings.
Place vegetables where hot air reaches evenly, and stir or turn mid-roast if needed so edges caramelize evenly.
Q5: How do I reheat roast chicken without losing quality?
A5: Reheat gently in a low oven covered with foil to preserve moisture, or shred the meat for salads and sandwiches. Avoid high-power microwaving, which can toughen protein and dry pieces.
For slices, add a splash of broth and cover to keep meat from drying during reheating.
Key Takeaways
- Select a quality bird and dry it thoroughly for crisp skin.
- Season generously and allow marination or brining when possible.
- Start at high heat to crisp, then lower to cook through; use a calibrated cooking thermometer.
- Let the roast rest before carving to preserve juiciness.
Practice these techniques to turn a simple roast into a repeatable, crowd-pleasing dish. Experiment with herbs and small finishing touches while keeping the method steady to achieve consistent results.
See also: perfect chicken roast
See also: roast chicken
Recommended Reading:
- 10 Pro Techniques to Roast Perfectly Juicy Chicken at Home
- Savor the Secrets Behind the Perfect Chicken Bake Recipe
- Savoring the Classic: Ultimate Guide to Beef Pot Cooking


