
Perfectly toasted nuts deliver a golden crunch and a depth of flavor that raw nuts rarely show. Mastering the balance of heat, time, and motion turns ordinary nuts into a versatile, shelf-stable ingredient for snacks and recipes.
- Key takeaway: Low-to-moderate heat and frequent stirring prevent bitterness.
- Key takeaway: Cool nuts quickly to stop carryover cooking and retain crunch.
- Key takeaway: Toast then season for cleaner flavors and longer shelf life.
- Key takeaway: Different nuts toast in different windows; adapt timing nut-by-nut.
Why Toast Nuts?
Toasting releases volatile oils and amplifies natural sugars, creating aroma and mouthfeel that raw nuts lack. That transformation comes from chemical pathways such as the Maillard reaction, which browns and flavors the surface.
Beyond flavor, toasting changes texture—moisture loss firms the nut for a satisfying snap. Learn nut-by-nut tendencies and you will predict color, aroma, and the exact moment to stop cooking.
Prep and Cook Time
Preparation: 5 minutes is usually enough to sort, rinse if needed, and dry nuts thoroughly. Wet nuts steam and won’t brown evenly, so allow them to dry completely before heat.
Toasting: Expect 8–12 minutes for most medium-sized nuts at 325°F (160°C) in the oven; smaller nuts take less time. Adjust time for the stove: use medium-low and stir often to control hotspots.
- Preparation: 5 minutes
- Toasting: 8-12 minutes (oven)
- Total Time: 15 minutes
Yield and Difficulty
Yield: A standard 1 cup of raw nuts yields about 1 cup toasted, depending on moisture loss. For larger batches, scale time modestly and use multiple trays to avoid crowding.
Difficulty: Easy for home cooks but precise in timing. Simple techniques and sensory cues make consistent results accessible to any kitchen operator.
Ingredients
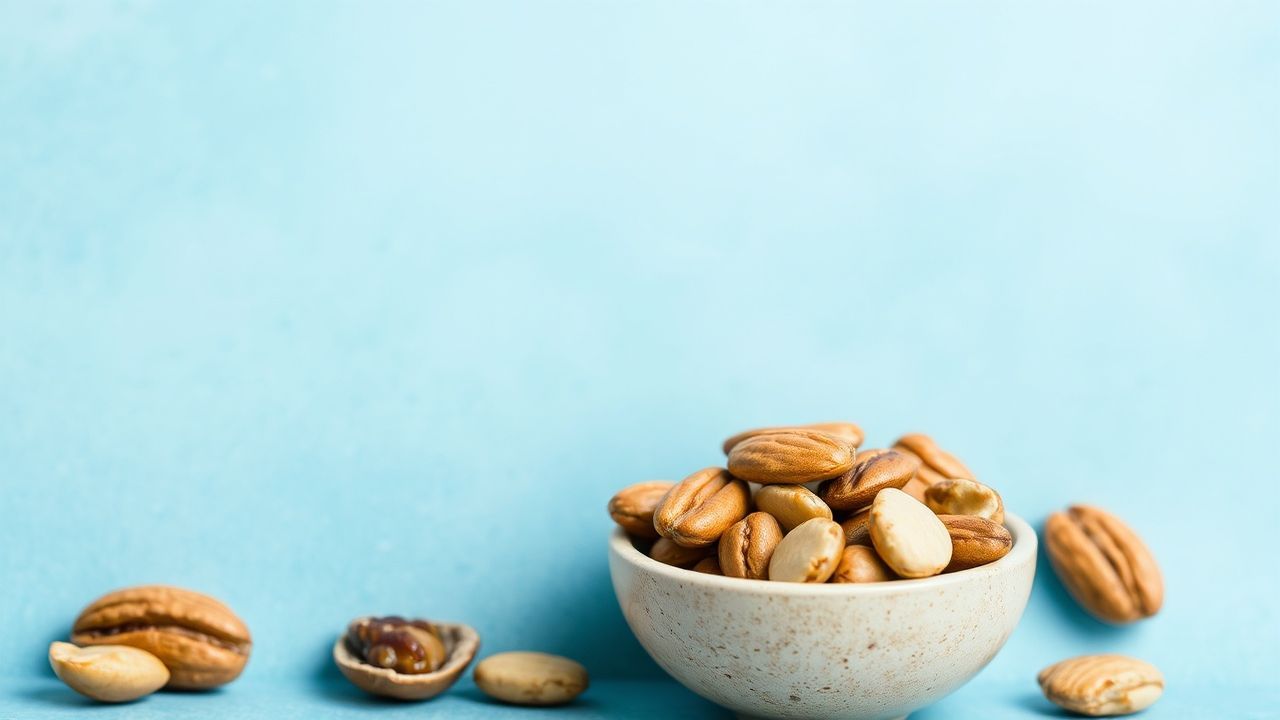
Use high-quality raw nuts: almonds, walnuts, pecans, hazelnuts, cashews, or other tree nuts. For botanical context, explore differences on the nut (fruit) page, which helps explain structure and oil content.
Basic ingredients: 1 cup raw nuts, 1 tbsp unsalted butter or neutral oil (optional), pinch of sea salt. Toast naked first for clarity of flavor; add fat afterward if you want richer mouthfeel.
Tools and Equipment
Choose a light-colored rimmed baking sheet for oven toasting and a heavy-bottom skillet for stovetop work. Light pans show color changes earlier, reducing the risk of overshoot.
Use a metal baking sheet or bowl to transfer nuts immediately after toasting so they cool quickly and stop carryover cooking. For batch work, rotate trays halfway through the oven cycle.
Instructions
1. Choose and prep your nuts. Inspect for rancidity, remove any debris, and dry thoroughly. For blanched appearances, blanch and remove skins on almonds or hazelnuts before toasting.
2. Preheat and spread evenly. Oven: 325°F (160°C). Stovetop: medium-low. Arrange nuts in a single layer to ensure uniform exposure; crowding creates insulating pockets that slow browning.
- Spread nuts evenly. One layer on a rimmed sheet or in a dry skillet prevents hot spots.
- Toast patiently. Stir or shake every 2 minutes. Use visual cues—an even golden hue—and the warm, toasty aroma as the stop signal.
- Cool immediately. Transfer to a cool metal baking sheet to arrest cooking and retain crunch.
- Season after cooling. Toss warm (not hot) nuts with melted butter or spices to coat without burning fats or spices on the heat source.
Oven toasting is ideal for even results and larger volumes; stovetop gives speed for small batches. For specific timing differences by nut, see species notes below under “Nut Timing and Behavior.”
Nut Timing and Behavior
Smaller seeds like pine nuts brown in 3–5 minutes; almonds and walnuts require 7–10 minutes. Oil content and surface area control the heat uptake for each species—refer to almond and walnut profiles for examples.
Adjust target time downward for chopped nuts, as exposed edges caramelize faster. If you want evenly colored halves, sort nuts by size and toast similar pieces together.
Tips for Success with Perfectly Toasted Nuts
Use a light-colored baking tray to monitor browning; dark trays absorb more heat and can accelerate color change. Keep a close eye in the final two minutes.
Stay attentive. Frequent stirring and a trained nose will prevent the common error of overcooking by just a minute. When in doubt, remove early and cool; you can always toast a little longer.
- If tossing with oil or butter, add after an initial dry toast to avoid burning the fat.
- Chop a portion of the batch for texture contrast and leave others whole for visual appeal.
- Store fully cooled toasted nuts in airtight containers; refrigeration or freezing extends shelf life.
After a practical pause to let the nuts cool, you can apply spice blends or salts. Season while still warm for adhesion, but not so hot that oils burn the seasoning.
Creative Uses for Perfectly Toasted Nuts
Sprinkle toasted pecans into autumn salads with apples and feta for texture and roasted flavor. For breakfasts, scatter toasted almonds over yogurt parfaits with honey and berries for contrast.
Finely grind toasted hazelnuts to fold into chocolate desserts and pralines, or pulse toasted cashews into curries for body and a nutty finish. For recipe inspiration, check the nut-based recipes collection and adapt profiles to your pantry.
Nutritional Snapshot
Toasted nuts retain most macro- and micronutrients, although high heat can slightly reduce certain heat-sensitive vitamins. Overall, nuts remain calorie-dense and nutrient-rich, with favorable mono- and polyunsaturated fats.
Reference portions: per 1/4 cup—approx. 190 kcal, 5 g protein, 6 g carbohydrates, 18 g fat. Use these figures when balancing portions in snacks or plated dishes.
| Nutrient | Per 1/4 cup |
|---|---|
| Calories | 190 |
| Protein | 5g |
| Carbohydrates | 6g |
| Fat | 18g |
Storage and Shelf Life
Cool nuts completely, then store in airtight containers to limit oxidation and moisture ingress. At room temperature, expect peak quality for about two weeks; refrigeration extends life to months, and freezing preserves quality longer.
Label containers with date and nut type. For long-term planning, portion nuts into small batches so you open only what you need and preserve the rest in cold storage.
Q&A
Q&A: Perfectly Toasted Nuts – Short Answers from an Experienced Cook
Q1: Why toast nuts at all? Can’t I just eat them raw?
Toasting amplifies aroma and texture through Maillard browning and oil release; it elevates flavor and crunch. Raw nuts remain nutritious, but toasting creates culinary versatility and deeper taste.
Q2: Oven or stovetop— which is better?
Both work well. Use the oven for even heat and batch work; use a skillet for small amounts and quick control. Choose based on volume and your tolerance for hands-on attention.
Q3: Can I season nuts before toasting?
For clear nut flavors, toast naked then season. If you want spice adhesion, very lightly oil before adding seasonings and watch the final minutes closely. Delicate spices may scorch on high heat.
Q4: Is microwave toasting viable?
Yes, but use short bursts at medium power with frequent stirring. Microwaves cook unevenly and can create hot spots; this method suits tiny batches when you monitor every 30 seconds.
Q5: How do I avoid bitters and burnt nuts?
Use moderate heat, frequent agitation, and a cooling plate to stop carryover cooking. Trust the aroma: when nuts smell warm and toasty, remove them promptly and cool.
The Way Forward
Mastering toasted nuts is a matter of predictable technique: control temperature, watch color and smell, and cool immediately. Apply these steps and your pantry will yield crisp, flavorful nuts to enhance recipes across savory and sweet menus.
For deeper technique notes on dry-heat methods, consult the culinary roasting literature on roasting. For practical storage protocols, review our storage tips to keep crunch at the ready.
FAQ
How long do toasted nuts last?
At room temperature in airtight containers, about two weeks for peak crunch. Refrigeration extends quality to months; freezing preserves them longest.
Can I re-toast stale nuts?
Light re-toasting can refresh texture, but rancid off-flavors from oxidation will not disappear. Smell before you reheat; if rancid, discard.
Are roasted nuts less nutritious?
Roasting minimally alters macro nutrients; some heat-sensitive micronutrients may decline slightly. Overall, toasted nuts remain nutrient-dense and useful in balanced dishes.
Which nut is easiest to toast?
Almonds toast consistently and tolerate a narrow temperature band, making them beginner-friendly. Observe size and surface area—smaller or chopped pieces toast faster.
Where can I find recipes using toasted nuts?
See our nut-based recipes collection for salads, desserts, and snacks that use toasted nuts as a finishing ingredient. Also consult botanical and culinary entries such as the walnut page for variety-specific ideas.
See also: Toasted nuts

