
Sticky Dough Woes? Quick Fixes to Save Your Recipe!
Sticky dough can stall a bake quickly, but the right fixes restore control without sacrificing crumb or rise. This guide explains practical corrections for wet dough, from hydration tweaks to handling methods that preserve structure and oven spring.
- Understand hydration: small water adjustments change texture dramatically.
- Work smart not dry: surface tricks and folding techniques reduce stickiness without excess flour.
- Use temperature and rest: chilling or autolyse strengthens dough for easier shaping.
- Measure precisely: a scale prevents recurring sticky batches.
Intro: Why dough gets sticky
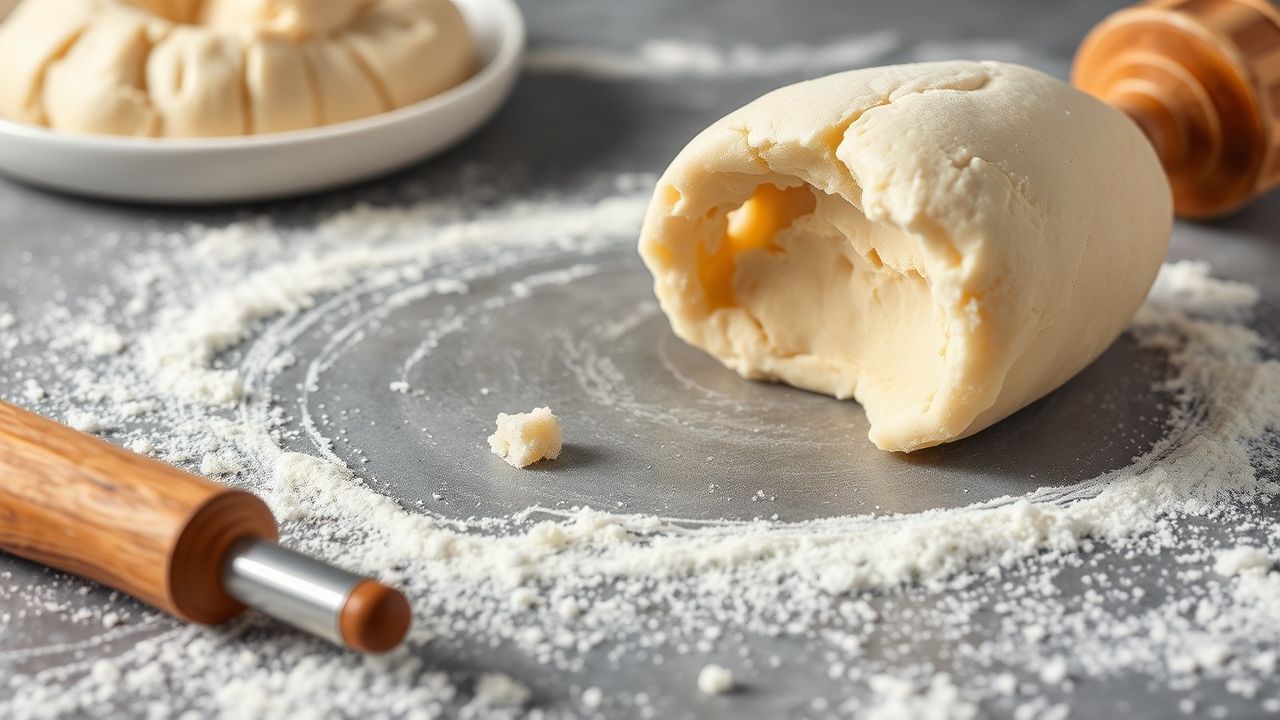
Sticky dough results from a balance problem between water, flour proteins, and handling. Often, either hydration is high or gluten has not developed enough to trap that water.
Environmental factors also affect stickiness: room humidity and flour absorption vary by brand. For technical background on dough components, see dough.
Prep and Cook Time
Preparation: 15 minutes active. Brief prep reduces overworking wet dough, which can make it stickier.
Proofing: 1–2 hours depending on yeast and temperature. Slower fermentations often let gluten relax and handle better.
Baking: 20–40 minutes, depending on loaf size and oven calibration.
Yield
This recipe scale yields roughly 4 medium rustic loaves or 12 dinner rolls. Adjust proportions while keeping hydration percentage consistent.
For smaller or larger batches, convert cups to grams using a scale for repeatable results.
Difficulty Level
Medium. This sits between casual home baking and more advanced artisan methods because it asks you to adjust hydration and use tactile judgement.
However, the fixes here use simple techniques that fit most kitchens and skill levels.
Ingredients
4 cups all-purpose flour, sifted (about 500 g depending on flour density). If you seek more structure, substitute part with bread flour.
1 ½ cups lukewarm water (110°F/43°C), 2 tsp active dry yeast, 1 tbsp sugar, and 2 tsp kosher salt. Optional: 1 tbsp olive oil for softer crumb. Keep extra flour for dusting.
Instructions
Activate yeast: Dissolve sugar in lukewarm water and sprinkle yeast on top. Let bloom 5–10 minutes until foamy to verify activity.
Combine dry ingredients: Whisk flour and salt in a large bowl to distribute salt evenly. Use a scale for precise ratios.
Form the dough: Add the yeast mixture and oil. Stir until a shaggy dough forms; avoid overmixing at this stage.
Knead: Lightly flour the work surface and knead 8–10 minutes by hand until smooth. If dough is too sticky, add flour a teaspoon at a time to avoid drying out the dough.
First rise: Oil a bowl, place dough inside, cover, and let rise in a warm spot until doubled—usually 1–2 hours. Gentle handling preserves gas for oven spring.
Shape and rest: Deflate gently, divide, and shape. Rest shaped pieces on a floured surface for 15–20 minutes before final bake to relax gluten.
Bake: Preheat oven to 425°F (220°C). Score loaves and bake until golden and hollow-sounding when tapped. Cool on a rack to finish crumb set.
Tips for Rescue and Moisture Control
Start with small corrections. If dough feels tacky but cohesive, use handling methods like stretch-and-fold to build strength over time rather than adding large amounts of flour.
For a technical primer on gluten development and why it matters, consult the gluten entry. Stronger gluten traps gas and reduces surface stickiness.
Adjust hydration smartly
Reduce water by up to 10% if a formula consistently produces a floppy dough. Alternatively, add water slowly if the dough seems dry—hydroscopic variations in flour matter.
Measure hydration as baker’s percentage: water weight divided by flour weight. That metric prevents guesswork across batches.
Flour selection and protein
Use higher-protein bread flour to increase gluten potential and reduce tack. If you want a chewier crumb, increase the bread flour ratio incrementally.
When testing different flours, allow at least two trials to evaluate absorption and texture reliably.
Handling tricks that don’t dry dough
Dust sparingly with flour on your hands and bench. Better yet, use a bench scraper to lift and fold sticky dough cleanly without adding excess flour.
For some recipes, lightly oiling hands or the surface prevents sticking while maintaining hydration balance.
Rest, temperature, and fermentation
Longer autolyse and slower fermentation let proteins hydrate and align, which reduces tackiness. Autolyse is simply mixing flour and water and resting before adding yeast or salt.
On humid days, refrigerate dough for 20–60 minutes to firm it up before shaping. Cooler dough handles cleaner and yields better scoring results.
Serving Suggestions
Fresh rustic loaves pair with butter, herb oils, or cheeses. The bread’s texture benefits from a warm slice to release aromas and soften the crumb.
Use toasted crusts for dipping in soups or stews. Soft rolls make excellent sides for roasts and sandwiches.
Common Rescue Scenarios
Scenario: Dough very sticky and unworkable
Quick fix: Chill the dough 20–30 minutes to firm it, then use a bench scraper to portion. A brief rest tightens the surface for shaping.
Longer-term fix: Reduce hydration slightly in next batch and increase folding sessions during bulk fermentation.
Scenario: Sticky after rise and hard to shape
Lightly dust hands and counter and perform gentle folds to tighten the dough. Avoid heavy pounding that deflates gas.
Alternatively, shape using wet hands or oiled parchment to prevent sticking while preserving hydration.
Tools and techniques that help
Essential tools include a reliable digital scale, bench scraper, proofing baskets (bannetons), and an oven thermometer. These ensure consistency and predictable outcomes.
For mechanical aids, a stand mixer with dough hook reduces manual kneading time and gives cleaner development for high-hydration doughs.
Nutritional Snapshot
| Nutrient | Per Serving |
|---|---|
| Calories | 220 kcal |
| Protein | 6 g |
| Carbohydrates | 45 g |
| Fat | 2 g |
Practical Measures for Repeatability
Record weights, hydration percentages, and ambient conditions in a baking log. Repeating trials with recorded variables gives reliable improvement across batches.
When testing flour swaps, keep dough temperature and mixing time constant to isolate the flour’s effect on stickiness.
Related Concepts and Further Reading
To understand yeast activity and how temperature affects rise, consult the yeast article. Yeast metabolism changes dough behavior noticeably.
For broader context on baking science and professional techniques, review the baking entry and the bread article for variations in hydration and crumb goals.
FAQ
Why is my dough sticky right after mixing?
Sticky dough shortly after mixing often indicates high hydration or insufficient gluten alignment. Perform stretch-and-fold cycles to build structure before adding flour to fix it.
Also ensure yeast was not over-activated by excess warmth; that can accelerate gas and apparent stickiness.
How much extra flour can I add without ruining the dough?
Add flour in teaspoons to tablespoon-sized increments, then knead and wait a minute to reassess. Track additions by weight to maintain consistent hydration percentages.
If you find yourself adding more than 5–10% extra flour, stop and consider using handling techniques instead for a better final crumb.
Can oil or butter reduce stickiness?
Yes. Adding a small amount of oil or softened butter can bind moisture and reduce tack while keeping the crumb tender. Use sparingly to avoid greasing down gluten alignment.
For enriched doughs, incorporate fats gradually during mixing to balance hydration and handling.
Is sticky dough always bad for bread?
No. High-hydration doughs produce open crumb and moist texture in breads like ciabatta. The goal is workable tackiness, not a glue-like mass.
Mastering handling methods yields airy loaves even with wet doughs.
How do I prevent sticky dough in humid weather?
Measure flour by weight, reduce water slightly, and consider refrigerating dough between shaping steps. Dehumidifying the kitchen or baking during cooler parts of the day also helps.
Adjust proofs to slower rates to give gluten time to stabilize despite the added ambient moisture.
Key Takeaways
Sticky dough is a solvable balance issue of hydration, gluten development, and handling. Small, measured adjustments beat large additions of flour.
Use tools and techniques—scales, stretch-and-fold, chilling, and bench scraping—to rescue dough while keeping crumb light and open.
With practice and careful recordkeeping, you will repair sticky batches and dial in hydration for preferred textures. Treat each bake as controlled experimentation and refine from reliable data.

See also: sticky dough


