
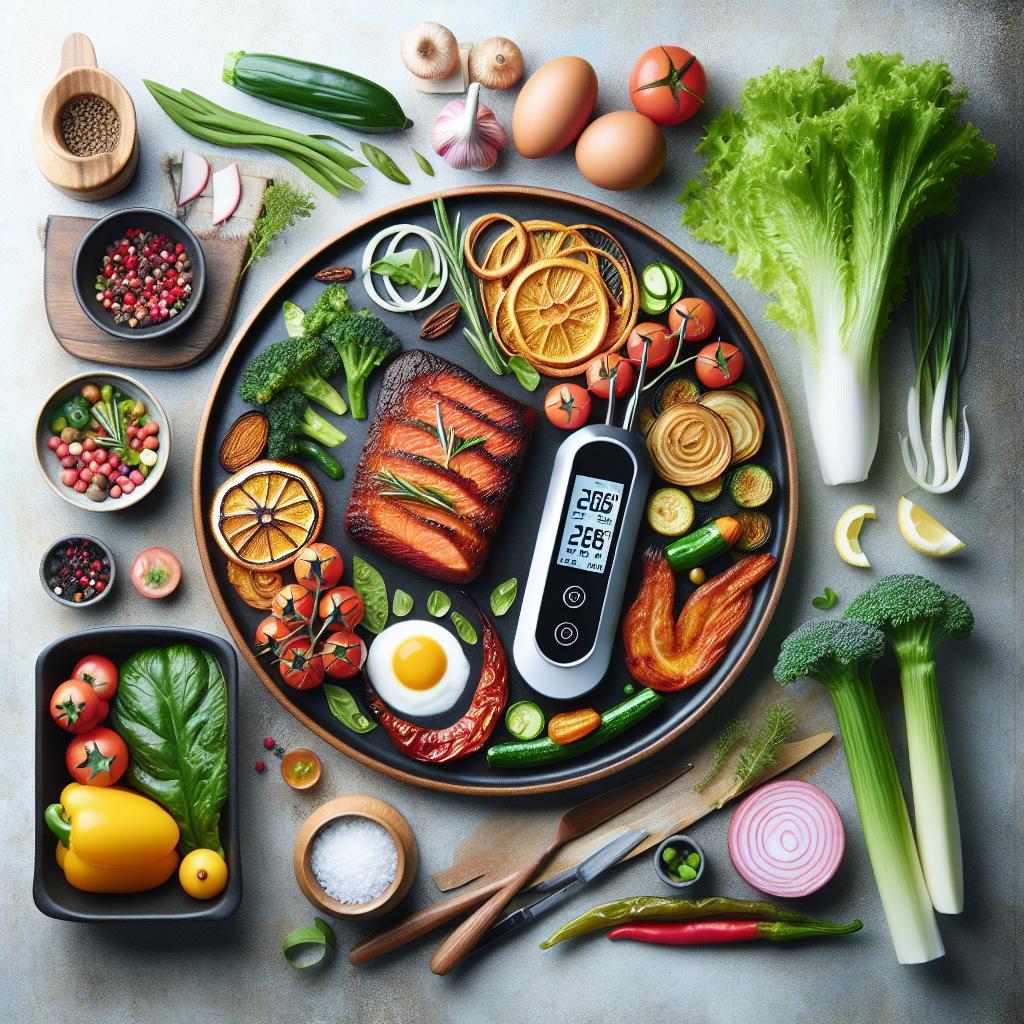
The smart digital meat thermometer replaces guesswork with measurable control. With the right device you monitor internal temperature, track ambient heat, and finish proteins with predictable, repeatable results.
- Accuracy matters: a ±1–2°F sensor avoids costly overcooks.
- Connectivity choice: Bluetooth suits short-range grilling; Wi-Fi fits remote monitoring.
- Probe count: multi-probe setups handle roasts and sides at once.
Understanding smart digital meat thermometers
Smart thermometers combine a temperature sensor with wireless communication and software logic. They report internal meat temperature, log trends, and alert you when food reaches target doneness.
These devices are a form of modern thermometer designed for culinary use and often include multiple probes for simultaneous reads. They help control carryover cooking and ensure safe internal temperatures for proteins such as beef, pork and poultry.
Prep and Cook Time
Plan minimal active prep when you use a smart thermometer; much of the work becomes monitoring rather than adjusting heat constantly. Typical cook time varies by cut and method, so allow flexibility when scheduling serving.
- Prep Time: 5 minutes
- Cook Time: Varies by meat and technique, typically 30–90 minutes for common cuts
Use the thermometer to track ambient oven or smoker temperature in addition to internal meat temp. This reduces guesswork when juggling multiple dishes or temperature zones.
Ingredients
The thermometer is a tool; ingredients determine flavor and carry. A simple ribeye example helps illustrate probe placement and resting technique.
- 1–2 lbs beef ribeye steak (or preferred cut)
- 1 tbsp olive oil
- Salt and freshly ground black pepper, to taste
- 2 cloves garlic, crushed
- 2 sprigs fresh rosemary or thyme
- Optional: Butter for basting
Seasoning and proper probe placement combine to give reliable results: insert the probe into the thickest part, away from fat and bone. Consistent technique yields consistent readouts that match doneness charts.
Instructions
Follow a concise, repeatable process to make the most of smart thermometry. The steps below focus on sensor accuracy and safe handling.
- Preheat grill or oven to target ambient temperature; use your thermometer to confirm ambient stability before adding meat.
- Season and oil the cut; let it come close to room temperature for uniform cooking.
- Insert the probe into the thickest center, avoiding bones. Secure any wires or connectors so they won’t tug during cooking.
- Connect the probe to the transmitter and pair with the app. Select a preset doneness or enter a manual target temperature.
- Cook and monitor real-time internal temps and ambient graphs on the app. Rely on the sensor’s alerts rather than a timer alone.
- Rest the meat after removal; internal temperature typically rises a few degrees during carryover.
Carryover is predictable when you know the weight and cut; larger roasts gain several degrees while they rest. Use the thermometer to time the resting window for ideal juice redistribution.
Features to Prioritize
Choose features that match your cooking patterns. Prioritizing the right combination prevents overspending on unused capabilities.
Below are the core categories you should assess: connectivity, probe design, app features and durability. Each affects accuracy, workflow, and long-term satisfaction.
Connectivity: Bluetooth vs Wi-Fi
Bluetooth provides reliable short-range pairing for backyard grills and kitchens. It saves battery and pairs quickly for single-session cooks.
Wi-Fi supports long-range monitoring, so you can check temperatures while away from home. For connectivity fundamentals, see the technology behind Bluetooth and Wi‑Fi to match signal range to your use case.
Probe quality and quantity
Stainless steel probes with thin tips respond faster and give better accuracy. Look for probes rated for grill and oven heat in product specs.
Multi-probe units let you monitor roast center and thickest point simultaneously, or track side dishes. If you cook large cuts or multi-protein meals, choose at least two probes.
Tips for Success
Small practices improve measurement reliability significantly. Calibration checks, secure probe seating, and consistent insertion depth matter more than brand names in many cases.
Use the thermometer as a learning tool: log results, adjust techniques, and refine your targets over several cooks. This iterative approach yields consistent restaurant-quality outcomes.
- Calibrate if the manufacturer provides a calibration routine—ice bath or boiling point methods validate sensor offset.
- Check connectivity: ensure the transmitter stays within range for reliable alerts and data logging.
- Use multiple probes for large or multi-zone cooks; they prevent overcooking one area while another lags.
- Clean and store probes promptly; food residue and moisture degrade sensor life.
For more device comparisons and gadget recommendations, consult our Smart Kitchen Gadgets Guide. For beginner grilling fundamentals, see our practical walkthrough at Grilling Basics.
Serving Suggestions
Serve rested cuts thinly sliced against the grain for tenderness. Pairing and plating amplify the perceived quality of your cooked protein.
Complement the meat with roasted vegetables, a pan sauce, or a compound butter. Use the thermometer to pull the cut at the exact temperature that suits your chosen sauce or side dish.
Safety and Food Temperatures
Target temperatures matter for both quality and food safety. Different proteins and preparations require distinct internal targets to eliminate pathogens while preserving texture.
For industry guidelines, consult authoritative safety references such as food safety resources. Use the thermometer to verify your food reaches recommended internal temperatures before service.
FAQ
What makes a thermometer “smart”?
Smart models combine sensor probes with wireless communication and software features. They add alerts, graphs, and presets that simplify complex cooks.
How accurate are smart digital meat thermometers?
High-quality devices typically claim accuracy within ±1–2°F. Accuracy depends on probe design, calibration, and correct placement in the meat.
Can I use a smart thermometer for all cooking methods?
Yes. Many models support grilling, roasting, smoking and even sous‑vide monitoring. Confirm probe temperature ratings and cable heat tolerance for high‑heat methods.
How do I clean and maintain probes?
Remove probes from the transmitter and wash with warm, soapy water or a food-safe sanitizer. Avoid submerging the transmitter or connecting pins to protect electronics.
What price range should I expect?
Expect entry-level Bluetooth single-probe models around lower price points and premium multi-probe, Wi‑Fi models at higher tiers. Match features to how you cook to get the best value.
See also: meat thermometer


