
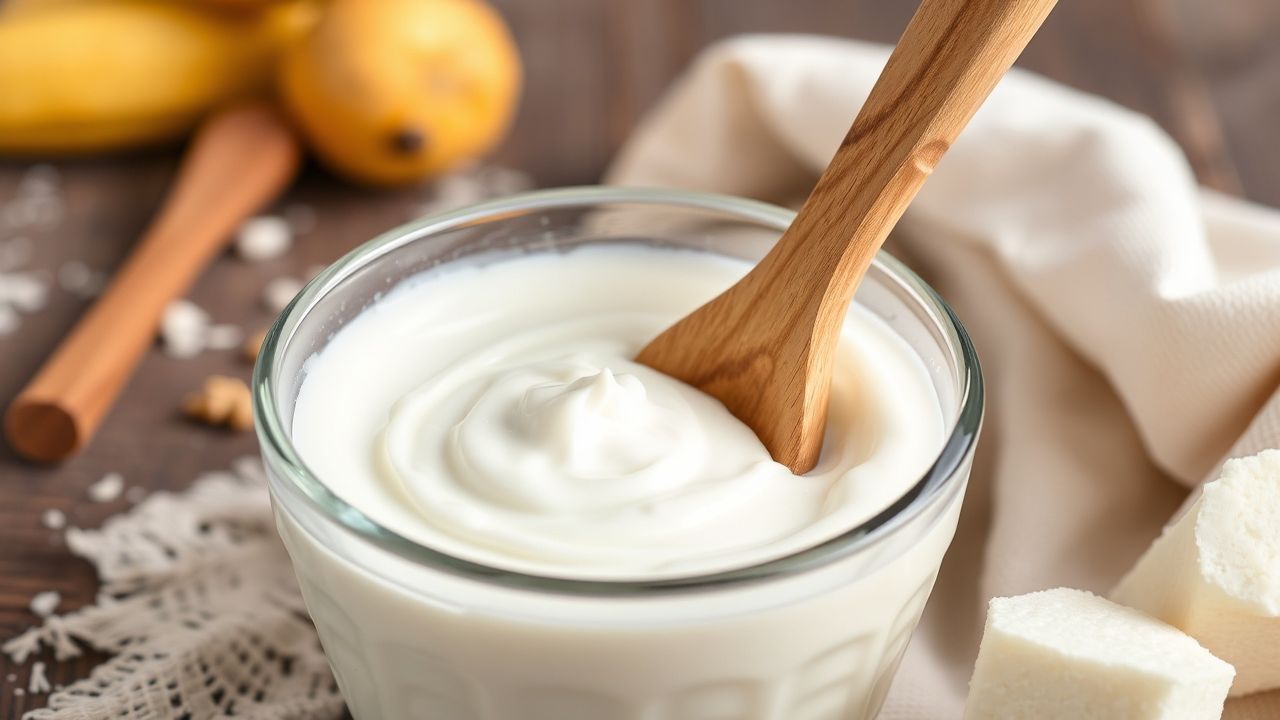
There is a simple kitchen alchemy that transforms milk into velvety, probiotic-rich yogurt. The single most influential factor is the starter culture: the specific bacterial strains you choose determine texture, tang, and probiotic profile.
- Starter strain matters: strains set texture and flavor.
- Temperature control: consistent incubation gives predictable results.
- Storage and reuse: fresh, properly stored starters retain activity for a few generations.
- Small tweaks: powdered milk or strain blends can produce silkier yogurt.
Exploring Probiotic Strains That Boost Flavor and Health Benefits
The classic yogurt pair, Streptococcus thermophilus and Lactobacillus delbrueckii subsp. bulgaricus, produces thick body and balanced tang. These strains work synergistically: one produces acids and peptides, the other contributes texture and aroma.
Beyond that duo, you can add targeted strains to modify flavor and probiotic function. For example, Lactobacillus acidophilus and Bifidobacterium species enhance probiotic diversity and can shift mouthfeel toward milder, rounder notes.
For quick reference on each organism, consult reliable summaries such as the scientific overviews on Streptococcus thermophilus and Lactobacillus delbrueckii.
When you call a culture a “probiotic,” you mean strains with documented benefits. See the general entry on probiotics for accepted definitions and clinical context.
Common Starter Profiles and Their Outcomes
Traditional yogurt starters (the two-strain system) give reliable thickness and pleasant acidity. They handle a range of milk fat levels and yield predictable gel structure when incubated at about 43°C (110°F).
Specialty starters add creams and mouthfeel modifiers: exopolysaccharide-producing strains, like certain Lactococcus or Lactobacillus helveticus lines, make the yogurt feel silkier without additives. Choose based on the final texture you want.
How to Select and Store Starter Cultures for Consistent Yogurt Quality
Select freeze-dried, single-dose starters from reputable suppliers or use a live-culture plain yogurt as an interim starter. Check lot codes and expiration dates and prefer products that list strain names when available.
Store unopened freeze-dried cultures in a cool, dry place; once opened, keep them airtight in the refrigerator at 2–5°C. When you save a spoonful of homemade yogurt as starter, restrict reuse to about four generations to avoid drift and flavor degradation.
For practical reading on fermentation processes, refer to the technical overview at fermentation in food processing.
Expert Recommendations for Reliable and Easy-to-Use Yogurt Starters
Standardized, freeze-dried starters deliver the most repeatable results for home cooks. Powdered packets give precise doses and long shelf life, reducing batch-to-batch variability.
Liquid starters can activate faster but require stricter cold-chain handling. When you follow package instructions for temperature and inoculation ratios, you reduce failed batches dramatically.
Another quick pro move: temper your starter by mixing it with a small amount of warm milk before folding it into the batch. This prevents thermal shock and helps the culture wake up uniformly.
Prep and Cook Time
Plan active time and incubation separately. Heating and cooling steps need about 40–60 minutes of hands-on time, while fermentation runs unattended for several hours.
- Preparation: 10 minutes active
- Fermentation: 6 to 8 hours
- Total Time: 6 hours 10 minutes to 8 hours 10 minutes
Yield
This basic formula produces roughly one quart (4 cups) of finished yogurt. Yield will vary slightly by milk type and how much whey you drain if making Greek-style yogurt.
To scale, keep the same ratio of starter to milk; maintain temperature and incubation time for consistent texture.
Difficulty Level
Making yogurt at home is accessible for beginners and rewarding for advanced cooks. The technique emphasizes temperature control and clean handling more than advanced skills.
Small investments—like a reliable instant-read thermometer and an insulated incubator—pay back with consistent batches and less guesswork.
Ingredients
4 cups whole milk (fresh, not ultra-pasteurized) produces the richest texture. Full-fat milk gives the best creaminess, while reduced-fat options set firmer but thinner gels.
- 4 cups whole milk
- 2 tablespoons plain yogurt with live cultures (starter)
- Optional: 1 tablespoon powdered milk per cup for extra body
Instructions
Heat the milk gently to 82°C (180°F) to denature whey proteins and improve set. Stir occasionally to prevent scorching and allow even heat distribution.
Cool the milk to 43°C (110°F) before adding starter. Use an instant-read thermometer and work quickly to keep the temperature stable.
- Heat the Milk: Warm milk to 180°F (82°C). This step helps the yogurt set by changing milk proteins.
- Cool the Milk: Bring temperature down to 110°F (43°C) before inoculating; this protects the starter cultures.
- Mix the Starter: Combine 2 tablespoons of live yogurt with a few tablespoons of warm milk, then fold back into the cooled milk.
- Incubate: Keep the mix at ~110°F (43°C) for 6–8 hours in a yogur maker, oven with light, or insulated container.
- Check for Firmness: The yogurt should be set with a clean spoon break and a mild tang.
- Chill and Store: Refrigerate at least 4 hours. Save a small portion as starter for your next batch (limit reuse to 4 cycles).
Tips for Success
Use good hygiene: clean utensils and containers reduce contamination risk and prevent off-flavors. Sterile conditions are not necessary, but basic sanitation matters.
If you lack a dedicated yogurt maker, an insulated cooler with warm water bottles or an oven with only the light on can keep temperature steady for the incubation period.
Temperature variance changes final acidity. If yogurt tastes too tart, shorten fermentation by 1 hour next time; if too mild, extend by 30–60 minutes. Small adjustments give controlled results.
Experiment with strain blends and small recipe changes only one variable at a time. That way you know which change produced a specific result.
Serving Suggestions
Serve chilled yogurt with fruit compote, honey, or toasted nuts for texture contrast. Use plain yogurt as a base for dips like tzatziki or to enrich smoothies and dressings.
For culinary uses, control acidity by selecting strains and fermentation time: milder cultures suit desserts, while more acidic profiles work well for savory sauces and marinades.
| Nutrient | Per 1 Cup Serving |
|---|---|
| Calories | 150 kcal |
| Protein | 8 g |
| Carbohydrates | 12 g |
| Fat | 8 g |
For step-by-step basics and troubleshooting, see our internal guide: Homemade Yogurt Basics. For supplies and starter options, visit Yogurt Starter Supplies.
Q&A
The following answers target practical decisions you make at the stove and while selecting cultures. They focus on strain behavior, storage, and expected outcomes.
Q&A: Top Starter Cultures to Craft Creamy Homemade Yogurt
Q1: Why is the choice of starter culture important for homemade yogurt?
The starter culture defines how milk ferments into yogurt. Different bacteria produce different acids, peptides, and textures, so strain selection directly affects tang, aroma, and mouthfeel.
Q2: What are the most common bacteria found in yogurt starter cultures?
The standard pair are Lactobacillus bulgaricus and Streptococcus thermophilus. Some blends include Lactobacillus acidophilus or Bifidobacterium to increase probiotic diversity and add nuanced flavor notes.
Q3: Can I use store-bought yogurt as a starter culture?
Yes. Choose plain yogurt that explicitly says “live cultures.” The final flavor will echo the starter you use, so pick a profile you like or use a neutral commercial starter for consistent results.
Q4: How should I store powdered or freeze-dried starters?
Keep unopened packets in a cool, dry place. After opening, store in airtight containers in the refrigerator and use within the timeframe recommended by the manufacturer to preserve viability.
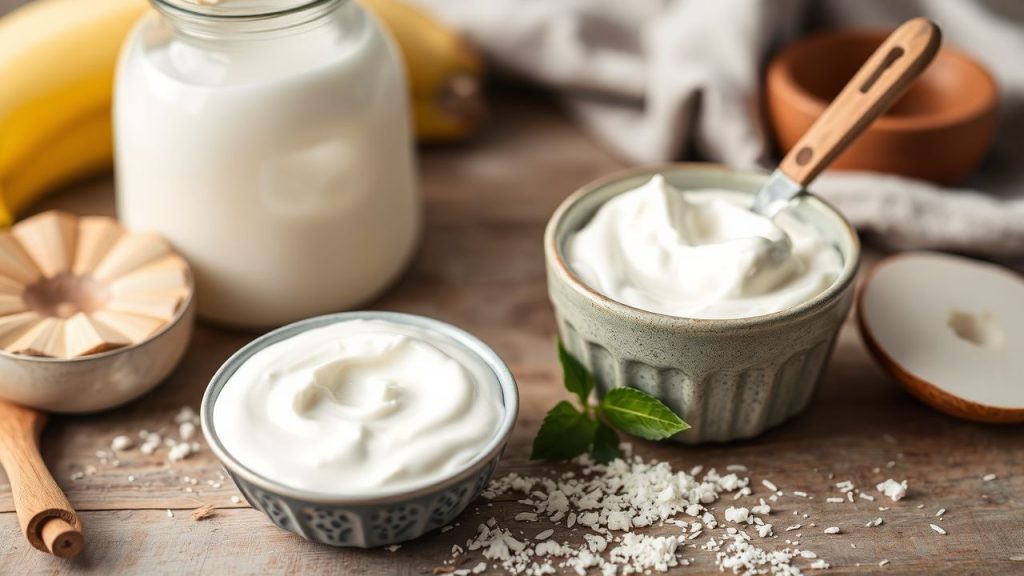
Q5: What tweaks make yogurt creamier without thickeners?
Use higher-fat milk, add powdered milk to increase protein, or choose exopolysaccharide-producing strains for natural silkiness. Gentle straining makes Greek-style yogurt but changes yield and texture.
To Wrap It Up
Starter culture selection steers every batch of homemade yogurt. By choosing the right strains, controlling incubation, and handling starters carefully, you can produce consistent, creamy yogurt with desirable probiotic qualities.
Use targeted tweaks—powdered milk, strain blends, or temperature adjustments—to dial in texture and flavor. With repeat practice and careful storage, home yogurt becomes a reliable, healthful staple.
See also: yogurt starter


