
Turn leftover vegetables into a bright, tangy Veggie Relish that lifts sandwiches, grilled dishes, and snacks while cutting food waste. This clear, small-batch method shows practical steps, safe preservation options, and flavor variations so home cooks get reliable, repeatable results.
- Quick batch: Make about 2 cups of veggie relish from 2 cups of diced vegetables in under an hour.
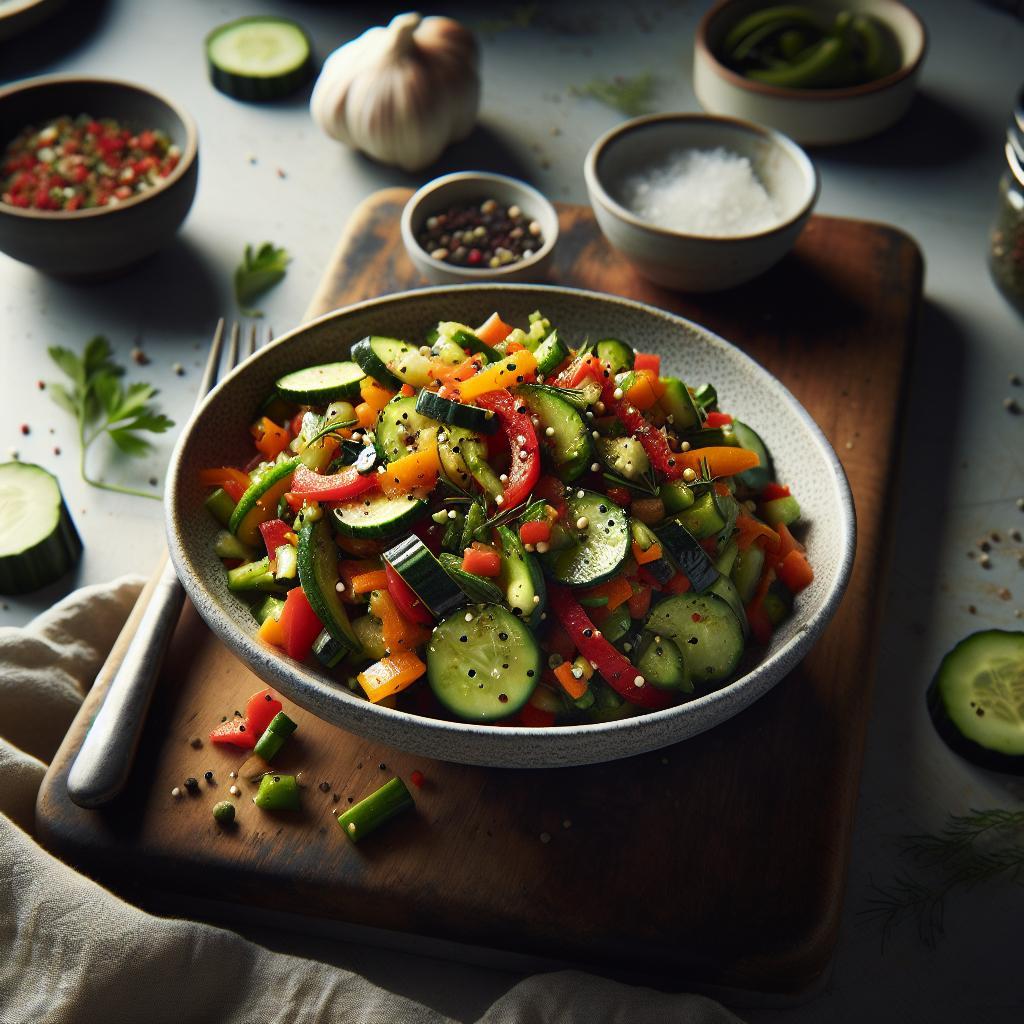
- Flexible mix: Combine firm carrots with crisp cucumbers or peppers for balanced texture.
- Preserve safely: Refrigerate for short term or follow tested canning times for shelf stability.
- Flavor control: Adjust vinegar, sugar, and mustard seeds to match your palate.
Prep and Cook Time
Preparation: Plan for 15 minutes of active prep and 20 minutes of gentle cooking. Keep knives sharp and prep bowls organized to speed mise en place and avoid over-handling the vegetables.
Cooling and resting: Allow the relish to cool at room temperature, then refrigerate at least one hour; 24 hours yields the best depth of flavor. If you choose to process jars for shelf stability, follow validated processing times for your altitude.
Yield and Difficulty
This recipe yields approximately 2 cups of Veggie Relish, enough for 6–8 condiment servings. Small-batch jars let you test spice blends and texture before scaling up.
Skill level rates as easy to medium. Basic knife skills and strict sanitation matter more than advanced technique. Start small to dial in the balance of acid, sugar, and salt.
Essential Ingredients and Spices That Elevate Your Homemade Relish
Core components include about 2 cups of mixed diced vegetables (carrots, cucumbers, bell peppers, cabbage, or green beans), 1 cup vinegar, 1/2 cup sugar, and 1 teaspoon salt. These proportions give a bright, preservable base for Veggie Relish.
Add texture and aroma with mustard seeds, celery seed, turmeric, fresh jalapeño, and minced garlic. Learn about the plant and seed varieties on Mustard for context on flavor differences and heat levels.
Why these ingredients work
Vinegar provides the acidic backbone that preserves flavor and helps keep relish safe; consult general chemistry and culinary use on Vinegar. Acid lowers pH and helps prevent growth of many spoilage organisms.
Sugar balances acidity and rounds flavors, while salt enhances taste and controls texture. Seeds and spices add aromatic compounds that lift the vegetables without masking them.
Step-by-Step Techniques for Perfect Texture and Balanced Zest
Start by washing and dicing vegetables to uniform pieces so each bite has consistent texture. For dense vegetables like carrots or green beans, blanch briefly to soften the interior while preserving surface crunch.
Toast mustard seeds in a dry pan until they pop for 20–30 seconds, then sauté onion, garlic, and jalapeño briefly to build aromatic depth. Toasting releases essential oils and changes the sensory profile of the seeds.
Cooking and combining
In a medium saucepan, combine vinegar, sugar, salt, celery seed, and turmeric; heat until sugar dissolves. Stir in the blanched vegetables and aromatics, then simmer 8–12 minutes until the relish thickens slightly but still retains bite.
Remove from heat and pack into sterilized jars. Cool to room temperature before sealing and refrigerating; flavors continue to meld as the relish rests. If you plan to preserve long-term, follow validated processing times in a water bath and consult guidance on Canning.
Tips for Success
Use a variety of textures: pair crisp cucumbers or peppers with firmer carrots or cabbage for contrast. Different vegetable mixtures change water content, so adjust cooking time and salt accordingly.
Swap spices thoughtfully: caraway or coriander add sweetness, smoked paprika introduces warmth, and fresh herbs bring brightness after cooking. Keep notes of successful combinations so you can reproduce a favorite Veggie Relish in later batches.
Refer to our internal guides for related technique: Pickling basics and Canning guide provide procedural checklists and troubleshooting tips for home preservation.
Creative Serving Ideas to Showcase Your Vibrant Veggie Relish
Use this relish as an immediate flavor lift: spoon over burgers, grilled chicken, or fish for a tangy counterpoint. Its crunchy texture pairs well with creamy cheese spreads and toasted bread.
Beyond sandwiches, fold a spoonful into mayonnaise or yogurt to make a quick spread or dip. Try layering relish over deviled eggs or stirring into grain bowls for acid contrast and crunch; a little goes far.
Storage, Safety, and Shelf Life
Refrigerated, properly prepared Veggie Relish keeps about 2–3 weeks when stored in a clean, airtight jar. Always use a clean spoon to serve and watch for changes in color, smell, or texture as signs of spoilage.
For longer-term storage, process sealed jars in a boiling water bath following verified canning directions and recommended acid levels. For broader context on techniques and safety, review Food preservation.
Nutritional Snapshot
This relish is low-calorie and vegetable-forward. A typical 2-tablespoon serving runs about 20–30 kcal depending on sugar and vinegar ratios and delivers fiber and micronutrients from the vegetables.
Adjust sugar and salt to meet dietary needs. Reducing sugar lowers calories but increases perceived acidity; balance with fruit or a small amount of honey if you prefer milder sharpness.
Q&A
Homemade Veggie Relish beats many store options because you control freshness, salt, and sugar. You can tune texture and spice to match specific dishes.
Common vegetables include cucumbers, bell peppers, carrots, cabbage, and onions. Experiment with ratios to achieve your preferred crunch-to-sauce balance and keep a simple log for repeatable success.
FAQ
What vegetables work best for relish?
Hard, crunchy vegetables like carrots, peppers, cucumbers, and cabbage hold texture during cooking. Softer vegetables can be used, but expect a softer final texture unless you reduce cooking time.
How long does homemade relish keep in the fridge?
Refrigerated, Veggie Relish usually stays good for 2–3 weeks when stored in sterilized, sealed jars and handled with clean utensils. Always check for off odors or visible mold before use.
Can I make this relish shelf-stable?
Yes. You can process jars in a boiling water bath to make them shelf-stable, provided you follow validated canning times and acidity levels. If unsure, keep jars refrigerated instead of canning.
How do I balance tartness and sweetness?
Start with a 1:2 ratio of sugar to vinegar by volume and adjust to taste. Add sugar in small increments, tasting after it dissolves, and use honey or fruit for different flavor profiles if needed.
Any tips for scaling the recipe?
Scale ingredients proportionally, but test small batches first when changing spice blends. Larger batches need consistent stirring and careful heat control to ensure even texture across the whole pot.
See also: For practical steps and related recipes, check internal collections like our Condiments tag and archived relish experiments for more ideas and photographs.
Recommended Reading:
- Tiny Tastes: 7 Expert Tips for Crafting Small-Batch Chutney
- 10 Expert Savory Fixes to Tame Sweet Chutney Overload
- 7 Essential Steps to Master Classic New England-Style Hot Dog Relish


