There’s something magical about the warm, comforting aroma of freshly baked bread wafting through your kitchen-a timeless invitation to slow down and savor life’s simple pleasures. Yet, the thought of kneading dough for hours can often keep even the most enthusiastic home bakers at bay. Enter no-knead bread: a revolutionary approach that transforms humble ingredients into crusty, golden loaves bursting with flavor, all without the elbow grease. In this ultimate guide, we’ll unlock the secrets behind no-knead bread, exploring how patience and minimal effort can yield maximum taste. Whether you’re a novice baker or a seasoned pro, prepare to embark on a delicious journey where less truly becomes more.
Unlocking flavor through no-knead bread baking reveals how simplicity meets culinary craftsmanship. This effortless approach seduces with tender crumb, beautifully blistered crust, and deeply developed aromas born from patient fermentation. As a personal favorite, I’ve witnessed home bakers transform basic pantry staples into artisan-quality loaves, gaining confidence and joy in every fold and rise.
Prep and Cook Time
- Preparation: 15 minutes
- Fermentation (Slow Rise): 12 to 18 hours
- Baking: 45 minutes
- Total Time: Approximately 13 to 19 hours
Yield
1 large round loaf, about 900 grams, serves 8
Difficulty Level
Easy – Ideal for beginners but also rewarding for seasoned bread bakers
Ingredients
- 3 cups (375g) all-purpose flour, sifted
- 1 ¼ teaspoons fine sea salt
- ¼ teaspoon instant yeast
- 1 ½ cups (360ml) cool water, room temperature
Instructions
- Combine dry ingredients: In a large mixing bowl, whisk together flour, sea salt, and instant yeast to ensure even distribution.
- Add water and mix: Pour the cool water into the dry mix. Using a wooden spoon or spatula, stir vigorously until a shaggy, sticky dough forms. The dough will look rough and wet-that’s perfect.
- Initial rest and fermentation: Cover the bowl tightly with plastic wrap or a damp towel. Leave it at room temperature (ideally 70°F/21°C) for 12 to 18 hours. This slow fermentation develops flavor complexity and texture.
- Check for readiness: After fermentation, the dough should have doubled in size and be dotted with bubbles. It will smell slightly tangy and yeasty.
- Shape and rest: Lightly flour a clean surface. Gently scrape the dough onto it. Using floured hands, fold the edges toward the center to form a rough ball-no kneading required. Transfer dough seam-side down onto a floured kitchen towel. Cover and rest 1 hour.
- Preheat oven and Dutch oven: Place a heavy lidded Dutch oven into your oven and preheat to 450°F (232°C) for at least 30 minutes.
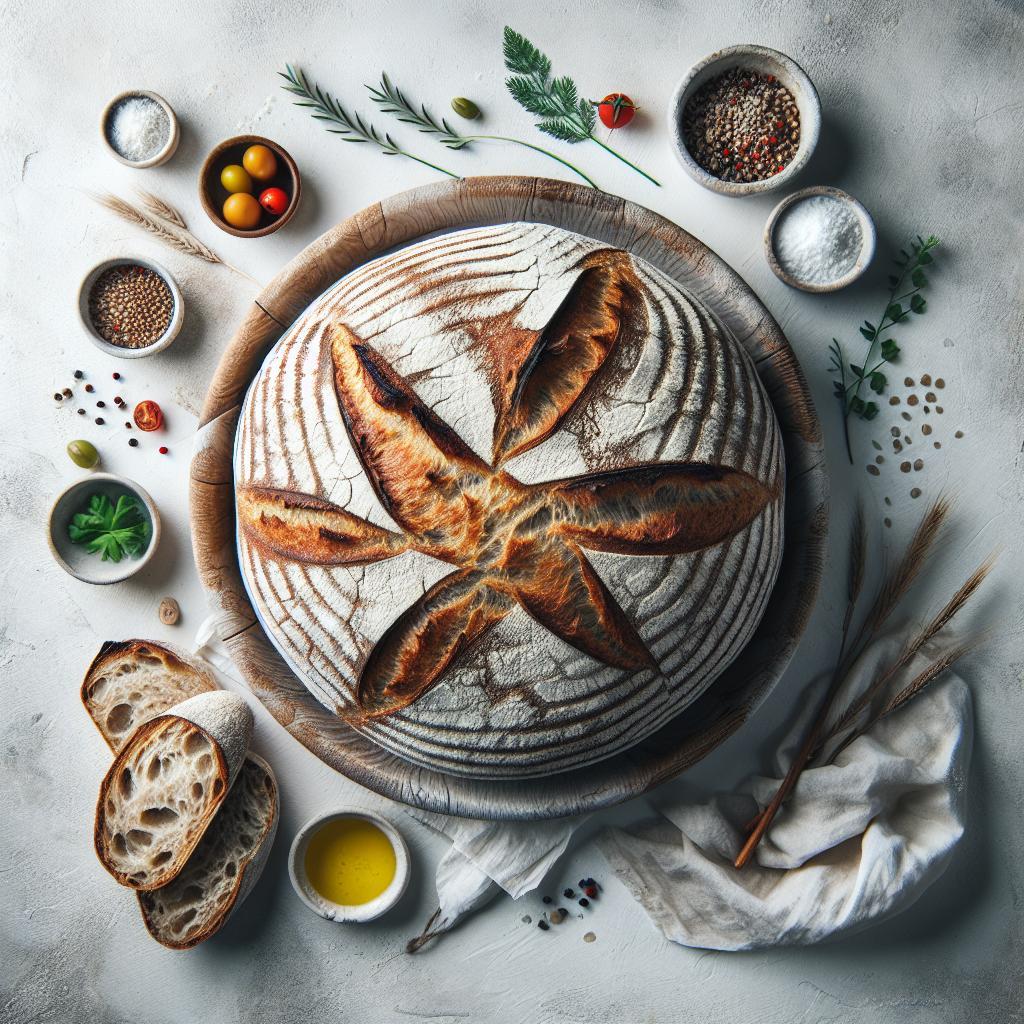
- Transfer dough and score: Carefully remove the hot Dutch oven. Using parchment paper, lift dough and place it into the pot. Score the dough with a sharp knife or lame, about ½ inch deep, to control expansion.
- Bake covered: Replace the lid and bake for 30 minutes. This traps steam, enhancing crust development.
- Bake uncovered: Remove lid and bake an additional 15 minutes, until the crust deepens to a mahogany color and crackles.
- Cool completely: Transfer loaf to a wire rack to cool for at least 1 hour before slicing. This step finishes texture setting and flavor maturation.
Tips for Success
- Use high-quality unbleached flour for optimal gluten strength and full flavor expression.
- Slow fermentation is the secret to unlocking flavor-avoid rushing this phase.
- If your kitchen is cold, extend fermentation time or use a slightly warmer spot, but keep it below 80°F to prevent overproofing.
- Experiment with adding whole wheat or rye flour up to 30% for rustic complexity.
- Keep the dough wet and sticky; it encourages airy crumb and thicker crust.
- Use a Dutch oven with lid to replicate bakery steam conditions essential for no-knead crust perfection.
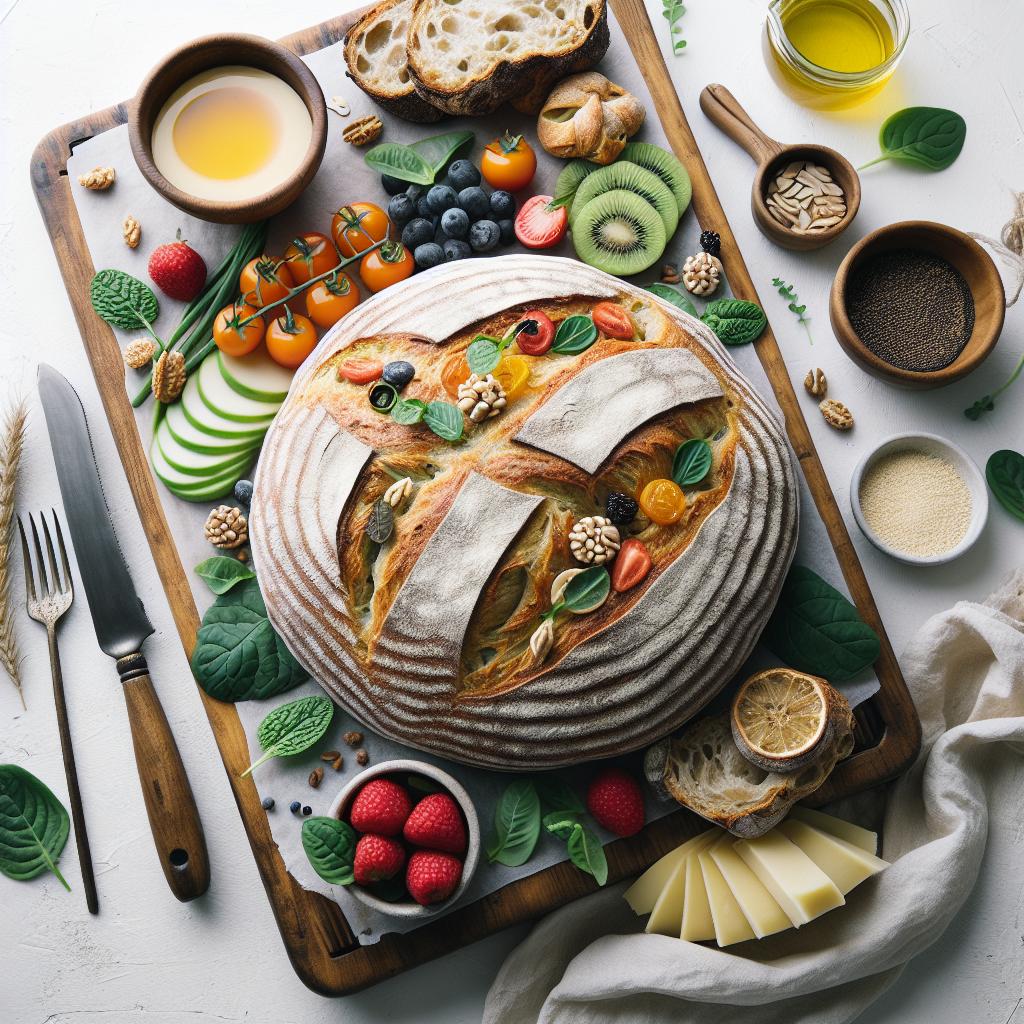
Serving Suggestions
Slice your loaf thick and enjoy the satisfying crunch of the crust alongside a soft, chewy crumb. This bread pairs beautifully with creamy cheeses, herb-infused olive oil, or a robust tomato-basil bruschetta. For breakfast, toast thick slices and spread with honey butter or homemade jam, garnishing with fresh herbs for contrast. An elegant dinner starter, serve with olive tapenade or roasted garlic for dipping.
| Nutrient | Per Serving (1/8 Loaf) |
|---|---|
| Calories | 200 kcal |
| Protein | 6 g |
| Carbohydrates | 42 g |
| Fat | 1 g |

For a deeper dive into bread science and techniques, explore our Bread Science Basics article. Unlocking flavor in no-knead bread is truly about patience, precision, and the pleasure of a hands-off approach yielding spectacular results.
Q&A
Q&A: Unlocking Flavor – The Ultimate Guide to No-Knead Bread
Q1: What exactly is no-knead bread, and how does it differ from traditional bread-making?
A1: No-knead bread is a revolutionary approach to bread-making that skips the labor-intensive kneading process. Instead, it relies on a long fermentation period to develop gluten naturally, resulting in a crusty, flavorful loaf with minimal hands-on effort. Unlike traditional bread, which requires vigorous kneading to build structure, no-knead bread uses time and patience as its secret ingredients.
Q2: Why does letting the dough rest for hours enhance the flavor of no-knead bread?
A2: Time is the unsung hero of no-knead bread. During the extended resting period-often 12 to 24 hours-the yeast and wild bacteria slowly ferment the flour’s natural sugars. This slow fermentation deepens the flavor profile, creating rich, complex notes that simply can’t be rushed. It’s like letting your dough tell its own delicious story.
Q3: Can beginners successfully bake no-knead bread, or is it a technique for advanced bakers?
A3: No-knead bread is incredibly beginner-friendly! Its forgiving nature means you don’t need expert skills or fancy equipment. All you need is patience, a mixing bowl, and a Dutch oven or covered pot to bake in. It’s the perfect entry point for anyone wanting to unlock the magic of homemade bread without fear of failure.
Q4: What type of flour works best for no-knead bread?
A4: While all-purpose flour can do the trick, bread flour, with its higher protein content, is often the star player in no-knead recipes. It helps build a stronger gluten network during the long fermentation, contributing to that coveted chewy texture and open crumb structure. Whole wheat and rye flours can be introduced for a hearty twist, but they may require adjustments in hydration.
Q5: How important is the baking vessel in the no-knead bread process?
A5: The baking vessel is crucial! A heavy, lidded pot like a Dutch oven traps steam during baking, creating the perfect environment for crust development. The steam helps the dough expand and prevents premature crust formation, resulting in that gorgeously blistered, deep brown exterior. Without it, your bread might bake unevenly or lose its signature crunch.
Q6: Can I experiment with adding herbs, cheeses, or other ingredients to my no-knead bread?
A6: Absolutely! No-knead bread is a fantastic canvas for creativity. Fold in fresh herbs, chopped olives, shredded cheese, or even roasted garlic during the mixing phase. Just be mindful not to overload the dough, as too many add-ins can affect the rise and texture. Start small and let your taste buds guide the way!
Q7: What are the common pitfalls to avoid when making no-knead bread at home?
A7: Patience, precision, and proper temperature control are key. Avoid rushing the fermentation-you’ll miss out on flavor. Don’t skimp on salt, as it enhances taste and tightens gluten structure. Also, be cautious about dough hydration; too wet and it becomes unmanageable, too dry and the crumb might turn dense. Lastly, preheat your baking vessel to ensure that spectacular oven spring.
Q8: How does no-knead bread keep its moist crumb despite the crusty exterior?
A8: The magic lies in the moisture trapped inside the dough and the steam created in the closed baking vessel. While the crust crisps and darkens outside, the interior bakes gently, retaining moisture for a tender, airy crumb. It’s the perfect balance between crunch and softness-a true textural triumph.
Q9: Can no-knead bread be stored or frozen for later use?
A9: Yes! Store your bread wrapped in a linen bag or paper at room temperature for up to two days to maintain the crust’s crispness. For longer storage, slice and freeze your loaf in airtight bags. When ready, reheat in the oven to revive that freshly baked magic. No need to waste the fruits of your patience!
Q10: What’s the biggest takeaway for someone diving into no-knead bread for the first time?
A10: Embrace the slow rhythm of bread-making and trust the process. No-knead bread teaches us that sometimes, less hands-on effort leads to more rewarding results. With simple ingredients, a bit of time, and a dash of curiosity, you can unlock layers of flavor and texture that rival the best artisan loaves-all from your own kitchen. Happy baking!
In Summary
As you’ve discovered, the art of no-knead bread is more than just a shortcut; it’s a gateway to unlocking deep, complex flavors with minimal effort. By embracing patience and simplicity, you invite a symphony of aromas and textures to rise in your own kitchen. Whether you’re a seasoned baker or just beginning your bread-making journey, this ultimate guide has shown you that sometimes, the best things in life are worth waiting for-especially when they come fresh and golden from your oven. So roll up your sleeves, mix your ingredients, and let the magic of no-knead bread transform your baking experience, one crusty loaf at a time.