
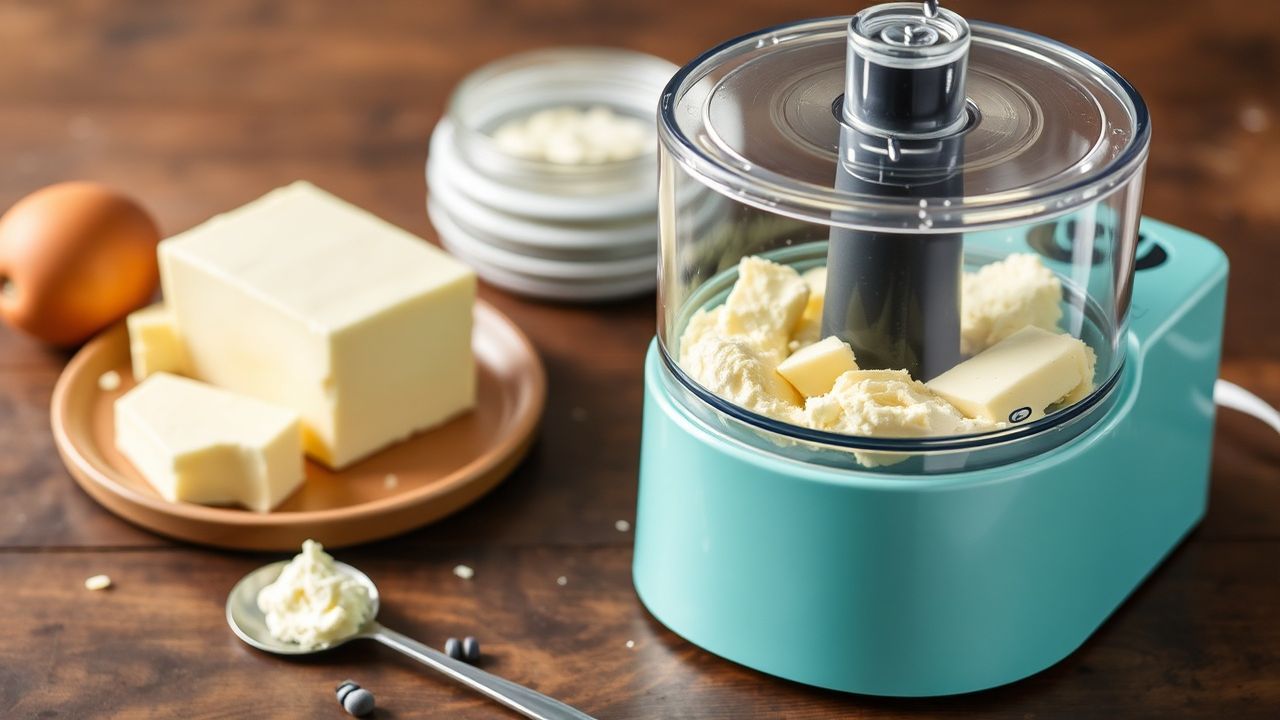
There is a simple, reliable technique to turn chilled heavy cream into fresh butter in minutes using a food processor. This method yields creamy, high-quality butter you can season and shape at home with consistent results.
- Ready fast: Fresh butter from cream in roughly 7–10 minutes of processing.
- Minimal gear: One food processor bowl and a metal blade are all you need.
- Control flavor: Salt, herbs, or sweet additions create custom compound butters.
- Byproduct value: Save the buttermilk for baking or dressings.
Quick Overview
This guide breaks the process into clear steps, explains the science behind separation, and lists practical tips for storage and flavoring. The procedure relies on mechanical agitation to collapse fat globules into a cohesive mass while expelling liquid buttermilk.
The technique benefits from understanding dairy structure and equipment behavior, which reduces trial-and-error. For background on dairy terms, see the cream (dairy) entry.
Prep and Cook Time
Preparation: 5 minutes for chilling and assembly. Gather a clean metal blade, cold bowl, and measuring tools before you start to streamline the process.
Processing and Churning: 7–10 minutes depending on appliance power and cream temperature. The machine first forms whipped cream, then curdles into butter and buttermilk—listen for a distinct change in sound and texture.
Yield
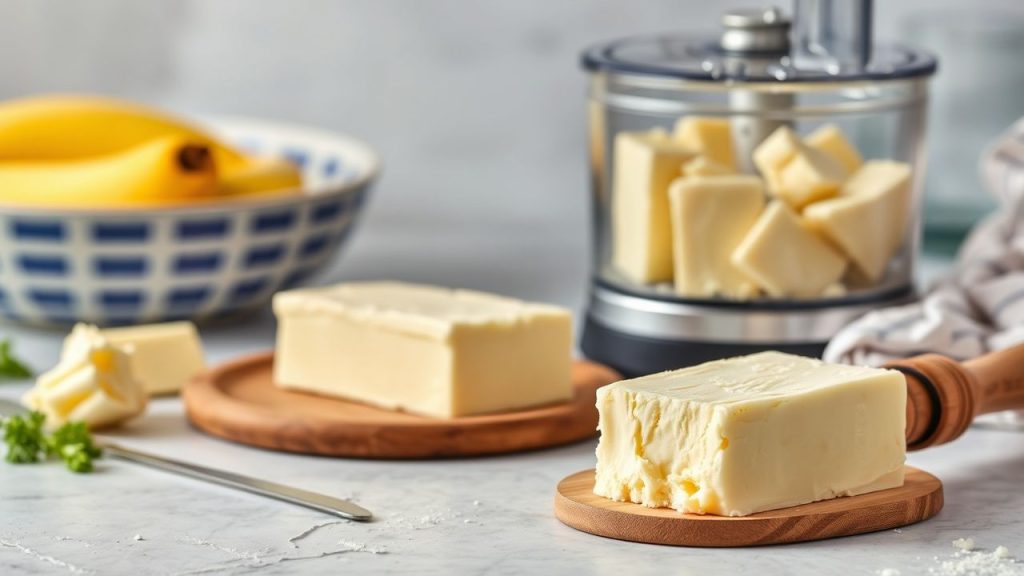
Expect roughly 1 cup of butter (about 225 grams) from 2 cups of heavy cream. Yield varies slightly with cream fat percentage and how thoroughly you wash the butter solids.
If you prefer a firmer butter, chill the finished block before final shaping; this slightly reduces measured volume but improves handling for slicing and spreading. Keep drained buttermilk for recipes that benefit from acidity.
Difficulty Level
Easy: the method is repeatable and forgiving for home cooks and professional cooks alike. Little specialized skill is required beyond monitoring texture and temperature.
Success hinges on two variables: cold temperature and sufficient agitation. Both are easy to control, which is why the food processor method reliably produces consistent results.
Ingredients
2 cups chilled heavy whipping cream (higher fat cream yields richer butter). Use fresh, high-quality cream for the best flavor and texture; for basic reference see dairy production notes.
1/2 teaspoon fine sea salt (optional). Have a bowl of cold ice water ready for rinsing the butter solids to remove residual buttermilk.
Equipment
Use a food processor fitted with a sharp metal blade and a bowl sized to allow the cream to move freely. A higher-wattage motor shortens processing time and reduces heat buildup.
Other items: a fine-mesh strainer or cheesecloth to drain buttermilk, spatulas for kneading, and parchment or a butter mold for shaping. If you want context on small appliance design, consult the food processor overview.
Instructions
1. Chill equipment and cream. Place the bowl, lid, and blade in the fridge for 10–20 minutes, then return the cream to the coldest part of the refrigerator until just before use. Cold components speed the transition from whipped cream to butter solids.
2. Process the cream. Pour the chilled cream into the processor and run at medium-high. The cream moves: soft peaks, firm peaks, then visible curdling and separation into butter solids and pale buttermilk.
3. Separate and drain. Pour off the buttermilk through a strainer and reserve it for baking or pancakes. Squeeze gently and repeat straining until the liquid flow is mostly clear.
4. Rinse and knead. Add ice water to the butter solids and pulse gently a few times to rinse residual buttermilk; repeat until the rinse water runs clear. Press and fold the butter with a spatula to expel remaining liquid for longer shelf life.
5. Season and shape. Add salt or flavorings and pulse briefly for even distribution, or mix by hand for delicate inclusions like herbs. Shape the butter into a block or mold, chill, and wrap for storage.
Quality control tip: if your processor heats during extended runs, stop and chill the bowl briefly; overheating softens fats and alters texture. Proper pauses prevent greasy, smeared butter and maintain gloss and firmness.
Science of Separation
Butter forms when mechanical agitation ruptures milk fat globule membranes and fat coalesces into a continuous phase, expelling liquid buttermilk. This physical process is a classic example of phase inversion in food emulsions; a practical primer appears in technical resources on butter.
Processing speed, temperature, and fat content dictate how quickly the emulsion breaks. Cold temperatures help fats stay solid long enough to collide and form a stable mass instead of becoming greasy smear.
[h2]Rinse and Storage Best Practices
Rinsing removes water-soluble lactose and proteins that promote microbial growth and off-flavors. Use several short rinses with ice water, pressing between rinses until the water runs clear.
Store the butter wrapped tightly in parchment or in an airtight container in the refrigerator for up to two weeks, or freeze up to three months. Labeling with the date helps track freshness in a busy kitchen.
Tips for Success
Start cold: Cold cream and chilled equipment accelerate separation and produce a firmer butter. Metal bowls and blades retain chill better than plastic for this task.
Watch texture, not time: Times vary by processor power and cream composition—stop when the solids clump and liquid separates. Save the buttermilk for pancakes, biscuits, or dressings to get the most value from the batch.
Flavoring advice: fold in minced herbs, roasted garlic, citrus zest, or honey after rinsing and before final shaping. Add delicate inclusions by hand rather than by processor pulses to preserve texture and distribution.
Serving Suggestions
Serve fresh butter at room temperature on crusty bread, warm corn, or freshly baked rolls. Compound butters work well: a little garlic and herbs transform plain bread into an elevated side dish.
Use homemade butter in high-visibility dishes where its fresh flavor shines: pan-finished fish, buttered mashed potatoes, or brushed over roasted vegetables. A simple garnish of chopped chives or flaky salt enhances presentation and perceived richness.
Nutritional Information per 1 Tablespoon Serving
The table below shows typical macronutrient values for a single tablespoon of butter. Values vary by cream fat percentage and added ingredients like salt or herbs.
| Nutrient | Amount |
|---|---|
| Calories | 102 |
| Protein | 0.1g |
| Carbohydrates | 0.0g |
| Fat | 11.5g |
Remember that flavor additions change the nutrition profile; for instance, honey increases carbohydrates while herbs add negligible calories. Use the buttermilk produced in the process as a low-cost ingredient swap in batters to increase tenderness and acidity.
Final Notes
Making butter at home with a food processor is fast, economical, and customizable. It rewards modest effort with superior flavor and control over ingredients compared with many commercial products.
Keep experimentation small at first—try a half batch to dial in processing times for your machine and preferred texture. Once comfortable, scale confidently and create signature compound butters to elevate your regular meals.
FAQ
How long does it take to make butter in a food processor?
Expect 7–10 minutes of active processing after the cream reaches firm peak stage. Total time including prep is roughly 15 minutes.
Can I use room-temperature cream?
Cold cream produces better separation and firmer butter; room-temperature cream may whip longer and yield a softer result. Start cold for consistent outcomes.
What do I do with the buttermilk?
Reserve the buttermilk for baking pancakes, biscuits, or marinades where its tartness enhances texture. It stores in the refrigerator for several days or can be frozen for later use.
How should I store homemade butter?
Wrap in parchment or store in an airtight container in the fridge for up to two weeks. Freeze for longer storage and thaw in the refrigerator before use.
Is homemade butter healthier than store-bought?
Homemade butter contains no preservatives and lets you control the salt and any added flavors. Nutrient-wise it matches the fat profile of the cream used; choose high-quality cream to maximize taste.
See also: homemade butter


