
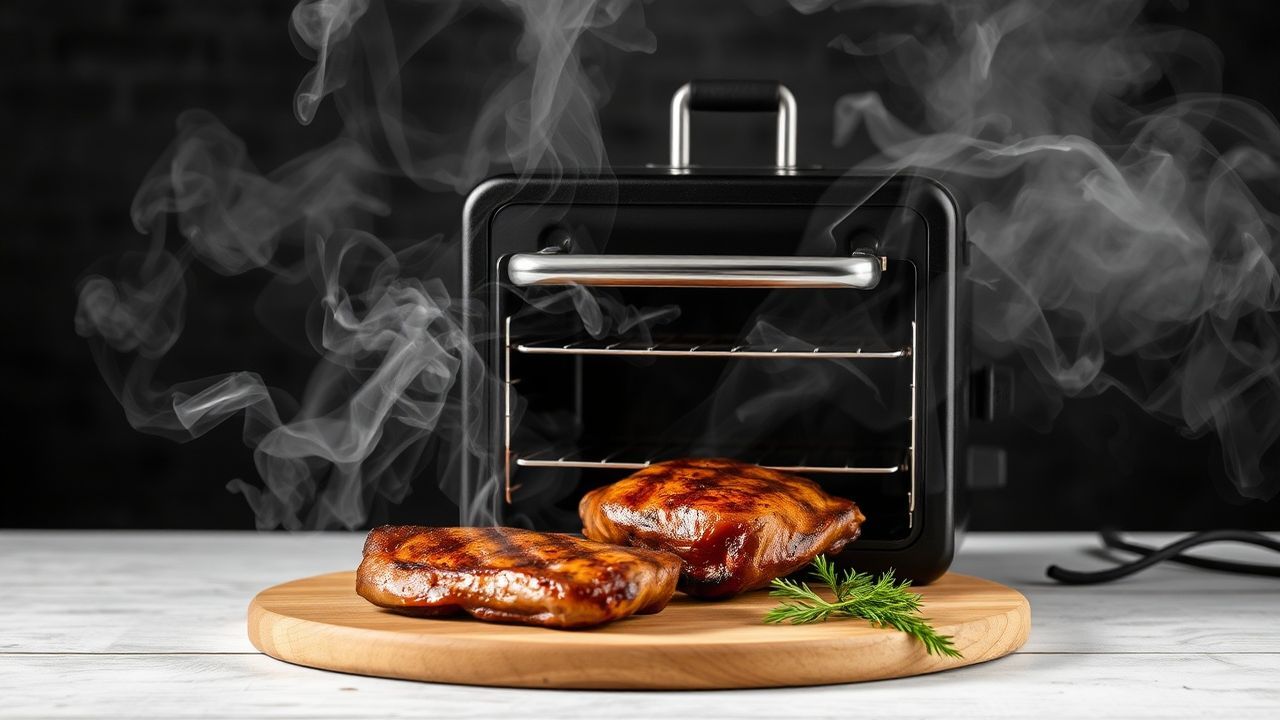
Electric smokers should send steady, flavorful smoke through your meat, not a timid wisp. When smoke output drops, the result is weak flavor and frustrated plans for a perfect bark and smoke ring.
- Diagnose wood, temperature, airflow, and electrical faults first.
- Fix chip preparation and venting for immediate improvement.
- Maintain trays, elements, and seals to restore long-term performance.
- Use targeted tweaks—humidity and chip size—for richer smoke delivery.
How an electric smoker creates smoke
Electric smokers produce smoke by heating wood chips or pellets near a controlled heat source so they smolder rather than burn. That smolder releases volatile compounds that deposit flavor on food as they circulate.
Understanding the chemistry helps troubleshoot. Smoldering involves slow surface oxidation and partial combustion, which differs from open flame burning that creates harsher, acrid compounds. For technical background on partial oxidation and flame chemistry see combustion.
Common causes of weak smoke and what they tell you
Wood type and freshness
Using old, overly dry, or inappropriate wood will kill smoke density. Softwoods, treated lumber, or resinous pieces produce poor, unpleasant smoke and can leave chemical residues.
Stick to clean hardwoods and fresh chips. For context on wood varieties and uses, consult the general properties of wood.
Chip size and preparation
Chip size dictates burn rate. Large chunks and logs smolder slowly and produce continuous smoke, while small chips flare and die fast. Both can be useful; the trick is matching size to cook time.
Soaking chips affects how they smoke—brief soaking delays ignition; long soaking can reduce volatile release. Experiment with soaked versus dry chips to control smoke tempo.
Temperature control
Temperature directly affects wood behavior. Too low and chips fail to smolder consistently; too high and they combust, producing thin or bitter smoke. Electric elements must hold a stable setpoint.
A stable range of roughly 225–275°F usually gives clean, steady smoke for long cooks. Use a reliable probe thermometer to verify actual chamber temperature because built-in gauges often read high or low.
Airflow and venting
Air movement drives smolder. If vents are closed or clogged, chips can suffocate and produce stale, thin smoke. Excessive draft, conversely, fans flames and burns wood too fast.
Aim for controlled, partial airflow: intake open enough to feed oxygen, exhaust open enough to pull smoke across the meat. If the smoker has adjustable dampers, small, incremental changes make a big difference.
Residue, tray condition, and seals
Grease, ash and compacted old wood in trays block heat transfer and upset air channels. A dirty smoke tray prevents chips from heating evenly, reducing total smoke output.
Inspect seals and door gaskets. Leaks let smoke escape before it flavors the meat and destabilize temperature control. Clean trays and replace damaged gaskets on schedule.
Electrical and element issues
Electric smokers depend on a stable heating element. If the element weakens or wiring suffers corrosion, the smoker may struggle to reach or hold target temperatures and your chips won’t smolder properly.
Check for loose plugs, worn cords, and heat element discoloration. If power fluctuates or the element shows warping, that component likely needs service or replacement.
Step-by-step troubleshooting checklist
Work through this checklist in order. Fix the easiest, most common items first and test the smoker after each change to track improvements.
Keep a simple notebook of results—temperature, wood type, chip prep, vent positions—so you replicate what works.
- Confirm power and temperature: Verify outlet voltage and let the smoker preheat for 20–30 minutes to settle.
- Inspect the chip tray: Empty old chips and ash. Clean metal contacts and replace warped trays.
- Switch wood type: Use fresh hardwood chips and eliminate softwood or contaminated materials.
- Adjust airflow: Open intake slightly and set exhaust to draw smoke across the meat.
- Test chip prep: Try dry chips for a quick blast, or lightly soaked chips for steadier smoke.
- Monitor chamber temp: Use an external probe to confirm the actual cooking environment.
If you follow each step and the smoker still underperforms, move to component-level inspection or consult authorized service.
Advanced adjustments and pro techniques
After basic fixes, use layered techniques to build denser smoke: staged wood additions, humidity control, and strategic chip placement. These techniques shape flavor without adding harshness.
Adding a water pan increases humidity and stabilizes temperature, which promotes smooth smoke adhesion to meat. For more on moisture interactions with air, see the science of humidity.
Staging chips and chunks
Feed chips in waves. Start with a dry burst to establish smoke, then add larger chunks to maintain a low-temperature smolder. Position smaller pieces near the element to light quickly and chunks farther away for longevity.
This staggered approach avoids a long initial flare followed by silence later in the cook. It also reduces the need to open the door mid-cook, which wastes smoke.
Chip mixes and blends
Blend woods for balanced smoke: sweeter fruitwoods paired with a strong backbone like hickory gives depth without bitterness. Avoid overpowering one-note woods for long smokes.
Refer to the fundamentals of smoking as a culinary method for pairing wood styles with meat types at smoking (cooking).
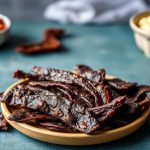
Serving and flavor notes
Even with great smoke, resting matters. Let smoked cuts rest to redistribute juices and let surface smoke compounds settle into the meat structure.
Pair smoky meats with acid or bright sides—vinegary slaw, pickles, or citrus—to cut through richness and highlight smoky notes. A small finishing brush of sauce after resting preserves the smoke aroma and adds a glossy finish.
FAQ
Why does my electric smoker barely produce any smoke on startup?
On startup, the element needs time to reach steady heat. Preheat the smoker for 20–30 minutes, use fresh chips placed correctly, and keep vents partially open to establish proper smoldering.
Can I soak chips to improve smoke volume?
Soaking delays ignition and can smooth burn rate, but it can also reduce the immediate intensity of aromatic compounds. Use light soaking for longer sessions and dry chips for short, intense smoke bursts.
How often should I clean the chip tray and smoke chamber?
Clean trays and remove ash after every few cooks and deep-clean the chamber monthly for regular use. Heavy buildup blocks heat and airflow and leads to poor smoke quality and off-flavors.
Will changing vents really make a difference?
Yes. Small vent adjustments change oxygen flow and combustion behavior. Open intake slightly, and adjust exhaust to let smoke move freely across your food without creating a draft that burns chips too fast.
When should I replace the heating element?
Replace the element if it fails to reach or hold set temperatures, shows visible warping, or if the smoker repeatedly underperforms after other fixes. For safety, have electrical parts inspected by a professional.
See also: electric smoker


