
Yeast starters power both bread and beer. Keep yours vigorous by using simple preservation methods that match your baking or brewing rhythm.
- Short saves: Refrigeration slows activity for up to a week with minimal feeding.
- Long saves: Drying or freezing creates reliable backups for months.
- Routine wins: Scheduled feedings and clean containers maintain peak activity.
Yeast Preservation Fundamentals Unveiled
Yeast are living single-celled fungi that consume sugars and produce carbon dioxide and alcohol during fermentation. Learn how cell physiology and environmental control extend viability and predict performance.
Preservation targets metabolism, contamination and structural damage to cells. Controlling temperature, moisture and nutrient availability lets you slow or pause yeast activity without killing the culture.
For background on the organisms we manage, read the yeast overview. For the biochemical process, see the fermentation entry.
Prep and Cook Time
Prepare your starter refresh and storage setup in about ten minutes. Rehydration and revival typically take six to eight hours depending on temperature and starter strength.
Short refrigeration holdbacks need minimal prep; long-term drying or freezing requires an extra 20–40 minutes of careful handling. Plan time slots so you feed the starter well before use to restore peak activity.
Typical Timings
- Starter refresh and storage setup: 10 minutes
- Yeast rejuvenation after storage: 6–8 hours
- Drying session: 30–60 minutes active, then 12–24 hours to fully desiccate
- Freezing prep: 20–30 minutes to portion and protect
Yield
A single maintenance cycle will typically yield about one cup of active starter ready for baking. You can scale up easily by multiplying the feedings and storage aliquots.
When creating reserves for future use, dry or freeze in small portions so you can thaw or rehydrate only what you need. That preserves the remaining culture and reduces waste.
Difficulty Level
These preservation methods rate as intermediate: they require attention to hygiene, basic temperature control and careful measurements. You do not need lab equipment, but precise handling improves outcomes substantially.
If you plan freezing with cryoprotectants or long-term banking, expect a modest learning curve. Even so, a beginner can follow step-by-step instructions to get reliable results within a few tries.
Ingredients
Use simple, food-grade ingredients and high-hygiene practices. Fresh flour, filtered water and a small amount of sugar or malt extract support yeast activity during revival.
Avoid additives that suppress growth, such as high concentrations of salt or alcohol. When freezing, include a protective agent like glycerol at low percentage to reduce ice damage when possible.
- 1 cup unbleached all-purpose flour
- 1/2 cup filtered water, lukewarm (70–75°F / 21–24°C)
- 1 teaspoon active dry yeast or 2 tablespoons mature wild starter
- 1 tablespoon natural sugar or malt extract to boost activity
Instructions
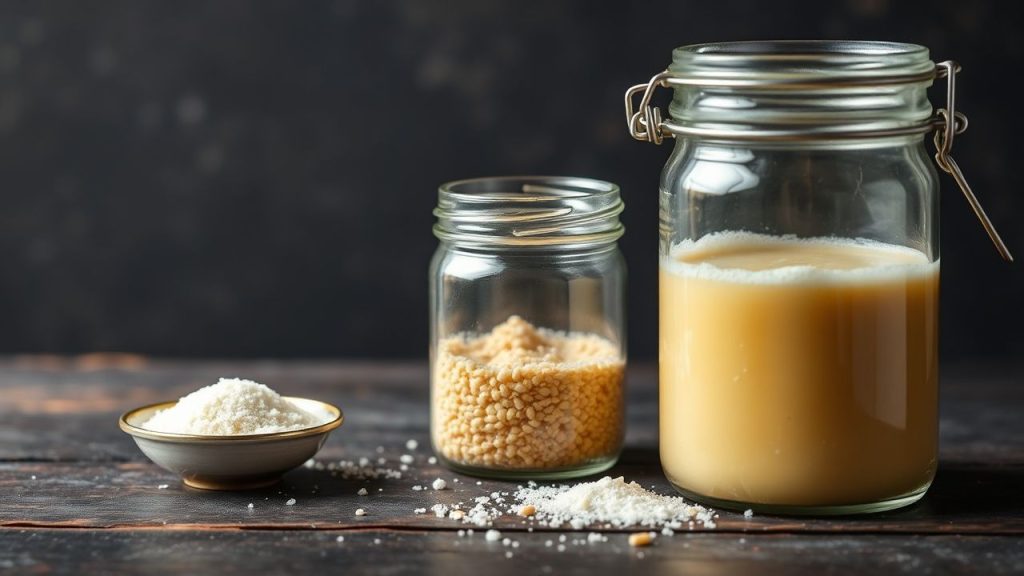
Maintain strict cleanliness: sanitize jars, utensils and your workspace to reduce contamination risk. Use glass or food-grade plastic containers and avoid reactive metals that can leach into acidic starters.
Follow a measured feeding schedule and choose a preservation path that fits how often you bake or brew. The step list below covers short-term refrigeration, drying and freezing.
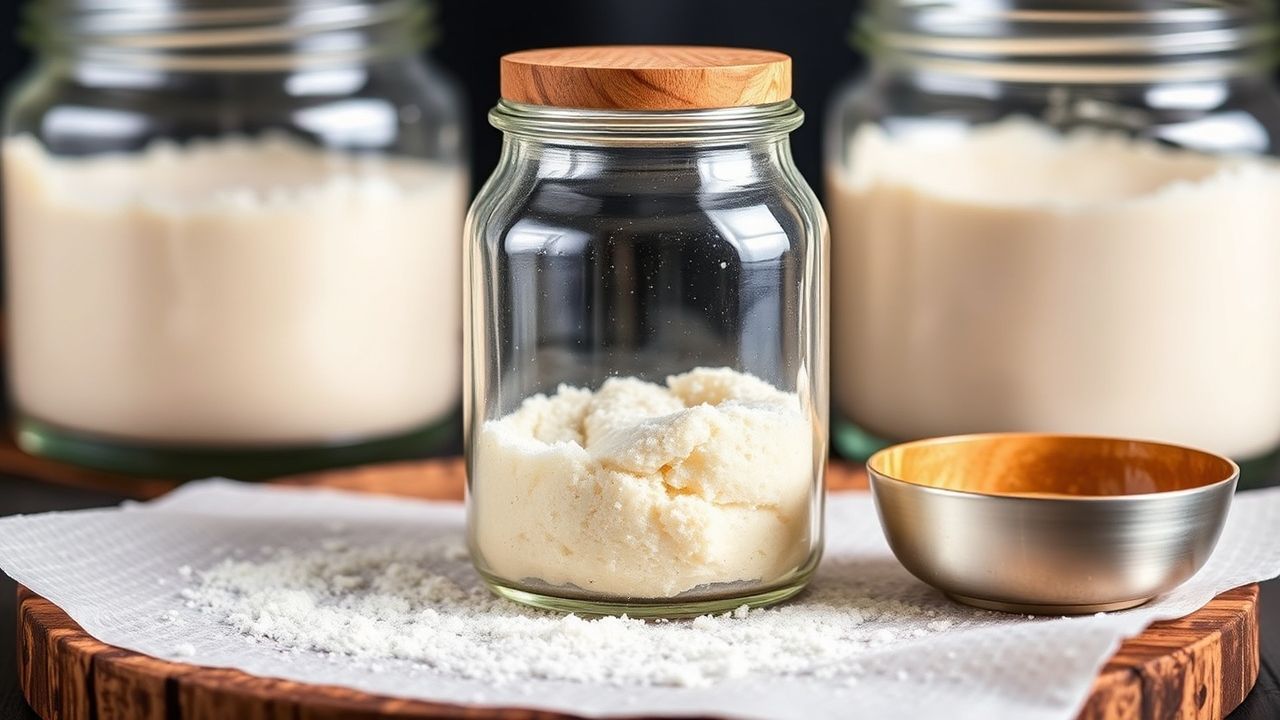
- Prepare the starter: Combine lukewarm water and sugar in a clean glass jar to awaken yeast. Stir gently until dissolved and add flour gradually to form a smooth mixture.
- Initial fermentation: Cover loosely with a breathable cloth or lid and leave at room temperature until bubbly and doubled, usually 6–8 hours. This activity confirms an active population before preservation.
- Short-term refrigeration: For up to five days, seal the jar and refrigerate to slow metabolism. Feed once before storing and again when you remove the jar to revive activity.
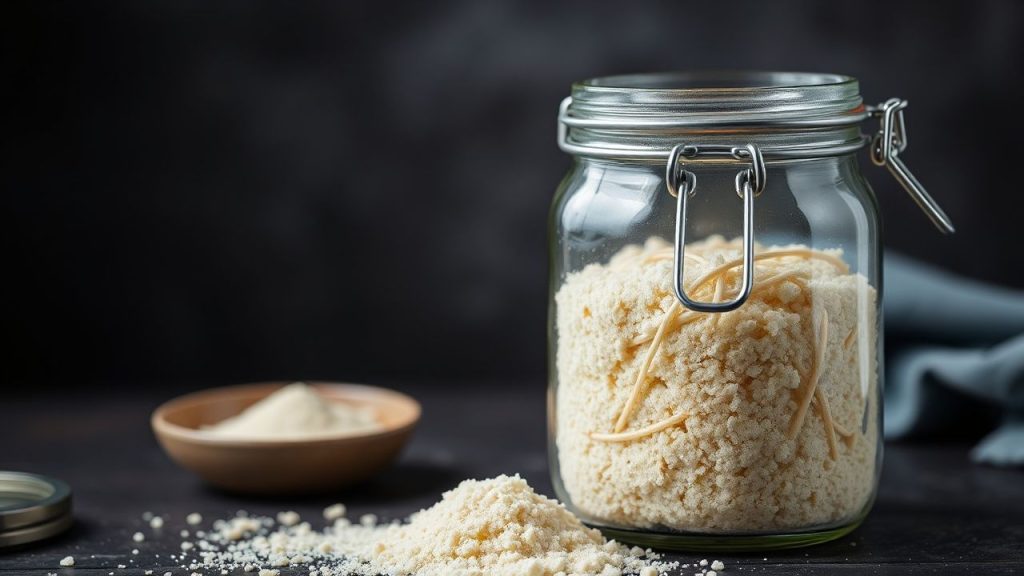
- Long-term drying: Spread thin layers of active starter on parchment and let them dry at room temperature or in a low oven (<100°F) until brittle. Break into flakes and store airtight with desiccant packs.
- Freezing: Portion starter into small vials or zip bags and add a protective sugar or 10–15% glycerol solution if available. Freeze flat for compact storage and thaw slowly at fridge temperature before revival.
- Revival: Rehydrate dried flakes or thaw frozen aliquots at room temperature, then feed with equal parts flour and water. Expect 6–8 hours for visible bubbling under warm conditions; cooler revivals take longer.
- Routine maintenance: Regularly discard half the starter and replenish with fresh flour and water to prevent nutrient depletion. Adjust discard frequency based on temperature and storage: daily at room temp, weekly in the fridge.
Tips for Success
Control temperature tightly: store refrigerated starters between 35–45°F (1.6–7°C) to minimize metabolic activity without freezing cells. Keep room-temperature fermentations around 70°F for predictable rise times.
Use wide-mouth glass jars so you can inspect activity and stir easily. Visual checks reveal fermentation vigor far faster than timing alone.
Balance moisture and airflow: a cloth plus a loose lid or plastic wrap with a small vent offers the best compromise between protection and gas exchange. Excess moisture invites mold, while too little slows yeast recovery.
Avoid metal utensils and containers for extended maintenance because acidic starters can interact with reactive metals. Instead, choose glass, stainless steel (for short contact) or food-safe plastic.
Serving Suggestions
Your preserved starter’s main job is to leaven and flavor baked goods or ferment beverages. Use revived starter for rustic artisan breads, rolls and pizza crusts to showcase air pockets and depth of flavor.
Adjust hydration and fermentation times to taste. A lively starter yields stronger tang and better oven spring; a slower, less-fed starter produces more subtle acidity.
| Nutrient | Per 100g Starter |
|---|---|
| Calories | 85 kcal |
| Protein | 3g |
| Carbohydrates | 18g |
| Fat | 0.1g |
Long-Term Storage Considerations
For multi-month preservation, drying and freezing offer the best balance of longevity and recovery reliability. Each method reduces metabolic damage in different ways and demands different revival protocols.
Drying removes water and places cells into a dormant state; freezing arrests metabolism but risks ice crystal damage without protection. For technical background, see the cryopreservation article.
When freezing, aliquot into small volumes so you thaw only what you need. Slow thawing in the fridge followed by gentle feeding yields the most consistent return to active fermentation.
When drying, control airflow and avoid direct high heat. Store desiccated starter in airtight containers with oxygen absorbers for best shelf life.
Science-Backed Troubleshooting
If a starter shows weak rise after revival, feed it twice over 24 hours and keep it warm to encourage population growth. Look for increased bubble formation and stronger aroma after the second feeding.
Contamination signs include off-colors, unpleasant smells beyond expected tang, or fuzzy growth; those batches require disposal. For reference on sourdough culture specifics, consult the sourdough entry.
FAQ
Below are common questions I encounter from home bakers and brewers. The answers focus on practical steps and realistic outcomes to keep your starter ready when you are.
How often should I feed my starter?
Feed active room-temperature starters every 12–24 hours to maintain vigor. If stored in the refrigerator, feed weekly and allow a warm revival day before use.
Can I use frozen starter right away?
Do not use frozen starter immediately after thawing. Thaw slowly in the fridge, then feed and allow several hours to regain visible activity before baking or pitching.
Is dried starter as reliable as fresh?
Dried starter can remain viable for months and reactivates well if properly dried and stored. Success depends on thin, uniform drying and protection from moisture during storage.
What causes starters to fail?
Common causes include contamination, repeated overfeeding without discarding, and extreme temperature swings. Maintain hygiene and a disciplined feed/discard routine to avoid failure.
Which containers work best?
Glass jars with wide mouths and tight lids work best for visibility and handling. Food-grade plastic also performs well; avoid reactive metals for extended storage.
Closing Notes
Practical preservation keeps your starter healthy and saves time and money over repeated reseeding. Use the methods above to match your baking and brewing cadence.
Careful handling, routine feeding and appropriate storage produce consistent rises and predictable flavor. Treat your starter as a living tool: with proper care it rewards you with reliable performance batch after batch.
See also: Yeast starter


