
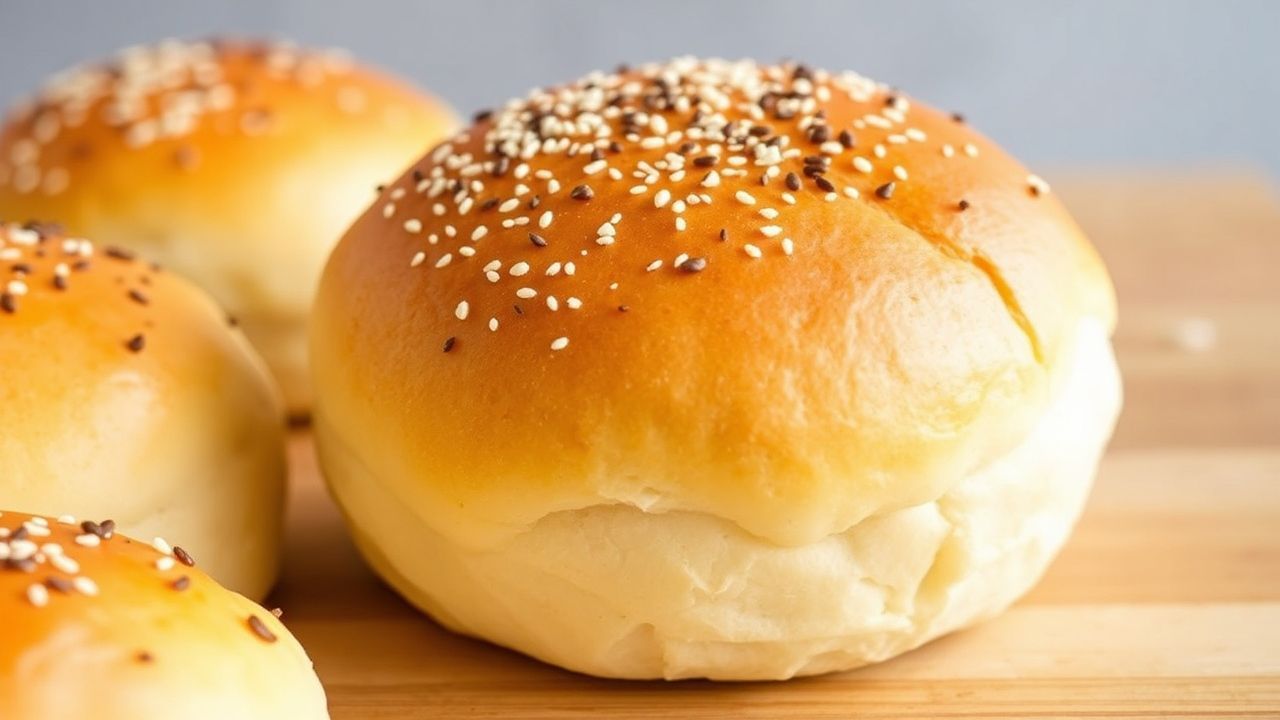
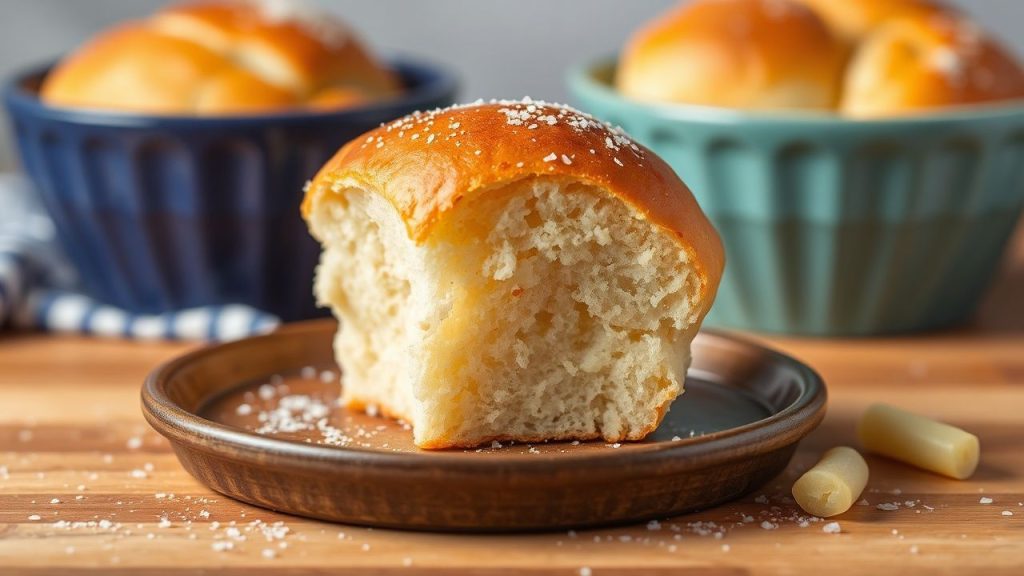
Imagine biting into a pillow-soft roll with a subtle sweetness and a whisper of tropical fruit. These fluffy Hawaiian rolls deliver that exact balance: tender crumb, golden crust, and a mild pineapple note that brightens savory plates.
- Soft, slightly sweet crumb from pineapple juice and honey.
- Manageable schedule with two rises and under 2.5 hours active time.
- High success rate when you control dough temperature and hydration.
- Versatile use for sliders, dinner rolls, or sweet-toasted breakfast buns.
Prep and Cook Time
Preparation: 20 minutes active work plus kneading. Rising: about 1 hour 30 minutes, divided into two rises. These windows let yeast ferment and the gluten relax.
Baking: 18–22 minutes at 350°F (175°C). Total elapsed time typically runs 2 hours 10 minutes, depending on proofing conditions and ambient temperature.
Yield
This recipe yields 12 standard-sized rolls, each around 60 g when portioned evenly. That size bakes up with a soft interior and a well-browned top.
If you need more, scale the batch proportionally. For sliders, divide the dough into smaller portions and reduce baking time slightly.
Difficulty Level
Medium. The sequence of mixing, kneading, and two proofing stages is straightforward, but timing and dough feel matter. A reliable instant-read thermometer and attention to dough tackiness raise success.
Beginners will succeed by following weights and the tactile cues described in the instructions. Practice improves speed and texture control.
Ingredients
Use fresh, accurately measured ingredients. Consistent flour weight and properly warmed liquids create predictable dough behavior and final texture.
Below the ingredients are grouped for clarity. Small changes affect rise and crumb, so substitute thoughtfully.
Dry Ingredients
- 3 ½ cups all-purpose flour, sifted
- 2 tbsp granulated sugar (plus 1 tbsp for yeast bloom)
- 1 tsp salt
- 2 ¼ tsp active dry yeast (1 packet)
Flour strength varies by brand; if your flour is low-protein, expect a slightly softer dough. For added nutrition, replace up to 20% with whole wheat, keeping hydration steady.
Wet Ingredients
- ¾ cup warm pineapple juice (about 110°F/45°C)
- 1/3 cup whole milk, warmed
- ¼ cup unsalted butter, softened
- 2 tbsp honey
- 1 large egg, room temperature
Pineapple juice provides natural sugar and a light tenderizing enzyme. For background on pineapple as an ingredient, see pineapple.
If you omit pineapple juice, expect a subtler flavor and slightly different dough extensibility. Replace with warm water only as a last resort.
Instructions
Follow the sequence below and watch dough temperature and feel more than the clock. Active voice steps ensure clear action and measurable outcomes.
Keep tools ready: mixing bowl, dough hook or wooden spoon, baking pan, thermometer, and a bench scraper for neat portioning.
- Activate yeast: Combine warm pineapple juice and 1 tbsp sugar. Sprinkle yeast over the surface and wait 5–7 minutes until foamy. This confirms live yeast. For context on yeast biology, consult yeast.
- Mix dry ingredients: Whisk remaining flour, sugar, and salt in a large bowl to distribute ingredients uniformly and avoid salt contact with yeast.
- Combine wet ingredients: Add warmed milk, honey, softened butter, and egg to the yeast mixture. Stir until even.
- Form dough: Add wet mix to dry ingredients. Mix with a wooden spoon or dough hook until a shaggy dough forms.
- Knead for softness: Knead on a floured surface 8–10 minutes by hand, or 6–7 minutes on medium in a mixer, until smooth and slightly tacky. Avoid adding excess flour to retain moisture.
- First rise: Shape into a ball, place in a greased bowl, cover, and proof in a warm spot until doubled — about 1 hour.
- Shape rolls: Deflate gently, divide into 12 equal pieces (~60 g each), and shape into smooth balls by tucking edges under.
- Second rise: Arrange rolls in a greased 9×13-inch pan with slight gaps. Cover and proof 30–40 minutes until nearly doubled and touching.
- Preheat oven: Preheat to 350°F (175°C). Brush tops with melted butter before baking for a tender crust.
- Bake: Bake 18–22 minutes until deep golden. The internal temperature should reach about 190°F (88°C) for a fully set crumb.
- Finish: Brush with softened butter immediately after removing from the oven to keep the crust soft and shiny.
- Cool: Rest rolls in the pan 10 minutes, then transfer to a rack to finish cooling or serve warm for best texture.
Tips for Success
Control temperature: liquids at 105–115°F (40–46°C) activate yeast without killing it. Use an instant-read thermometer for consistency.
Monitor dough hydration: the dough should be slightly tacky but not sticky. Proper tackiness yields a light, open crumb after baking.
[ TIP ]Expert Insight: For reliably tender rolls, use a short autolyse: after combining flour and liquids, rest the dough 10–15 minutes before kneading. This hydrates flour and reduces kneading time while improving extensibility.[/TIP]
Proofing environment matters: a closed oven with only the light on or a warmed, draft-free corner gives stable fermentation. Avoid rushing proofing; under-proofed rolls tighten during baking and lose loft.
[ WARNING ]Pro-Caution: If pineapple juice is too hot it will kill the yeast and prevent rising. Always test liquid temperature before mixing.[/WARNING]
For deeper reading on dough behavior and fermentation science, see dough and fermentation in food processing.
Store baked rolls in an airtight container at room temperature up to three days, or freeze for longer storage. Reheat briefly wrapped in foil to refresh softness.
Serving Suggestions
These rolls pair with savory mains like pulled pork, ham, and roasted meats. Their sweetness complements spicy and smoky elements on a plate.
For brunch, split and toast with butter and honey, or use them as a base for bread pudding. A sprinkle of sesame seeds before baking adds a subtle nutty contrast.
| Nutrient | Per Roll |
|---|---|
| Calories | 140 kcal |
| Protein | 4 g |
| Carbohydrates | 22 g |
| Fat | 4 g |
FAQ
Answers below focus on troubleshooting and quick adjustments to improve results in a home kitchen.
Each question tackles common issues and gives concise, practical remedies for predictable outcomes.
What makes Hawaiian rolls distinct from regular dinner rolls?
Hawaiian rolls use pineapple juice and a modest amount of sweetener, creating a tender crumb and a mild fruity sweetness. This combination adjusts dough hydration and adds flavor that contrasts savory fillings nicely.
The result differs from plain rolls that rely solely on milk or water for hydration and lack the characteristic tropical note.
Can a beginner make these successfully?
Yes. Follow times, use an instant-read thermometer for liquid temperature, and learn the tactile signs of proofing. Practice buttoning dough into even portions for consistent bake times.
Begin with accurate measuring. Scales improve reproducibility more than cup measures for bread baking.
Why use pineapple juice and can I substitute it?
Pineapple juice adds fermentable sugars and contains bromelain, an enzyme that can tenderize proteins. For a similar effect, use mild fruit juice, but expect subtle changes in flavor and dough behavior.
If you avoid pineapple, use warm milk and slightly increase honey or sugar to reach the same sweetness level, but skip enzymatic tenderizing effects.
How do I fix dense or gummy rolls?
Dense rolls usually indicate under-proofing or too much flour. Ensure the dough doubled during the first rise and feel for springy, porous dough before shaping.
If the crumb is gummy, bake a few minutes longer and verify internal temperature reaches about 190°F (88°C). Also, avoid slicing immediately after baking; let crumb set.
Can I make these ahead and freeze?
Yes. Bake, cool completely, and freeze in airtight bags. Reheat wrapped in foil at 350°F for 8–12 minutes to restore softness. Alternatively, shape and freeze raw rolls; thaw overnight in the refrigerator and finish proofing before baking.
Label bags with date and contents. Proper packaging prevents freezer burn and flavor loss.
Final Notes
These Hawaiian rolls reward attention to dough feel, liquid temperature, and proofing time. Small, precise actions produce the pillowy texture and subtle sweetness home bakers seek.
Try the recipe once exactly as written, then tweak hydration, proof time, or sweetness to suit your taste. Repeating batches develops intuition and consistent results.
For more on bread techniques and ingredient science, consult the referenced Wikipedia resources linked above. Happy baking and enjoy the soft, sweet result of careful technique.
See also: Hawaiian rolls


