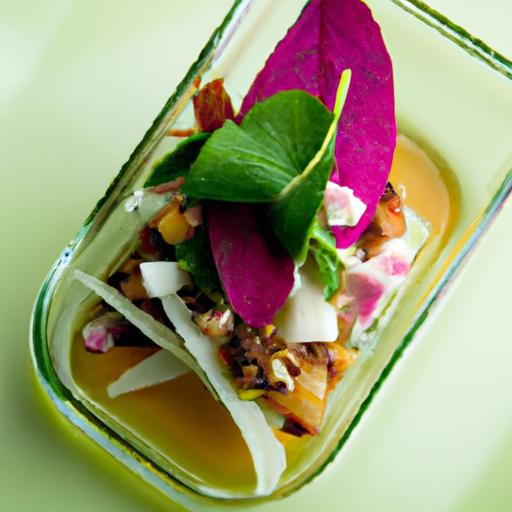
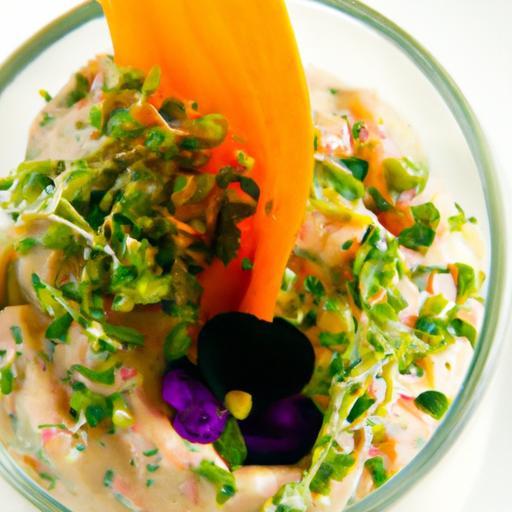
Imagine unlocking a fragrant treasure trove right on your kitchen shelf-a vibrant mosaic of herbs, bursting with color and aroma, patiently preserved in glass jars. Crafting stunning layered herb jars is more than just a decorative art; it’s a way to capture nature’s freshest flavors and elevate your culinary creations. Whether you’re a seasoned herbalist or a curious kitchen adventurer, this step-by-step guide will lead you through the harmonious blend of visual beauty and aromatic delight, helping you create herb jars that are as exquisite to behold as they are tempting to use. Get ready to transform simple herbs into stunning, layered masterpieces that bring both charm and utility to your home.
Crafting Stunning Layered Herb Jars begins with an inspired choice of fresh, vibrant herbs and the perfect jars that showcase their natural beauty. Selecting aromatic herbs that complement both flavor and color-such as fragrant basil, lively cilantro, robust rosemary, and delicate thyme-lays the foundation for visually tempting, fragrant layers. When paired with clear glass jars featuring wide mouths and airtight seals, these herbs remain accessible and beautifully displayed, turning your kitchen into a botanical gallery.
Prep and Cook Time
- Preparation Time: 15 minutes
- Cook Time: None (preservation and assembly only)
Yield
- Approximately 2 medium herb jars (16 oz each)
Difficulty Level
- Easy to Medium
Ingredients
- Fresh basil leaves: 1 cup, whole and washed
- Fresh rosemary sprigs: 1/2 cup, trimmed
- Fresh thyme sprigs: 1/2 cup
- Fresh cilantro leaves: 1 cup, washed and dried thoroughly
- Coarse sea salt: 2 tablespoons (optional, for preservation)
- Extra virgin olive oil: 1/4 cup (optional, to pour over herbs)
- Wide-mouth glass jars with airtight lids: 2 (16 oz each), sterilized and dried
- Clean kitchen scissors or herb snips
- Small wooden skewers or chopsticks (for arranging layers)
Instructions
- Prepare your jars: Begin by thoroughly sterilizing and drying the jars to ensure maximum herb preservation. Any moisture left inside can cause the herbs to wilt prematurely.
- Pick and wash fresh herbs: Select only vibrant, unblemished herbs. Rinse under cold water and lay out on a clean towel to dry completely, as excess moisture diminishes shelf life and vibrancy.
- Trim and sort herbs: Strip rosemary and thyme leaves from woody stems where desired. Cut larger leaves of basil or cilantro into uniform sizes for easier layering.
- Begin layering: Pour a thin layer of coarse sea salt or drizzle olive oil at the bottom of the jar if desired – this enhances preservation and adds subtle flavor.
- Alternate herbs by color and texture: Using scissors or kitchen snips, layer your herbs creatively-start with green basil, then a sprig of rosemary, followed by fragrant thyme and fresh cilantro. Interlace colors and shapes to create natural, artistic patterns that highlight the bright greens and varied leaf shapes.
- Use a skewer or chopstick: Gently press the herbs down and adjust their positions to maintain crispness and encourage visibility through the glass. This technique prevents shifting and keeps the layers stunningly defined.
- Fill the jar carefully: Continue layering until the jar is full but not over-packed. Leave a little breathing space to avoid crushing the herbs.
- Add a finishing layer: Top the herb jar with a final sprinkle of salt or a light olive oil drizzle to seal in freshness.
- Seal and store: Secure the lids tightly and refrigerate. Herb jars keep freshest for up to two weeks and can be flipped gently every few days to redistribute oils and aroma.
Tips for Success
- Choose jars that highlight beauty: Opt for clear, straight-sided glass jars without intricate textures that may obscure the vivid herb layers.
- Dry herbs completely: Herb freshness and longevity hinge on moisture control; a salad spinner or paper towels work wonderfully to dry leaves thoroughly.
- Experiment with layering techniques: Try crisscross patterns, spirals, or tightly packed bouquets to discover your signature jar style.
- Add preservation elements: A tiny pinch of sea salt or a splash of oil not only heightens flavor but helps lock in color and aroma.
- Use herbs promptly: For best results, layer your jars within 24 hours of harvesting or purchasing herbs.
Serving Suggestions
These layered herb jars are perfect as elegant garnishes for rustic breadboards, fresh salads, or Mediterranean-inspired dips. Present jars on a wooden tray surrounded by crusty lemon wedges and artisan crackers to emphasize herbal freshness visually. You can also unwrap herbs directly from the jars for homemade pesto or herbal teas, bringing vibrant garden flavors directly to your table.
| Nutrient | Per Jar Serving |
|---|---|
| Calories | 25 |
| Protein | 1.5g |
| Carbohydrates | 4g |
| Fat | 2g |
Explore more on preserving fresh herbs effectively and boost your kitchen skills. For scientific insights into herb preservation, check out USDA Food Safety and Inspection Service for expert guidelines.

Q&A
Q&A: Crafting Stunning Layered Herb Jars – A Step-by-Step Guide
Q1: What makes layered herb jars a beautiful addition to any kitchen or home?
A1: Layered herb jars transform simple dried herbs into captivating visual art. Their vibrant colors and distinct textures stack like edible rainbows, brightening countertops or shelves while inviting fresh culinary inspiration. They’re not just practical-they’re a feast for the eyes.
Q2: Which herbs work best in layered jars, and why?
A2: Choose herbs with varied color, texture, and aroma to create striking layers. Popular picks include deep green basil, ruby-red thyme, golden turmeric, bright yellow chamomile, and soft lavender buds. Each layer’s uniqueness ensures the jar dazzles both visually and aromatically.
Q3: How do I prepare the herbs before layering?
A3: Start with fully dried herbs to avoid moisture that can spoil the jar. Crush or crumble large leaves slightly to fit no gaps remain, but keep textures intact for visual interest. Removing stems can also create cleaner, more defined layers.
Q4: Is there a secret to achieving crisp, distinct layers?
A4: Absolutely! Patience is key-add herbs gently with a small spoon or funnel, and tap the jar lightly after every layer to settle contents evenly. Using herbs with clearly contrasting colors and textures helps each band pop, maintaining that gourmet appeal.
Q5: What kind of jars should I use for these herb masterpieces?
A5: Opt for clear glass jars with wide mouths-mason jars are classic favorites. The see-through walls showcase your layering artistry, while airtight lids preserve freshness. Plus, glass won’t absorb flavors or odors, keeping your herbs pure.
Q6: Can I personalize my layered herb jars?
A6: Definitely! Customize layers based on your favorite herbs or seasonal picks. Add tiny dried flowers or citrus peels for bonus flair. Don’t forget to label each jar creatively-handwritten tags, ribbons, or stamped labels add charming finishing touches.
Q7: How long do these layered herb jars last?
A7: Stored in a cool, dark place, your layered herb jars can keep their flavor and appearance for several months. Keep lids tightly sealed to keep moisture out. Over time, colors may fade gently, but your jars will remain a decorative and aromatic delight.
Q8: Can layered herb jars make great gifts?
A8: Absolutely! These jars are thoughtful, handmade presents for food lovers, gardeners, or anyone who appreciates natural beauty. They’re perfect for holidays, housewarmings, or “just because” moments, offering both culinary use and eye-catching decor.
Q9: Are there any creative uses beyond the kitchen for layered herb jars?
A9: Yes! Their colorful layers add a cozy, natural vibe anywhere-bathrooms, craft rooms, or on a windowsill. Some crafters even use them as inspiration for color palettes in painting or home design. They’re tiny gardens of inspiration wrapped in glass.
Q10: What’s the best final tip for a beginner crafting layered herb jars?
A10: Dive in with joy and don’t stress perfection! Herbs and layering invite creativity-experiment with colors, textures, and even jar shapes. Each jar tells its own story, and every layered creation is a personal masterpiece waiting to be displayed and enjoyed.
Final Thoughts
As you seal your final lid and step back to admire your vibrant, fragrant creation, remember that crafting layered herb jars is more than just a decorative craft-it’s a sensory journey that captures the essence of nature’s bounty. With each carefully chosen herb and artfully arranged layer, you’re not only preserving flavors but also curating a mini garden of wellness and creativity. Whether nestled on your kitchen shelf or gifted to a loved one, these stunning jars bring freshness and charm into everyday moments. So gather your herbs, embrace the art of layering, and let your creativity bloom-because every jar tells a story waiting to be savored.