
In many kitchens a food processor sits ready to simplify tasks. When you want to turn whole nuts into fine, bake-ready flour, that machine can deliver professional results with the right approach.
- Understanding the Texture Differences Between Nut Flour and Nut Butter
- Choosing the Right Food Processor for Grinding Nuts Effectively
- Techniques to Achieve Fine Nut Flour with Your Food Processor
- Troubleshooting Common Challenges When Making Nut Flour at Home
- Practical Recipes, Yields, and Storage
- Equipment and Ingredient Notes
- FAQ
- At a glance: Pulse in short bursts to avoid buttering.
- Equipment: Choose a motor of 600W+ and sharp blades.
- Batching: Work in half-filled bowls for even grinding.
- Storage: Refrigerate fresh nut flour to slow rancidity.
Understanding the Texture Differences Between Nut Flour and Nut Butter
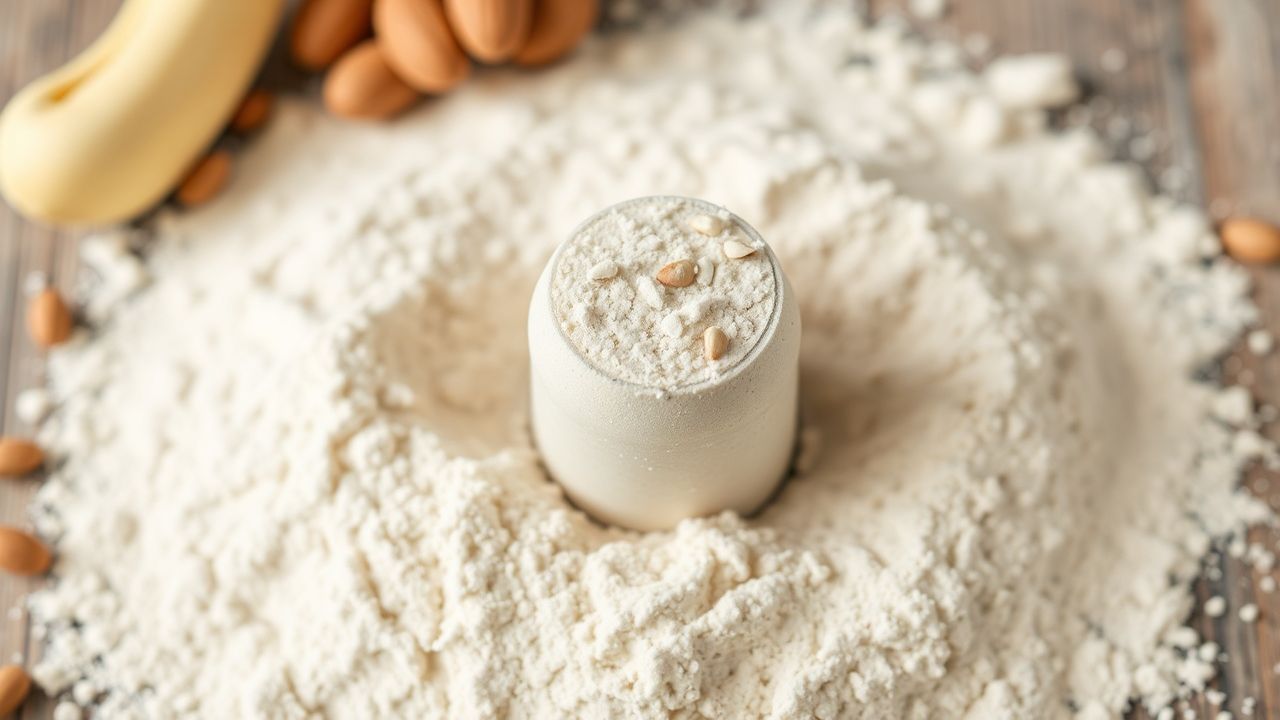
Nut flour and nut butter start from the same ingredient but stop at different stages of particle breakdown. Nut flour is a dry, crumbly powder whose particle size affects baking structure and moisture absorption.
By contrast, nut butter forms when processing frees oils and creates an emulsion that yields a silky, spreadable paste. Controlling processing time and heat prevents that transition when you want flour instead of butter.
Choosing the Right Food Processor for Grinding Nuts Effectively
Select a machine with a robust motor and high-quality cutting system. A motor rated around 600 watts or higher and a durable stainless-steel S-blade reduce processing time and heat buildup.
Also consider bowl size and controls. A bowl between 7 and 12 cups lets you grind small, controlled batches, and a reliable pulse function gives you repeatable, short bursts for texture control.
Motor and Blade Considerations
A higher-watt motor sustains power under load and resists stalling. It also finishes batches faster, which reduces total exposure to heat.
Sharp blades shear cleanly; dull blades mash and smear, accelerating oil release. Replace or sharpen blades if your processor struggles to produce an even meal.
Bowl Size and Controls
Working with a partially filled bowl improves blade circulation and avoids overloading. Aim to fill the bowl no more than halfway for even movement during pulses.
Pulse control matters more than continuous run modes. Short 10–15 second bursts let you evaluate texture and stop before oils release heavily.
Techniques to Achieve Fine Nut Flour with Your Food Processor
Preparation influences outcome. Start with fresh, dry nuts; avoid roasted or salted nuts if you need neutral flavor and consistent moisture.
Temperature matters: cold nuts release oils more slowly. Chilling nuts in the refrigerator or freezer for 20–30 minutes tightens oils and improves the chances of a flour-like finish.
- Use small batches: Process 1 to 2 cups at a time to maintain even movement.
- Pulse rhythm: Apply 10–15 second pulses, then scrape sides and shake the bowl to reposition larger pieces.
- Check texture often: Stop when the meal reads like coarse sand, then refine with a few shorter pulses to reach flour.
- Sift and reprocess: Sift ground nuts through a fine mesh and return larger bits for a second pass.
- Use absorbers sparingly: If oiliness appears, add a teaspoon of rice flour or arrowroot per cup as a temporary binder; this helps with sifting and baking behavior.
After you finish a batch, cool the bowl and blade before starting another. This simple pause keeps residual heat from stacking and reduces oil mobilization across batches.
Troubleshooting Common Challenges When Making Nut Flour at Home
If your nuts start to form clumps or a paste, you most likely over-processed or let the motor run too long. Reverse course by stopping, scraping, chilling the bowl, and resuming with shorter pulses.
High-oil nuts—macadamias, pecans, and hazelnuts—require extra care. Reduce batch sizes and shorten pulse durations when using these varieties to limit oil extraction.
To address clumping, add an absorbent like 1 teaspoon of rice flour per cup and pulse briefly. This reduces stickiness enough to finish sifting and salvages the batch for baking.
Always clean equipment promptly. Residual oils left on surfaces oxidize and create off-flavors that migrate to later batches. Use warm, soapy water and dry thoroughly.
Practical Recipes, Yields, and Storage
Yield is predictable: roughly 1 cup of whole nuts produces 1 cup of ground nut flour, depending on nut density and sifting losses. Expect slight variation when skins remain.
Store freshly ground nut flour in an airtight container in the fridge for up to two months. For longer storage, freeze in vacuum-sealed bags for six months to preserve flavor and slow rancidity.
Basic Almond Flour (1 cup)
Ingredients: 1 cup raw almonds, optional 1 tsp rice flour to reduce oiliness.
Process chilled almonds in half-batches, pulsing until the mixture reads fine and powdery. Sift, reprocess unground pieces, and cool before packing into jars.
Serving Suggestions and Uses
Freshly ground nut flour works well in pancakes, muffins, and gluten-free cakes where a slightly coarser crumb is acceptable. It also makes a crunchy coating for fish and chicken when mixed with herbs.
For recipes that need very fine texture—like macarons—consider running the ground flour through a spice grinder or using a combination of grinding and sifting to match commercial almond flour texture.
Equipment and Ingredient Notes
Pick nuts that match your recipe goals. Almonds and cashews yield the cleanest, most neutral flours. Oil-richer nuts will add flavor and fat but complicate processing control.
For background on food processing technology, see the food processor entry. To understand nut classifications and structure, consult the nut (fruit) page.
Read more on specific nut varieties via the almond article and the almond flour entry for technical differences between homemade and commercial products.
For practical how-to recipes, try our internal guides on making nut butters at home and best practices for gluten-free baking. These pages offer tested combinations and conversion tips that pair well with fresh nut flours.
FAQ
Can any food processor make nut flour?
Most modern food processors can make nut flour, but performance varies. Machines with higher wattage and sharp blades deliver finer, more consistent results.
How do I prevent nut flour from turning into butter?
Use short pulses, chill nuts first, and avoid continuous runs. Stop processing when the texture shifts from coarse meal to fine powder.
Is homemade nut flour as nutritious as store-bought?
Yes. Homemade flour retains natural fats and proteins without additives. However, it has a shorter shelf life and must be refrigerated to remain fresh.
Can I use roasted or salted nuts?
Roasted nuts add flavor but change oil behavior and may clog filters. Salted nuts introduce seasoning that can affect sweet recipes. Use raw, unsalted nuts for most baking applications.
When should I choose a specialized mill over a food processor?
Choose a mill when you need extremely fine, uniform particle size for delicate pastries. Use a food processor for versatile, home-level grinding that prioritizes convenience and flavor.
See also: Nut flour


