
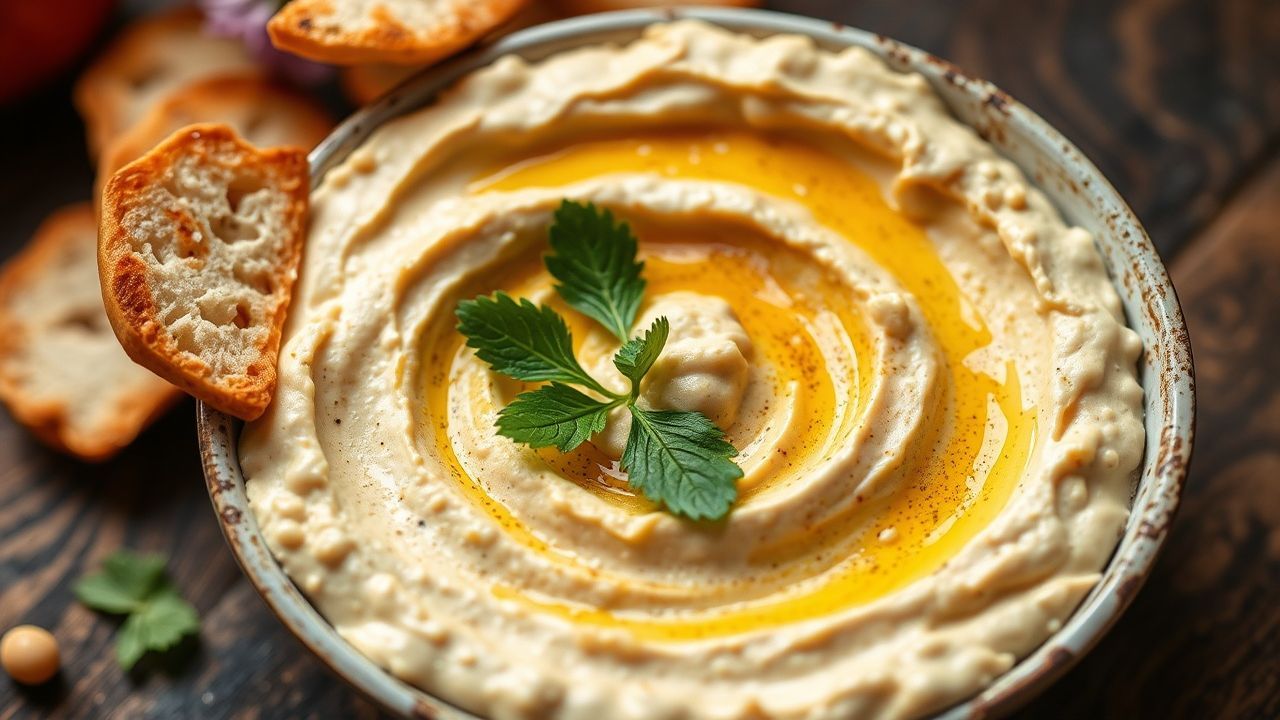
There is a specific satisfaction in turning simple pantry staples into a silken, savory dip that performs equally well on a weekday snack plate or a party platter. Homemade hummus fuses texture control, ingredient quality, and a few technical steps to reach a truly creamy finish.
- Control texture: Soak, cook, and optionally peel chickpeas to reach ultra-smooth hummus.
- Balance flavor: Fresh lemon and properly worked tahini make the difference.
- Layer technique: Emulsify with cold water and olive oil for airy creaminess.
Why make hummus at home
Making hummus at home gives you complete control over salt, fat, and aromatics. You avoid stabilizers and additives found in some commercial jars, and you can tune texture and acidity to your taste.
Homemade hummus also rewards technique: small adjustments in tahini handling, chickpea softness, and emulsification change the end result more than swapping ingredients. For background on the dish’s culinary context, see the hummus entry on Wikipedia.
Prep and cook time
Home-prepared hummus varies by chickpea choice. Using dried chickpeas requires planning—soaking and simmering can take several hours—while canned chickpeas collapse prep time to minutes.
Typical timing for the recipe below: about 10 minutes hands-on prep, plus 1–1.5 hours for cooking if using soaked dried chickpeas. Canned beans cut total time to roughly 20 minutes.
Yield and difficulty level
This recipe yields roughly 6 generous servings, depending on portion size. It sits at a confident-intermediate skill level: no advanced techniques, but attention to texture and emulsification pays off.
Keep a food processor or high-speed blender ready and use a reliable measuring approach for tahini and lemon to maintain consistent results batch to batch.
Ingredients
Primary ingredients: cooked chickpeas, tahini, fresh lemon juice, garlic, fine salt, ground cumin, and extra-virgin olive oil. You will also use cold water during blending to achieve a light, spreadable texture.
Use quality primary components. For example, learn more about the ingredient source and nutrition of the chickpea and the paste known as tahini if you want deeper context on flavor variation.
Ingredient notes
When choosing chickpeas, dried beans give the best control over texture but require soaking. Canned legumes are convenient and acceptable for busy cooks, though texture may be slightly different.
Use freshly squeezed lemon juice rather than bottled juice. Good olive oil improves mouthfeel and aroma—see the olive oil entry for cultivar and processing differences that affect flavor.
Instructions overview
The process breaks into four stages: prepare the chickpeas, process tahini base, blend to emulsify, then finish and adjust. Each stage contributes to overall silkiness and balance.
Follow the steps in sequence and taste as you go. Small changes—an extra tablespoon of lemon or a splash more water—make large differences in the final bowl.
Prepare the chickpeas
For dried beans: sort and rinse 1 cup dried chickpeas, then soak overnight in plenty of cold water. Drain and cover with fresh water, bringing to a simmer and cooking until tender, 60–90 minutes depending on age of the beans.
For canned chickpeas: drain and rinse thoroughly under cold water to remove excess sodium and canning brine. If you have the time and want the smoothest texture, simmer canned beans briefly with a pinch of baking soda to soften skins for easier peeling.
Peeling and texture control
Peeling skins from chickpeas is optional but strongly improves creaminess. Rub beans between two clean kitchen towels or pinch each bean—removed skins produce a silkier mouthfeel in the finished dip.
If peeling is impractical, compensate by extending the processing time and adding small amounts of ice water while you blend to keep the mixture light rather than dense.
Tahini handling and aromatics
Whip tahini with fresh lemon juice first. Process them together for about a minute, then scrape the bowl and continue briefly; this step lightens tahini’s texture and reduces bitter notes, producing a smoother emulsion.
Add minced garlic, ground cumin, and salt to the tahini-lemon base. Pulse to combine and taste: the aromatics should be present but supportive, not dominant. Adjust salt and acidity at the end.
Final blending and emulsification
Add chickpeas in two batches to the processor. Blend until thick and mostly smooth, then slowly drizzle in 1/3 cup olive oil while the motor runs to create a cohesive matrix of fat and water.
Add 1–3 tablespoons of ice-cold water gradually as you blend. The cold water helps loosen the paste and traps air, producing a lighter, whipped texture that spreads and holds its shape.
Tips for success
Small technique points repeatedly separate excellent hummus from merely good hummus. Track texture at every stage and taste for acidity and salt before serving.
Adjust consistency only at the end. If texture thickens after refrigeration, stir in a tablespoon of water and a light drizzle of olive oil to restore creaminess.
Store hummus in an airtight container and press a thin film of oil on top to minimize surface drying. Use within 4–5 days refrigerated for best flavor retention.
Serving suggestions
Serve hummus at room temperature with a finish of good olive oil and a dusting of smoked paprika or ground cumin. Add crunchy toppings like toasted pine nuts or seeds for contrast.
Use hummus as a versatile spread for sandwiches, a dip for fresh vegetables, or the foundation of a composed mezze platter with olives, roasted vegetables, and grilled flatbread.
Nutrition and portioning
Hummus is a calorie-dense, nutrient-rich food because of tahini and olive oil. Typical servings provide protein, fiber, and healthy unsaturated fats when eaten as part of a balanced meal.
For portion control, a 2–3 tablespoon serving is common as a dip; adjust depending on dietary goals and accompaniments.
| Nutrient | Per Serving (approx.) |
|---|---|
| Calories | 180 kcal |
| Protein | 6 g |
| Carbohydrates | 14 g |
| Fat | 11 g |
FAQ
The following answers address common technical and practical questions to help you refine technique and troubleshoot issues.
Each response focuses on actionable steps so you can implement changes right away and calibrate results to your taste.
Q: Should I peel chickpeas for the smoothest hummus?
Peeling is recommended for a truly silky texture. Removing the outer skin reduces graininess and creates a more uniform emulsion with tahini and oil.
If peeling is not practical, boil the beans a bit longer and process with cold water and extra oil to compensate.
Q: Why does my hummus taste bitter, and how do I fix it?
Bitterness often comes from old or poor-quality tahini. Balancing with more lemon and salt helps, but the most effective fix is to choose a milder tahini or mix in a small spoon of plain yogurt for creaminess in non-vegan versions.
Blending the tahini with lemon first, then scraping and re-blending, reduces perceived bitterness by aerating the paste and smoothing texture.
Q: How can I make my hummus lighter and less dense?
Emulsify with cold water and drizzle in olive oil slowly while the processor runs. Use ice water in tablespoon increments to trap air and create an airy mouthfeel.
A final quick pulse rather than long continuous blending prevents the mixture from warming and becoming heavy.
Q: Can I freeze homemade hummus, and will texture suffer?
Yes, you can freeze hummus in small portions for up to three months. Freeze in airtight containers with minimal headspace to avoid large ice crystals forming.
Thawed hummus can separate slightly; re-whip with a tablespoon of water or olive oil to restore its emulsified texture before serving.
Q: What are easy flavor variations to try?
Roasted red pepper, caramelized onion, or herb blends like parsley and cilantro transform the base without altering the core technique. Introduce additions after the hummus reaches a smooth texture so they blend evenly.
Start with small amounts—about 1/4 cup of a purée or a tablespoon of concentrated paste—then taste and scale up. This approach preserves balance and prevents overwhelm.
Final guidance
Refine one variable at a time: chickpea softness, tahini ratio, or emulsification technique. That approach identifies which change produced a result you prefer and builds a repeatable method.
Keep notes on bean source, tahini brand, and exact water used during final blend. Those records accelerate consistent success and let you reproduce a favorite batch whenever you want.
See also: homemade hummus


