
Skyr stands out among cultured dairy products for its dense, silky texture and high protein yield. This step-by-step guide explains the practical techniques that reliably deliver thick, authentic homemade skyr every time.
At a Glance: Crafting Perfect Homemade Skyr
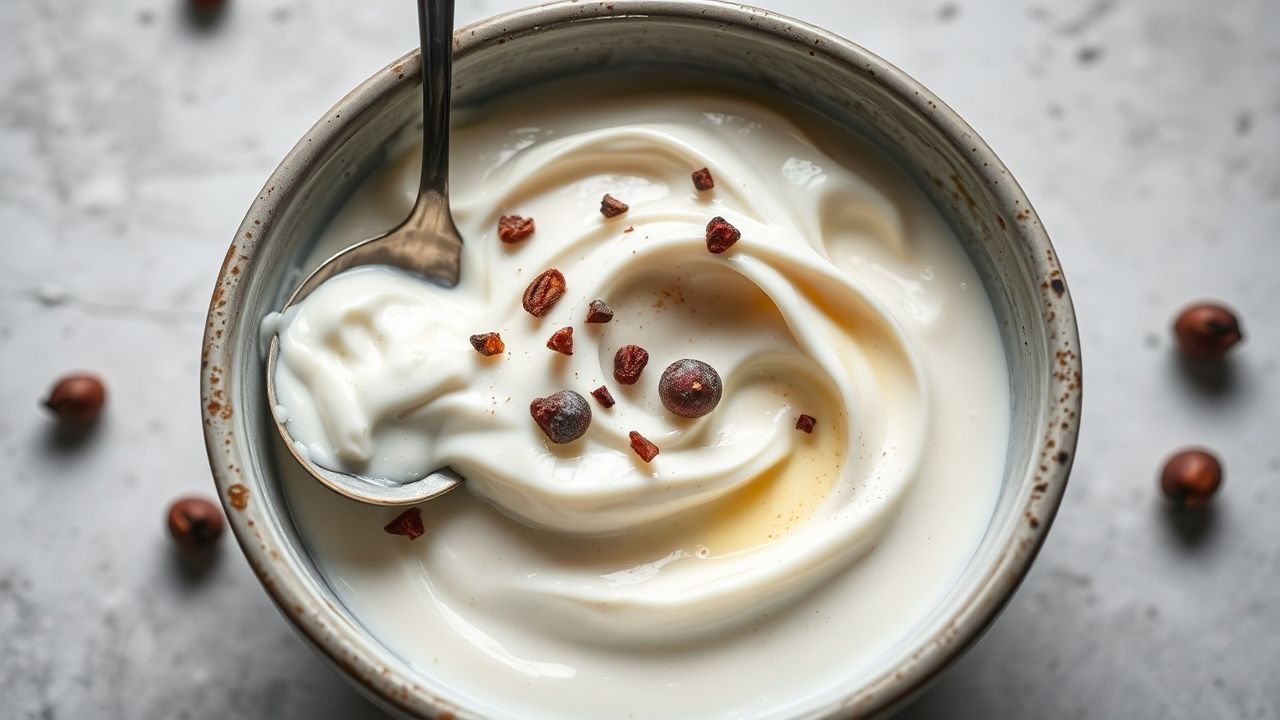
- Skyr is a strained, high-protein Icelandic dairy staple with a luxuriously thick texture.
- Key controls: heat milk to denature proteins, cool to starter temperature, then strain slowly.
- Flexible: use skyr as a breakfast base, dessert, or a sour-cream substitute.
Prep and Cook Time
Preparation time is short, but active and passive steps combine into a full-day process. Expect about 12 to 16 hours from start to finish depending on fermentation and straining.
Plan around the long incubation and gravity-driven straining. For reliable results, budget a morning start and evening finishing window when you begin.
Yield
This recipe yields roughly 2 cups of finished skyr from one gallon of milk, depending on how long you strain. Heavier straining concentrates solids and increases yield loss as whey drains away.
Scaling up is linear: double the milk and scale starter and dry milk powder accordingly. Use consistent vessel sizes to maintain temperature control at larger volumes.
Difficulty Level
Skill level rates easy-to-medium: basic kitchen tools suffice, and the process rewards patience rather than advanced technique. Precise temperature control and clean sanitation matter most for consistent culturing.
Beginner cooks should follow thermometer and time guidelines precisely. After one or two batches you will develop a feel for incubation and straining that improves results.
Ingredients for Authentic Skyr
Use whole milk for a richer mouthfeel, and non-fat dry milk powder to boost body without extra cream. A quality starter culture — traditional skyr or high-quality plain live yogurt — provides the bacteria needed for proper tang and texture.
Ingredients (for ~2 cups finished skyr):
- 1 gallon whole milk (fresh, non-UHT if available)
- 2 tbsp skyr starter culture or plain live-culture yogurt
- 1/4 cup non-fat dry milk powder to enhance thickness
- Cheesecloth or fine muslin for straining
- Optional: vanilla, citrus zest, or spice for flavoring
Step-by-Step Techniques to Achieve Creamy Consistency
Successful skyr hinges on three technical stages: denaturation, controlled inoculation, and slow drainage. Each stage manipulates protein and moisture to deliver the dense, creamy texture you expect.
Temperature stability and sanitary technique let beneficial bacteria thrive while preventing off-flavors. Below, each sub-step gives practical temperatures, timing, and technique tips for repeatable results.
Warming the Milk
Heat the whole milk gently to 185°F (85°C), stirring frequently to avoid scorching. This denaturation step unfolds whey proteins and helps the final curd bind into a smoother, thicker matrix.
Hold near that temperature for a few minutes, then remove from heat and allow a gradual cool. The denaturation improves texture and increases the yield of thick skyr after straining.
Cooling to the Ideal Temperature
Cool the milk to about 110°F (43°C) before adding starter culture; this range activates the starter without killing live bacteria. Use a reliable digital thermometer to hit the window accurately.
Rapid cooling risks uneven temperatures; stir occasionally to equalize heat throughout the pot. Maintain sanitary conditions so introduced cultures dominate the fermentation instead of contaminants.
Incorporating Dry Milk Powder
Whisk non-fat dry milk powder into the warm milk until fully dissolved. Adding milk solids increases the casein content and yields a thicker, more concentrated final texture after straining.
Use moderate amounts; excessive powder can make the skyr taste chalky. For most home batches, 1/4 cup per gallon balances body and flavor without negative effects.
Adding the Starter Culture
Gently blend in your starter culture or a spoonful of active plain yogurt. Stir just enough to distribute bacteria evenly; excessive agitation can cool the milk unevenly or introduce air.
The culture initiates lactic fermentation that acidifies and firms the curd. For context on microbial processes behind cultured dairy, consult the fermentation article.
The Incubation Process
Transfer the inoculated milk to a clean container and incubate at 100–110°F (38–43°C) for 8–12 hours. Consistent temperature yields even acid development and prevents weak set or overheated flavors.
Use a yogurt maker, insulated cooler, or an oven with light on to maintain heat. Monitor the set; a clean, spoonable curd with mild tang indicates readiness for straining.
Straining for Thickness
Line a fine sieve with several layers of cheesecloth and ladle the fermented curd into the strainer. Refrigerate while the whey drains; 2–4 hours gives thick classical skyr, longer yields ultra-dense results.
Slow gravity drainage preserves silkiness. For background on dairy concentration and product types, see the dairy product overview.
Transferring and Chilling
After straining, transfer the skyr to an airtight container and chill for at least two hours. Cold helps the texture set and deepens the tang while keeping the product safe and spoonable.
Store refrigerated and consume within one week for best texture and probiotic activity. If the skyr firms more than desired, whisk in a small splash of cold milk to loosen it gently.
Choosing the Perfect Ingredients for Authentic Skyr
Whole milk quality directly impacts mouthfeel and flavor; unprocessed fresh milk typically produces creamier results. Non-UHT milk retains proteins in a state that responds predictably during denaturation and fermentation.
A true skyr starter or strained skyr used as inoculum preserves the characteristic aroma and bacteria balance. For a microbial primer on cultures used in cultured dairy, review lactic acid bacteria.
Tips for Flavor Variations and Storing Your Homemade Skyr
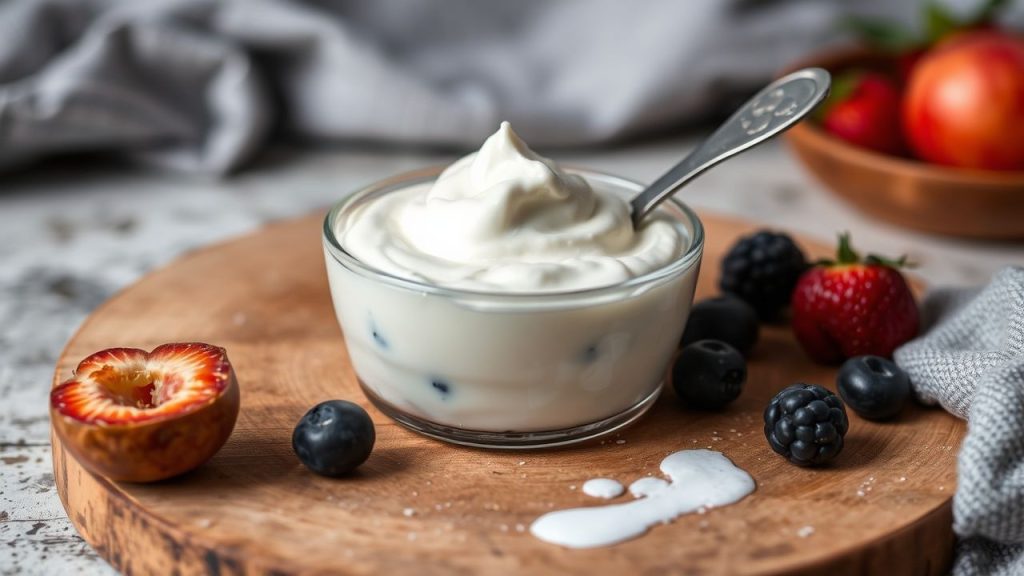
Fold in honey, vanilla, or fresh berries just before serving for immediate flavor contrast. Citrus zest or warm spices can infuse subtle notes when added after straining and before chilling.
Store skyr in sealed containers in the refrigerator for up to seven days. For freezing, expect some textural change; thawed skyr works best for smoothies or baking rather than spoonable parfaits.
Serving Suggestions for Homemade Skyr
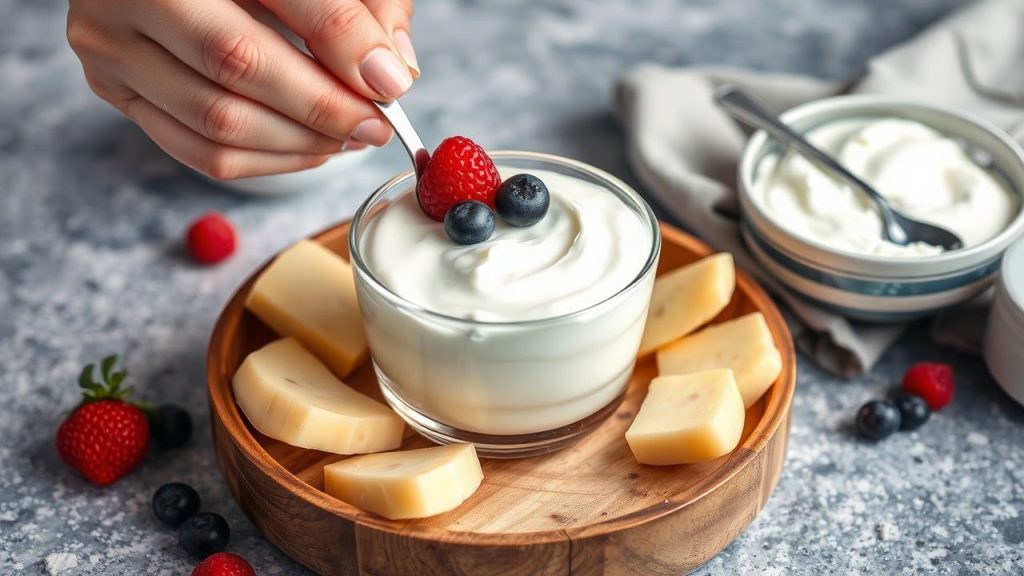
Serve skyr layered with fruit compote and toasted grains for breakfast, or use it as a creamy base in cold soups and dressings. Its high protein and low sugar profile make it ideal for fitness-focused meals.
Skyr replaces sour cream in many savory recipes, lending tang and texture with more protein. For creative pairing ideas and recipe inspiration, explore related recipes on our site at CookHarvest recipes.
Nutrition and Practical Notes
Typical values vary by strain and milk, but skyr is notably high in protein and relatively low in fat when strained from skim or low-fat milk. A measured half-cup of strained skyr can deliver 15–17 g of protein depending on concentration.
Adjust milk and straining time to suit dietary goals: longer straining concentrates protein and reduces lactose per serving. For more on Icelandic culinary context, consult Icelandic cuisine.
| Nutrient (per ½ cup approx.) | Value |
|---|---|
| Calories | 110 kcal |
| Protein | 17 g |
| Carbohydrates | 4 g |
| Fat | 0.5–3 g (depends on milk used) |
Link your skyr batches to flavor profiles you prefer and document adjustments. Small, consistent changes in starter quantity, incubation time, or straining duration produce predictable differences.
See also: Skyr for related posts and inspiration on our site.
Frequently Asked Questions About Homemade Skyr
This FAQ addresses common points of technique, timing, and ingredient choices when making skyr at home. Use the answers to avoid common pitfalls and to refine your process.
Each answer provides actionable detail so you can adjust your next batch with confidence. Experiment systematically and note results to build reproducible outcomes.
Q1: What is Skyr and how does it differ from regular yogurt?
Skyr is a traditional Icelandic strained dairy product; it behaves like a very thick yogurt but technically aligns with fresh cheeses due to extensive whey removal. The greater straining concentrates protein and reduces lactose relative to many yogurts.
The production method, not just the cultures, differentiates skyr: extended straining and specific starter traditions create its unique texture and mild tang. Compare with general yogurt processes by reviewing the yogurt article.
Q2: How long should I incubate for the best texture?
Incubate 8–12 hours at 100–110°F (38–43°C) for a consistent set and balanced acidity. Shorter times yield milder tang; longer times increase acid and firmness but can reduce subtle flavor complexity.
Monitor the curd visually: when it becomes spoonable and slightly tangy, it is ready to strain. Keep temperature stable; fluctuations produce inconsistent sets and texture.
Q3: Can I use store-bought yogurt as a starter?
Yes — use plain live-culture yogurt with active cultures as a starter if authentic skyr starter is unavailable. Choose a fresh product with labeled live cultures to ensure viable bacteria.
Over time, maintaining a dedicated skyr starter from a successful batch often gives the most consistent flavor. Preserve a small portion refrigerated and use it within a few cycles for best results.
Q4: How do I fix skyr that seems grainy or thin?
Graininess often results from overheating or aggressive stirring; thin sets can come from low starter activity or low incubation temperature. For thin skyr, lengthen incubation slightly or use a fresher starter.
To remedy texture after the fact, strain longer for thickness or gently whip with a small amount of cream for silkiness. Note changes made so you can avoid the issue next time.
Q5: How long will homemade skyr keep?
Stored in airtight containers at refrigerator temperatures, skyr typically keeps for up to one week with optimal texture and microbial activity. The flavor will intensify slightly over time.
Discard if any signs of spoilage appear. For longer storage, freeze in portions for use in cooking, though thawed skyr may lose some spoonable texture.
Wrapping Up
Follow these ten practical steps and you will be able to produce consistently thick, tangy, and creamy skyr at home. Focus on temperature control, starter quality, and patient straining to get authentic texture and flavor.
Record your process, tweak one variable at a time, and enjoy skyr as a versatile, protein-rich ingredient across sweet and savory applications.
Recommended Reading:
- Crafting Creamy Delight: Homemade Skim Milk Mozzarella Guide
- Crispy Delight: Mastering Homemade Buttermilk Fried Chicken
- Golden Goodness: Smart Tips for Storing Your Ghee Right


