
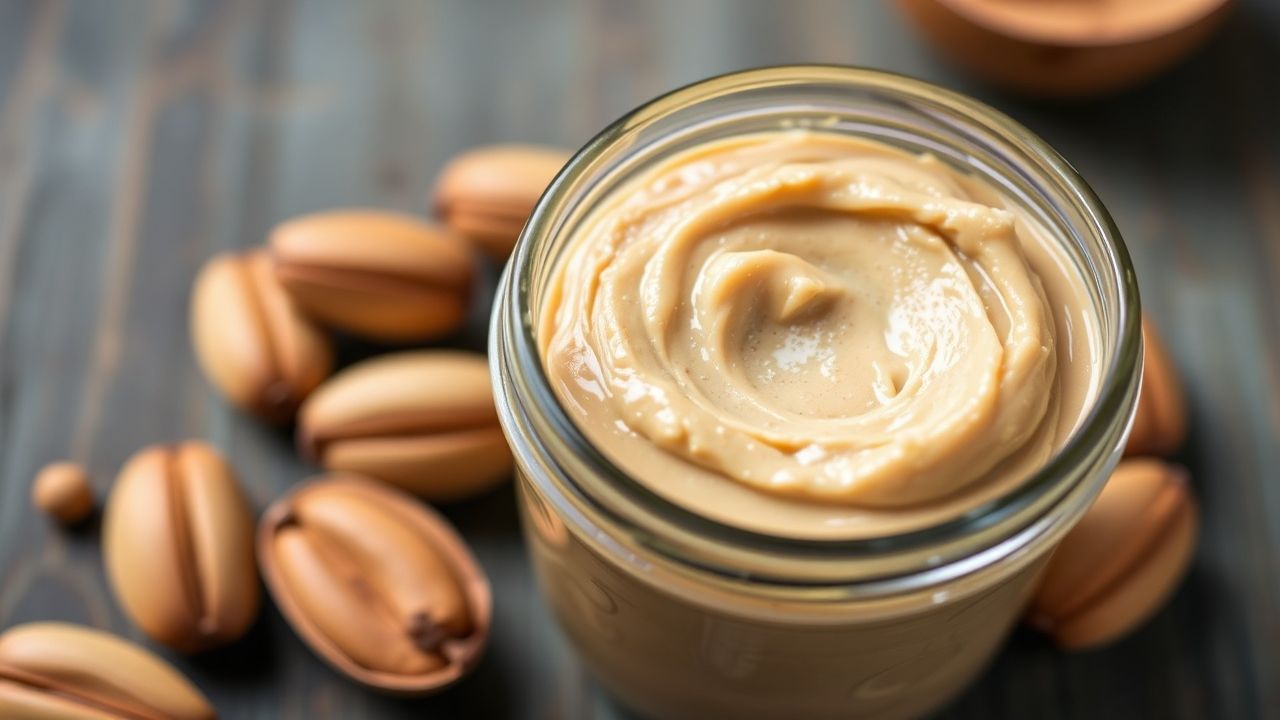
Crafting nut butter from foraged nuts reconnects you to seasonal harvests and gives you control over flavor and quality. This guide walks you through practical steps—from safe foraging and roasting to processing and storing a stable, flavorful spread.
- Forage responsibly: identify nuts, take only surplus, and avoid damaged or moldy specimens.
- Roast deliberately: short, even roasting unlocks oils and aroma without bitterness.
- Process patiently: a high-powered food processor and scraping cycles create the ideal texture.
- Store smartly: refrigerated jars slow oxidation and extend freshness.
Prep and Cook Time
Preparation: 15 minutes. This includes cleaning shells and preheating ovens. Efficient prep keeps nuts dry and ready for roasting.
Roasting and processing: Roast 12–15 minutes at 350°F (175°C) and process 10–15 minutes. Short rests between steps help oils settle and flavors mature.
Yield
Typical yield: about 1 to 1¼ cups from 2 cups of raw or lightly roasted mixed nuts. Yield varies by nut type; oily nuts give more butter.
Plan quantities for use and storage. A small-batch approach (1–2 jars) reduces waste and keeps each jar fresher for longer.
Difficulty Level
Easy to Medium. This project suits a determined beginner and any home cook who values flavor control. The key skills are safe foraging and patient processing.
With practice you will refine roast times and blending rhythm to match your preferred texture—from slightly rustic to velvety smooth.
Ingredients
Use the freshest, intact nuts you can find. Wild nuts such as walnuts and hazelnuts deliver strong flavor; cultivated almonds or pecans give milder notes.
Balance nuts with seeds, salt, and a neutral oil if desired. Add subtle, wild aromatics sparingly—think crushed pine nuts or dried mild herbs.
- 2 cups raw or lightly roasted mixed nuts (walnuts, hazelnuts, pecans, or almonds)
- ½ cup seeds (pumpkin, sunflower, or hemp seeds)
- 1–2 teaspoons high-quality sea salt (adjust to taste)
- 1–2 tablespoons neutral oil (optional: grapeseed, walnut, or avocado oil)
- 1 tablespoon natural sweetener (optional: raw honey or maple syrup)
- Optional wild boosts: 1 tablespoon crushed pine nuts; 1 teaspoon dried mild herbs
Instructions
Follow an ordered workflow: clean, roast, cool, process, and finish. Keeping steps distinct prevents overheating and preserves delicate flavors.
Use a heavy-duty processor and work in short bursts. That prevents motor strain and lets you assess texture frequently.
1. Prepare and roast
Clean shells and pick out debris. Spread nuts evenly on a single layer on a baking tray to ensure uniform browning.
Roast at 350°F (175°C) for 12–15 minutes, stirring once. Aim for a light golden hue; avoid dark edges that signal bitterness.
2. Cool and rest
Let roasted nuts cool on the tray for 10–20 minutes. Cooling lets the oils stabilize and reduces steam that can cause soggy texture during processing.
Toast seeds separately in a dry skillet for 3–5 minutes; they brown faster and can burn if roasted with heavier nuts.
3. Process to butter
Transfer nuts and seeds to a food processor. Pulse to break the nuts into coarse crumbs, then run in 1–2 minute cycles.
Scrape down the sides every 1–2 minutes. Expect texture changes: crumbly → gritty → thick paste → creamy. Total processing time is usually 8–15 minutes depending on equipment.
4. Flavor and texture tune
Add crushed pine nuts or a pinch of dried herb halfway through for integrated notes. Add salt and sweetener toward the end to taste.
If the blend stalls, add 1 teaspoon of neutral oil and continue. For thicker texture, stop earlier; for silkiness, add up to 2 tablespoons of oil and blend longer.
Tips for Success
Select fresh, unscented nuts: rancid or soft nuts ruin a batch. Smell and bite-test a few before committing a full cup to processing.
Use a robust appliance with metal blades and a powerful motor. A weak processor can heat, scorch, or stall when emulsifying nut oils.
Keep a small jar of test butter for tweaking recipes. Over time you will dial roast level and seed ratios to your signature profile.
Wild Foraging Safety (H3 level detail)
Identify trees and seasonal cues before harvesting. Foraged nuts typically fall when ripe; collecting many that remain tightly attached often means they are immature.
Take care with local regulations and habitats—collect only surplus that does not deprive wildlife. Wash and dry all wild nuts thoroughly to remove soil and insects.
Serving Suggestions
Spread on toasted bread, swirl into porridge, or fold into dressings and sauces for a creamy natural fat component. Small additions transform simple dishes into layered, savory bites.
Garnish with crushed pine nuts and a sprig of fresh herb for visual appeal and a hint of forest aromatics. Use as a dip for apple slices or as a filling for pastries.
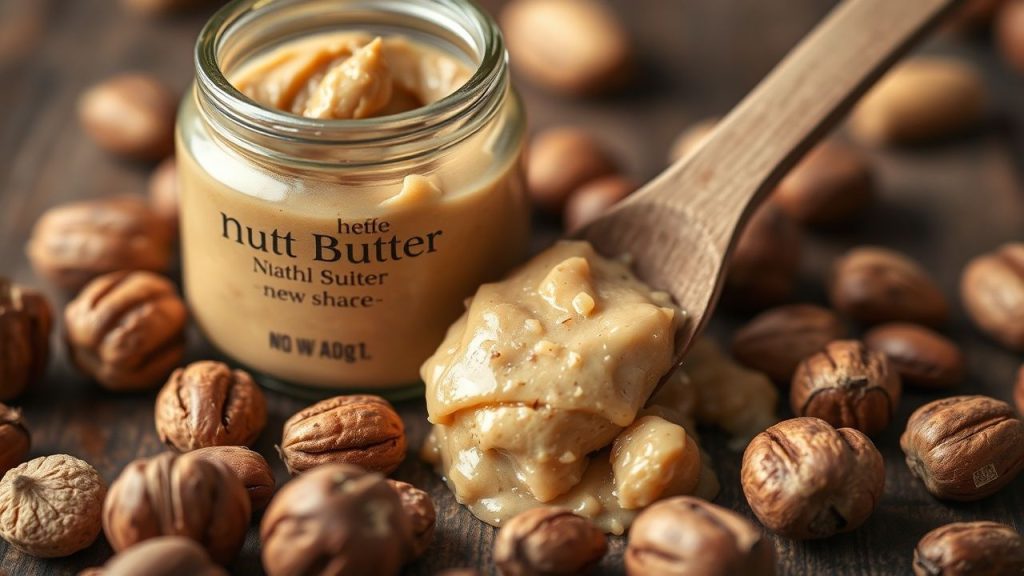
Storage and Shelf Life
Transfer butter to clean, airtight glass jars. Press a sheet of parchment against the surface to limit air exposure and pour a thin film of oil on top to seal if you expect longer storage.
Refrigerate for up to 3 weeks for best flavor. For longer storage, freeze small portions; thaw in the refrigerator and stir before serving to reincorporate separated oils.
Nutritional Snapshot
Homemade nut butter packs healthy fats, plant protein, and micronutrients. Exact values vary with nut selection and added ingredients.
Moderation matters: high caloric density means portion control helps integrate nut butter into balanced meals without excess calories.
| Nutrient | Amount (per 2 tbsp) |
|---|---|
| Calories | 190 kcal |
| Protein | 6 g |
| Carbohydrates | 7 g |
| Fat | 16 g (mostly unsaturated) |
Further Reading and Internal Resources
Explore detailed techniques in our recipe library. Try the stepwise variations at How to Make Almond Butter at Home for texture-controlled experiments.
Learn basic safe-foraging practices in our primer at Wild Foraging Basics and review preservation tactics at Nut Butter Storage Tips for long-term planning.
FAQ
Q1: What is the easiest nut to start with?
Almonds and hazelnuts are forgiving and blend into a smooth texture with predictable roast times. Hazelnuts give a strong, bakery-like aroma; almonds offer a neutral base for mix-ins.
Q2: Can I use raw foraged nuts without roasting?
Yes, but roasting improves flavor and eases grinding. Raw nuts may yield a grittier texture and a milder, sometimes bitter, taste depending on the species.
Q3: How do I fix a separated or oily jar?
Stir the nut butter vigorously or warm gently to reincorporate oils. A short run in the processor with a teaspoon of neutral oil often restores a homogeneous texture.
Q4: How much salt should I add?
Begin with 1 teaspoon per 2 cups of nuts and adjust to taste. Salt enhances flavor perception; add incrementally and taste after each small addition.
Q5: Are acorns usable for nut butter?
Yes, acorns can become a unique butter after proper tannin leaching. The process requires soaking and multiple water changes to remove bitterness before roasting and processing.
See also: Nut butter

