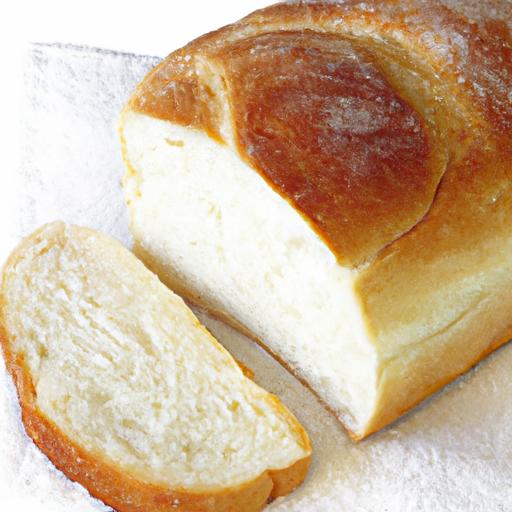
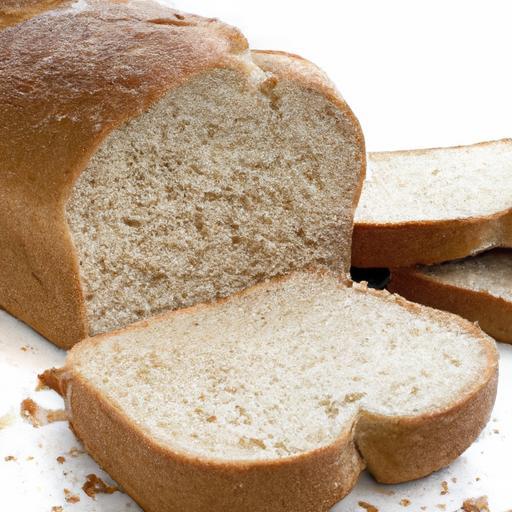
There’s nothing quite like the irresistible aroma of freshly baked bread wafting through your kitchen – a sensory delight that promises warm, soft slices and crusty edges with every bite. But as any homemade bread enthusiast knows, that perfection can quickly fade, leaving your prized loaf dry or stale far sooner than you’d like. Fear not: maintaining that just-baked freshness is an art – one that can be mastered with the right knowledge and techniques. In this article, we’ll uncover expert storage tips that ensure each slice of your homemade bread tastes as vibrant and delicious days after baking as it did the moment it came out of the oven. Say goodbye to wasted loaves and hello to lasting freshness!
Keep Your Homemade Bread Fresh: Expert Storage Tips Revealed
Keep your homemade bread fresh with expert storage tips that transform simple leftovers into bakery-quality delights every time. Whether you’ve just pulled a golden, crusty loaf from the oven or brought home a fragrant baguette, safeguarding that perfect texture and aroma is an art-and a science. Over years of baking and styling, I’ve discovered the essential secrets to preserving bread’s freshness while reducing waste, turning each slice into an irresistible treat.
Prep and Cook Time
- Preparation: 10 minutes
- Storage Setup: Immediate after cooling
- Reuse or Revival: 5-10 minutes
Yield
Perfectly stored bread keeps enough for 1-2 weeks depending on type and conditions.
Difficulty Level
Easy to Intermediate – No specialized tools required, just a mindful approach!
Ingredients
- Freshly baked bread (any variety: sourdough, rye, whole wheat, baguette)
- Beeswax wrap or parchment paper (for wrapping)
- Airtight container (glass or food-grade plastic preferred)
- Clean kitchen towel or bread bag
- Zip-lock freezer bags (for freezing)
Instructions
- Ensure your bread has completely cooled. Wrapping warm bread traps moisture leading to sogginess and faster mold growth. Allow at least 1 hour for cooling on a wire rack.
- Choose the right container wisely. Bread thrives best in containers that balance protection and air circulation. Glass or BPA-free plastic containers with a snug lid prevent drying out but avoid vacuum-sealing as it can crush delicate crumb structures.
- Master wrapping techniques. Wrap your loaf loosely with parchment paper followed by a breathable kitchen towel or use beeswax wraps that protect while allowing your bread to breathe.
- Seal properly. When using airtight containers, avoid completely sealing tight if storing for more than 2 days. Leave a slight vent for breathability. For freezer storage, wrap in plastic wrap followed by zip-lock bags for ultimate protection against freezer burn.
- Control storage temperature. Store at room temperature away from heat, direct sunlight, or fluorescent light to maintain freshness. To extend shelf life beyond 3 days, refrigerate only if your kitchen climate is humid; otherwise, freezing is preferable.
- Creative bread revival. Stale crumbs? Revive by sprinkling lightly with water and warming in a preheated oven at 350°F (175°C) for 5-7 minutes or refreshing slices in a toaster until crisp and aromatic.
Tips for Success
- Avoid plastic bags for long-term storage. They trap moisture, inviting mold and a gummy crust.
- Use a bread box if available-an old-fashioned but ultra-effective tool to maintain ideal humidity.
- For artisan breads, wrap the loaf’s cut side with beeswax wrap to preserve crunchiness while protecting the crust.
- Freeze in portions. Slice before freezing so you can thaw exactly what you need.
- Keep an eye on condensation. If you spot moisture inside your container, unwrap and let the bread air out briefly.
- Revival alternate: A quick steam inside a warm oven recreates that freshly baked crust aroma.
Serving Suggestions
Slice your perfectly preserved bread just before serving to maintain texture and taste. For visual flair, pair with vibrant herb butters, creamy chèvre, or olive tapenade. Toast slices lightly and garnish with microgreens or sea salt flakes to elevate the rustic charm of your bread. Display in woven baskets lined with crisp linen cloths-simple touches that celebrate the craft of fresh homemade bread.

| Nutrient | Per Slice (30g) |
|---|---|
| Calories | 80 |
| Protein | 3g |
| Carbohydrates | 15g |
| Fat | 1g |
For more expert advice on homemade baking, explore our Homemade Bread Essentials page or dive into this King Arthur Baking guide on bread storage for science-backed insights.
Q&A
Q&A: Keep Your Homemade Bread Fresh – Expert Storage Tips Revealed
Q1: Why does homemade bread go stale faster than store-bought bread?
A1: Homemade bread often lacks preservatives and stabilizers found in commercial loaves, which means it can dry out or become stale more quickly. Its natural ingredients and fresher crumb make it wonderfully flavorful but also more delicate.
Q2: What’s the best way to store homemade bread if I plan to eat it within a couple of days?
A2: For short-term freshness, keep your loaf at room temperature in a breathable container like a paper bag or a bread box. Avoid plastic bags for daily use-they trap moisture, which can lead to a soggy crust or mold.
Q3: Can I freeze my homemade bread? If yes, how should I do it?
A3: Absolutely! Freezing is a baker’s best friend to lock in that just-baked goodness. Slice your bread first (it’s easier to thaw one or two slices than the whole loaf), wrap the slices tightly in plastic wrap or foil, then place them in a freezer-safe bag. Toast or warm slices straight from the freezer for a freshly-baked taste.
Q4: Should I refrigerate homemade bread to keep it fresh?
A4: Refrigeration is generally a no-no for homemade bread. Cold temperatures accelerate the staling process by causing starch recrystallization, making the bread dry and crumbly faster than room temperature storage. Opt for freezing if you need longer storage.
Q5: How can I revive bread that has started to go stale?
A5: Don’t despair! Wrap the bread in foil and warm it in a preheated oven at 350°F (175°C) for 10-15 minutes. This briefly rehydrates the crumb and crisps up the crust, giving your stale loaf a new lease on life.
Q6: Is humidity a factor in keeping homemade bread fresh?
A6: Yes, humidity plays a big role. Too much moisture leads to mold, while too little dries the bread out. A cool, dry place with moderate humidity is ideal. Using a bread box can help maintain this balance by allowing some airflow but preventing overly dry air from reaching the loaf.
Q7: Are there any natural ingredients that can help homemade bread stay fresh longer?
A7: Some bakers add ingredients like honey, olive oil, or sourdough starters, which can subtly improve shelf life due to their natural preservatives and moisture-retaining properties. However, proper storage is still key to maintaining freshness.
Keep these expert tips in mind, and your homemade bread will taste fresh and delightful as if it just came out of your oven-day after day!
Closing Remarks
Whether you bake your bread from scratch or simply enjoy the artisanal goodness of homemade loaves, keeping that fresh-baked magic alive doesn’t have to be a mystery. With these expert storage tips in your kitchen arsenal, you’ll extend the life of your bread’s tender crumb and crisp crust, bite after glorious bite. So go ahead-embrace these simple strategies, and let every slice remind you why homemade truly tastes better. Because fresh bread isn’t just food; it’s a little loaf of happiness that deserves to stay perfect just a little bit longer.


