
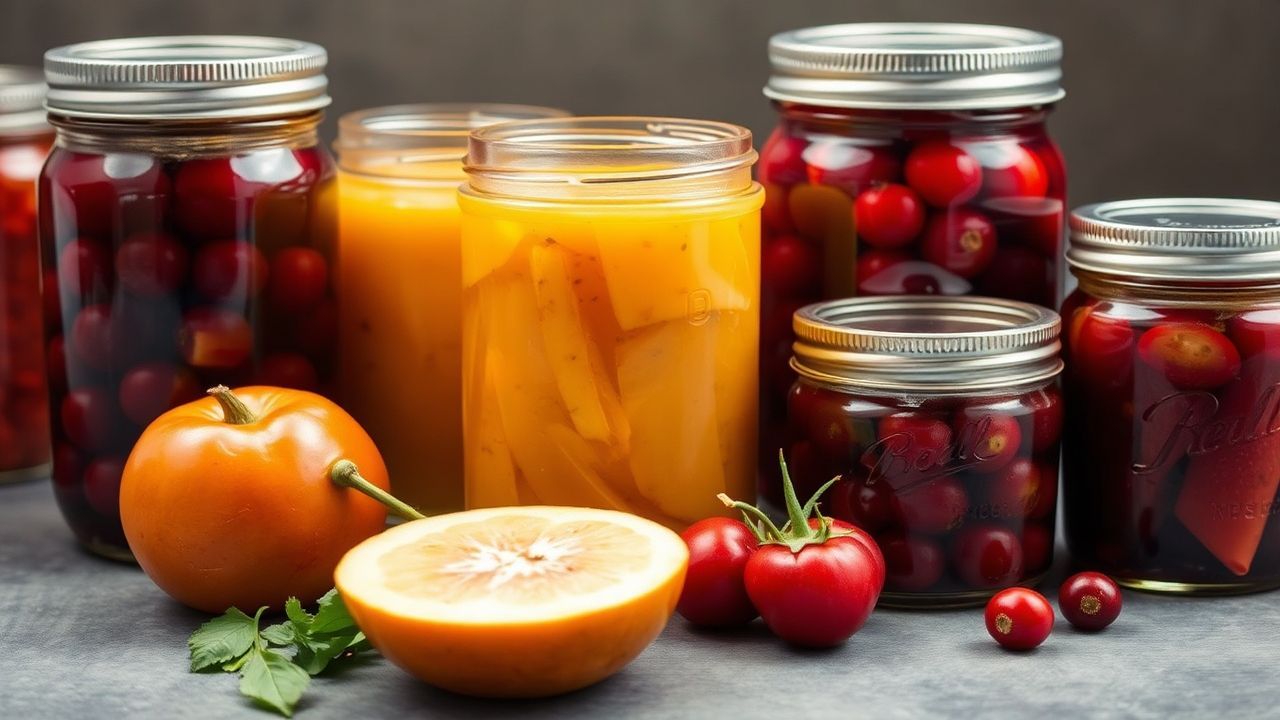
Relish canning demands measured steps: correct acidity, tight seals, and controlled processing times preserve flavor and safety. Follow tested technique to keep jars shelf-stable and relish crisp rather than mushy.
- Sanitize rigorously: start with clean jars and lids to prevent contamination.
- Acidity controls safety: use 5% vinegar or follow a validated recipe for reliable pH.
- Process consistently: correct time and headspace deliver durable seals and good texture.
- Label and store: date jars and rotate stock to use older relishes first.
Prep and Timing for Relish Canning
Plan every step before you heat a burner. Preparing tools, jars, and ingredients ahead keeps the workflow tight and reduces the chance of temperature loss during packing.
Use a timer and an altitudinal chart to adjust process minutes. Relish canning requires precise timing to ensure both safety and the texture you want in finished jars.
Yield and Difficulty — Relish Canning
This batch yields about six pint jars when you pack vegetables to the recommended headspace. Adjust yields by jar size, but treat each jar as a standalone safety unit during processing.
Difficulty rates as medium: basic canning skills plus attention to detail prevent common failures. If you are new to relish canning, start with a small test batch to validate your steps and confidence.
Ingredients and Acidity for Relish Canning
Fresh, firm vegetables produce the crisp texture that defines a good relish. Use white vinegar labeled 5% acidity to achieve the safe, low pH that shelf storage requires.
Measured sugar balances flavor but does not substitute for acid. For background on the chemistry of acid and preservation, see vinegar and the science behind pickling at pickling.
- 4 cups finely chopped cucumbers, peeled and seeded
- 2 cups diced green bell peppers
- 1 cup chopped onions
- 1 ½ cups white vinegar (5% acidity)
- 2 cups granulated sugar
- 1 tablespoon mustard seeds
- 1 tablespoon celery seeds
- 1 teaspoon ground turmeric
- 1 teaspoon salt (pickling or kosher salt preferred)
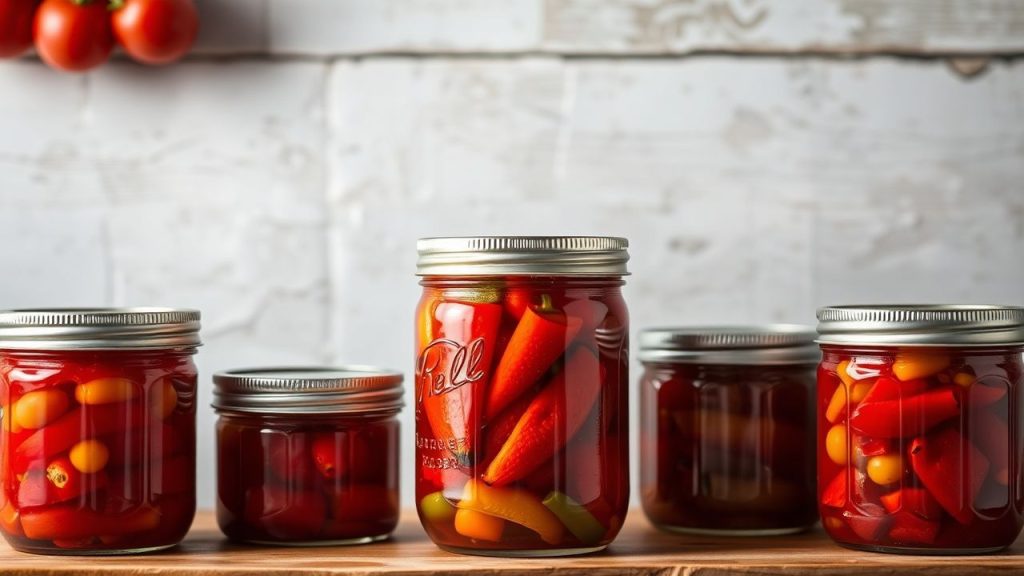
Instructions: Sterilize to Seal — Relish Canning Steps
Work in sequence for predictable results. Accurate sterilization, hot-filling, correct headspace, and consistent processing yield reliable jars every time.
Keep the workspace hot and sanitary and move one jar at a time to maintain temperature. If your jars cool before sealing, you risk poor vacuum formation and compromised safety.
Sterilization and Jar Prep
Wash jars and lids in hot, soapy water and rinse thoroughly to remove residue. Place jars in boiling water for 10 minutes then keep them hot until filling to prevent thermal shock during hot fill.
Choose jars rated for canning; the standard container is the Mason jar—see Mason jar details for glass design and history. Use new or defect-free lids for dependable seals.
Cooking and Packing
Combine chopped vegetables uniformly so each bite has consistent texture. In a saucepan, bring vinegar, sugar, and spices to a rolling boil and dissolve sugar fully before pouring over the vegetables.
Hot-fill jars immediately and leave the recommended 1/2-inch headspace. Remove trapped air with a non-metallic spatula, wipe rims, and apply lids fingertip-tight to allow proper venting during processing.
Headspace and Bubble Removal
Maintaining precise headspace ensures a safe vacuum after processing. Use a ruler or headspace gauge to confirm 1/2 inch and slide a spatula along the interior to remove air pockets before sealing.
Wipe rims with a clean, damp cloth to remove food residue that can prevent a seal. Tighten bands fingertip-tight; over-tightening can inhibit full venting and under-tightening can allow leaks.
Processing and Cooling
Process jars in a boiling water bath for the time the tested recipe specifies, adjusting for altitude. Keep jars covered by at least 1 inch of water throughout the process to maintain temperature uniformity.
Remove jars and place them on a towel-lined surface to cool undisturbed for 12 to 24 hours. Confirm seals by pressing each lid center; a properly sealed lid will not flex, and the vacuum will hold during storage.
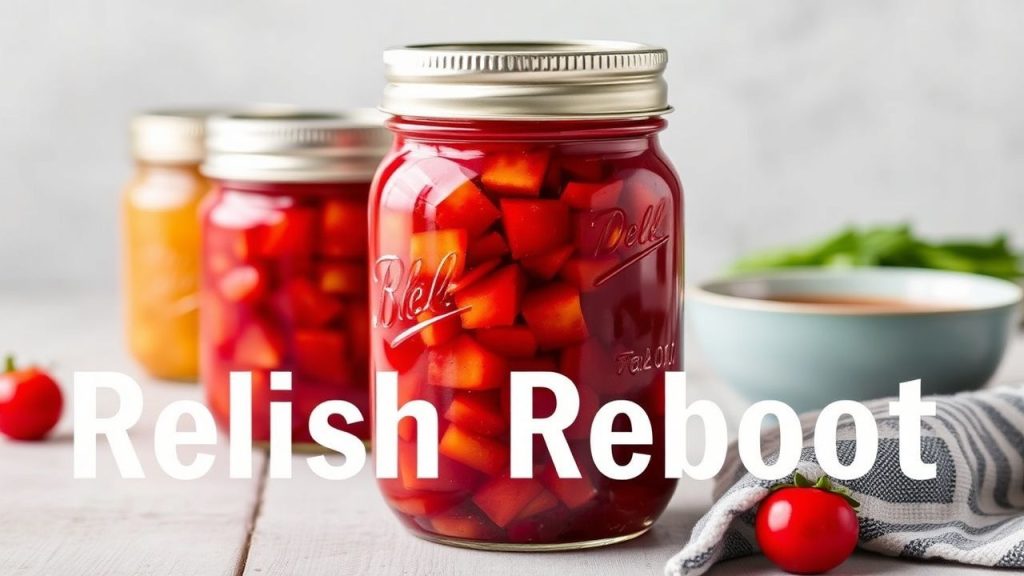
Relish Reboot: Tips for Success in Relish Canning
Small technique tweaks lift quality and improve shelf stability. Maintain uniform vegetable sizes and use firm produce to avoid soggy jars after processing.
Customize seasonings sparingly and avoid changing acid-to-sugar ratios unless you use a lab-tested formula. For the preservation context, consider standard canning method descriptions like canning.
Label jars with the date and contents, then store them in a cool, dark place for at least two weeks before sampling so flavors meld. Rotate stock by date and use older jars first to keep freshness steady.
For technique refreshers, check practical resources and previous how-to posts on the site. See related posts on relish processing at Relish Canning tag and general canning basics at Canning Basics.
Serving Suggestions for Your Relish Canning Results
Relish brightens sandwiches, burgers, and sausages by adding crunchy, tangy contrast. Serve chilled to preserve texture and present the best mouthfeel.
Use small spoonfuls to accent cheeses, crostini, or charcuterie boards. A little relish amplifies flavor without overwhelming the primary ingredients.
Nutrition and Storage After Relish Canning
Relish can contain sugar and sodium, so consider two-tablespoon servings when tracking macros. Store sealed jars in a pantry away from heat and sunlight to maximize shelf life.
Properly processed jars remain shelf-stable for 12 to 18 months when stored at steady, cool temperatures. When uncertain, open a jar in a well-lit area and discard any jar that shows visual or olfactory signs of spoilage.
| Nutrient | Amount per 2 tbsp |
|---|---|
| Calories | 30 |
| Protein | 0.5g |
| Carbohydrates | 7g |
| Fat | 0g |
Final Prep Checklist for Relish Canning
Confirm you have sanitized jars, measured vinegar acidity, and set up a safe processing area. A short checklist prevents the most common oversights and protects both flavor and food safety.
Double-check processing times against altitude charts and keep a visible timer. Accurate timing and temperature control remain the two most reliable safeguards against spoilage when relish canning.
See also: Relish Canning
FAQ
Below are focused answers to common relish canning questions drawn from practical kitchen experience. Use these checks when you encounter issues to troubleshoot quickly and safely.
When in doubt, follow validated protocols rather than improvising; measured steps protect both jars and diners.
What is the biggest mistake new relish canners make?
New canners often skip proper jar sterilization and hot processing, which raises the risk of microbial growth. Follow validated steps for cleaning and processing to avoid ruined batches.
Can I use any jar for my homemade relish?
Use jars designed for canning; they withstand heat and support dependable seals. Reusing non-canning glass risks breakage or failed seals during relish canning.
Why did my relish become mushy after processing?
Mushy texture usually comes from overcooking or using overly ripe vegetables. Choose firm produce and avoid prolonged simmering before packing to retain crispness in relish canning.
How important is acid level in relish recipes?
Acid level determines safety for shelf storage; it is non-negotiable for low-acid vegetables. Always use vinegar labeled 5% acidity and avoid substituting lower-acid liquids unless the recipe is tested for that change.
What should I do if a sealed jar pops during storage?
If a sealed jar pops or shows signs of spoilage later, discard it to avoid risk. Never taste or serve from a jar with cloudiness, gas bubbles, or off-odors.
Use this guide as your operational map for relish canning: sanitize thoroughly, measure precisely, process consistently, and store smartly. With those steps in place, your relish will reward patience with dependable flavor and safety.
Additional resources: review preservation basics when you want a refresher and consult the site’s step-by-step guides at Water Bath Canning for process pictures and altitude adjustments.
Recommended Reading:
- Tiny Tastes: 7 Expert Tips for Crafting Small-Batch Chutney
- 10 Expert Savory Fixes to Tame Sweet Chutney Overload
- 7 Zesty Ways to Turn Leftover Veggies Into Homemade Veggie Relish


