
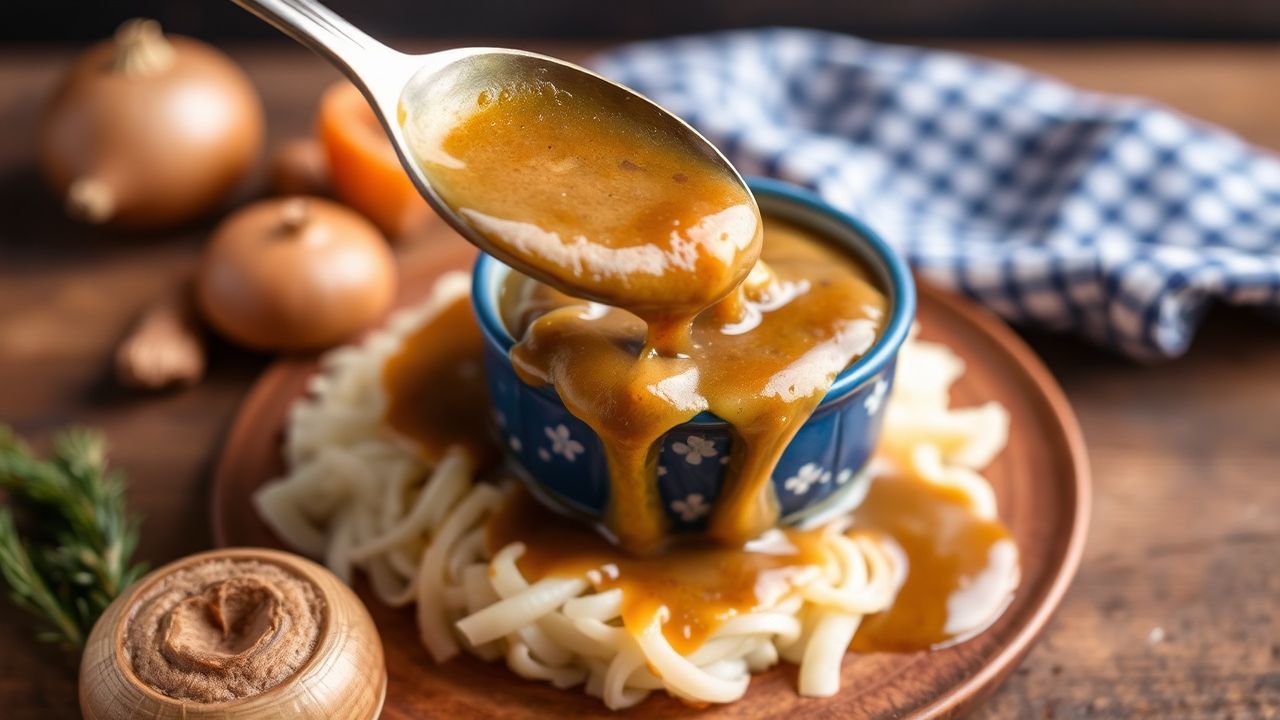
Rich & Savory Homemade Onion Gravy transforms simple plates into memorable meals by focusing on slow caramelization and balanced seasoning. The sauce delivers deep, sweet onion notes layered over a savory stock base for maximum flavor impact.
- Key technique: slow caramelization builds the base flavor.
- Thickening: a roux or slurry controls texture without masking taste.
- Versatility: works with beef, chicken, or vegetarian stocks.
- Storage: refrigerates for several days and freezes well in portions.
Prep and Cook Time
Preparation: 15 minutes. Prep focuses on slicing onions evenly and measuring ingredients for a smooth workflow.
Cooking: 45 minutes. Most of the time is slow caramelization; allow at least 30–40 minutes to develop deep color and flavor.
Yield
Serves 6 generously. The recipe produces about 2 to 3 cups of gravy depending on reduction.
Scale easily: double ingredients for larger gatherings or halve for 2–3 servings without changing technique.
Difficulty Level
Medium. The method requires attention to heat control and periodic stirring to avoid scorching the onions and to coax out natural sugars.
No advanced skills required: follow timing cues and visual checks for golden-brown color to know you’re on track.
Ingredients
Use quality, matching components: fresh onions, a stable fat for sautéing, and a robust stock to carry the sauce.
Substitutions are straightforward for dietary needs; note how each swap changes the final flavor profile.
- 4 large yellow onions, thinly sliced
- 3 tbsp unsalted butter
- 1 tbsp olive oil
- 2 garlic cloves, minced
- 2 tbsp all-purpose flour, sifted
- 2 cups beef stock (or vegetable stock for a vegetarian version)
- 1 tsp fresh thyme leaves, finely chopped
- 1 bay leaf
- 1 tbsp Worcestershire sauce
- Salt and freshly ground black pepper, to taste
- 1 tsp brown sugar (optional, for enhanced caramelization)
Instructions
Start at medium-low heat with butter and oil in a heavy-bottomed skillet; add a pinch of salt to draw moisture from the onions. Stir gently and maintain steady heat to avoid burning while the onions soften and brown.
Caramelize slowly for 30–40 minutes until onions reach a deep golden hue. Add brown sugar midway if using; it helps promote even browning without becoming overtly sweet.
- Heat butter and oil in a large, heavy-bottomed skillet over medium-low heat. Add the thinly sliced onions and a pinch of salt to help draw out moisture. Sauté gently, stirring frequently, until the onions turn a rich golden brown, about 40 minutes. Patience here prevents bitter, burnt notes.
- Add the brown sugar halfway through to nudge the natural sugars toward caramelization without masking savory elements.
- Mix in the minced garlic and cook 2–3 minutes until aromatic but not browned; garlic will overcook faster than onions.
- Sprinkle the flour evenly over the onions, stirring for 1–2 minutes to cook the raw flour taste and form a light roux that will thicken the gravy.
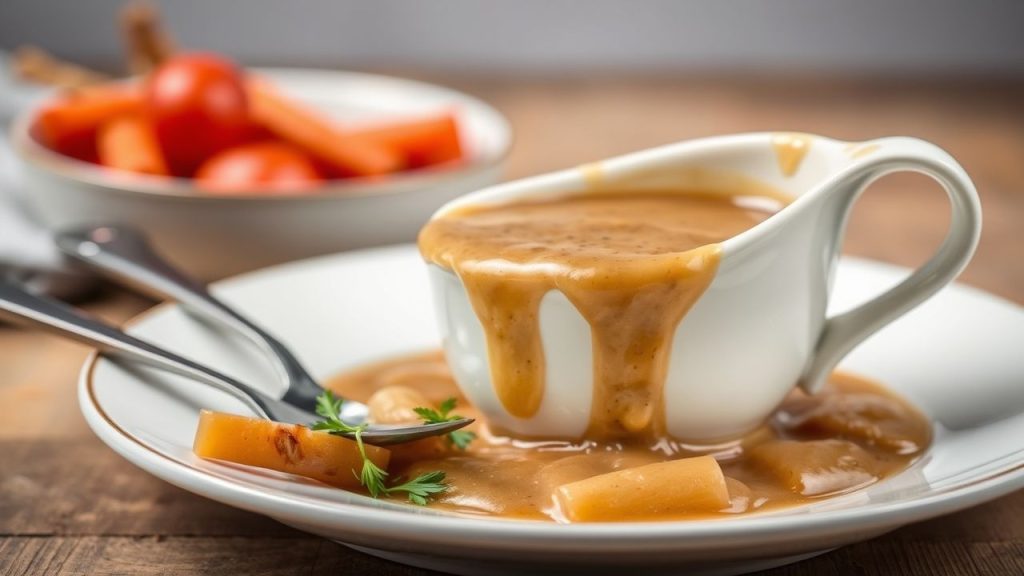
- Gradually add the stock while whisking to prevent lumps. Add thyme, bay leaf, and Worcestershire sauce. Bring to a gentle simmer and reduce for 10–15 minutes until the gravy coats a spoon.
- Season and finish with salt and pepper to taste. Remove and discard the bay leaf before serving; adjust consistency with additional stock if needed.
[WARNING]Pro-Caution: Maintain medium-low heat during caramelization. High heat accelerates browning but leads to burnt, bitter flavors that ruin the gravy.
If the gravy thickens too much after cooling, thin with a small splash of warm stock or water while reheating to restore a glossy finish. Use a whisk to return a smooth texture.
Chef’s Notes: Tips for Success
Use a heavy-bottomed pan to spread heat evenly; this prevents hot spots that char onions. A stainless-steel or cast-iron skillet gives reliable results and predictable browning.
Control moisture and time: add a teaspoon of liquid if onions look dry, and scrape fond from the pan to lift flavor without scraping burnt bits into the sauce.
To thicken without flour, use a cornstarch slurry (1 tsp cornstarch mixed with 2 tsp cold water) added at the end and simmered briefly. That offers a gluten-free option with a clear finish.
Serving Suggestions
Drizzle over creamy mashed potatoes, roasted meats, or grilled sausages for classic pairings that highlight the gravy’s glossy texture. Fresh herbs like thyme or chopped parsley add a bright contrast.
Try the gravy with sautéed mushrooms or as a layer inside a shepherd’s pie. It also complements Yorkshire puddings and elevates simple roasted vegetables.
Nutritional Info
Per serving estimates help plan meals and track macros. Values vary by stock choice, butter quantity, and portion size.
Typical values for one serving: roughly 120 calories, 3 g protein, 15 g carbs, and 6 g fat. Adjust based on actual ingredients used.
| Nutritional Info (per serving) | Calories | Protein | Carbs | Fat |
|---|---|---|---|---|
| Rich & Savory Homemade Onion Gravy | 120 | 3g | 15g | 6g |
Storage: cool then refrigerate in an airtight container for up to 4 days, or freeze in portions for up to 3 months. Reheat gently and whisk in a splash of stock if needed.
Background & Technique Notes
Onions provide the flavor foundation; choose firm, sweet varieties for best results. The chemical process of caramelization breaks down sugars and produces the brown color and complex aromas.
Understanding a basic roux helps control texture. Cook the flour briefly in fat to eliminate raw taste before adding liquid for a smooth sauce.
Stock quality determines depth: use a robust beef or vegetable base to carry the onions. For fundamentals on good stock, consult the stock (food) entry for technique and flavor-building principles.
Q&A
Q&A: Rich & Savory Homemade Onion Gravy
What makes onion gravy a classic comfort food?
The slow-cooked onion sweetness and savory stock create a familiar, warming aroma that pairs with many dishes. This combination triggers sensory memories tied to hearty meals and family-style cooking.
Its texture and flavor balance enhances basic starches and proteins, turning simple plates into more satisfying meals with minimal extra effort.
Why make onion gravy from scratch?
Making gravy from scratch yields fresher, layered flavors you can tailor by adjusting herbs, seasoning, or stock. Packaged alternatives often lack the depth that slow caramelization provides.
From a practical angle, homemade gravy lets you control sodium and fat levels, and to accommodate dietary needs like vegetarian or gluten-free versions.
How long should I caramelize onions for best results?
Plan for 30–40 minutes on medium-low heat, stirring periodically. Visual cues—deep golden-brown color and a sweet, concentrated aroma—indicate readiness.
If time is tight, raise heat slightly but watch closely; a small increase shortens time at the cost of higher risk of burnt edges and bitter flavors.
Can onion gravy be made vegan or gluten-free?
Yes. Replace butter with olive oil or vegan margarine and use vegetable stock to keep it vegan. For a gluten-free thickener, choose cornstarch or a certified gluten-free flour blend.
Taste as you go: vegan Worcestershire alternatives or tamari can replicate the savory depth often provided by traditional Worcestershire sauce.
How do I store and reheat leftover gravy?
Cool quickly, then refrigerate in an airtight container up to 4 days or freeze in portions for up to 3 months. Thaw overnight in the refrigerator before reheating.
Reheat gently on the stove over low heat, whisking in a small amount of warm stock or water to regain a smooth, pourable consistency.
Final Notes
Onions are simple but powerful ingredients; treat them with time and attention and they repay you with deep, savory-sweet flavor. The right technique makes this gravy a versatile kitchen staple.
For reference on onion varieties and culinary history, see the onion page. Use these methods and adjust seasonings to match your menu and taste preferences.
See also: Onion gravy


