
Whipping Up Butter at home rewards you with fresh flavor and total control over ingredients. With a stand mixer, heavy cream becomes butter in about 20 minutes when you follow a clear, methodical technique.
- Yield: Roughly 1 cup of butter from 2 cups cream.
- Time: Prep 10 minutes, whip 15–20 minutes, total about 30 minutes.
- Key steps: Whip past peaks, drain buttermilk, wash solids, flavor and chill.
- Storage: Refrigerate 2 weeks or freeze for months.
Why make butter at home
Homemade butter delivers flavor and texture that store-bought spreads rarely match. You control the cream source, salt level, and any added herbs or sweeteners.
Making butter also teaches basic dairy chemistry: mechanical agitation separates milkfat from the aqueous phase. For background on dairy products and cream, see cream (dairy).
Prep and Cook Time
Prep Time: 10 minutes. Chill your mixing bowl and whisk for a firmer, faster result.
Whipping Time: 15–20 minutes depending on cream fat and mixer speed. Expect changes in texture: whipped peaks, then grainy curds as separation begins.
Yield
From 2 cups (480 ml) of heavy cream you should get approximately 1 cup (8 oz) of butter and roughly 1 cup of buttermilk. Yields vary slightly by fat percentage and how thoroughly you wash the butter.
Reserve the drained buttermilk for baking and pancakes; cultured buttermilk improves tenderness and flavor in quick breads. Learn more about traditional butter churning at butter churning.
Difficulty Level
Easy to medium. The technique demands attention but no advanced culinary skills. Beginners succeed when they monitor texture and temperature.
Expect a short learning curve: timing and visual cues replace precise instruments. Once you recognize the sound and look of separation, you will reproduce results reliably.
Ingredients
2 cups heavy cream (36% fat or higher), chilled. Higher fat creams yield richer, quicker-forming butter.
Optional: ⅛ tsp fine sea salt, 1–2 tbsp cold water or buttermilk for washing, and flavorings like herbs, garlic, or honey. For more on buttermilk as an ingredient, see buttermilk.
Equipment
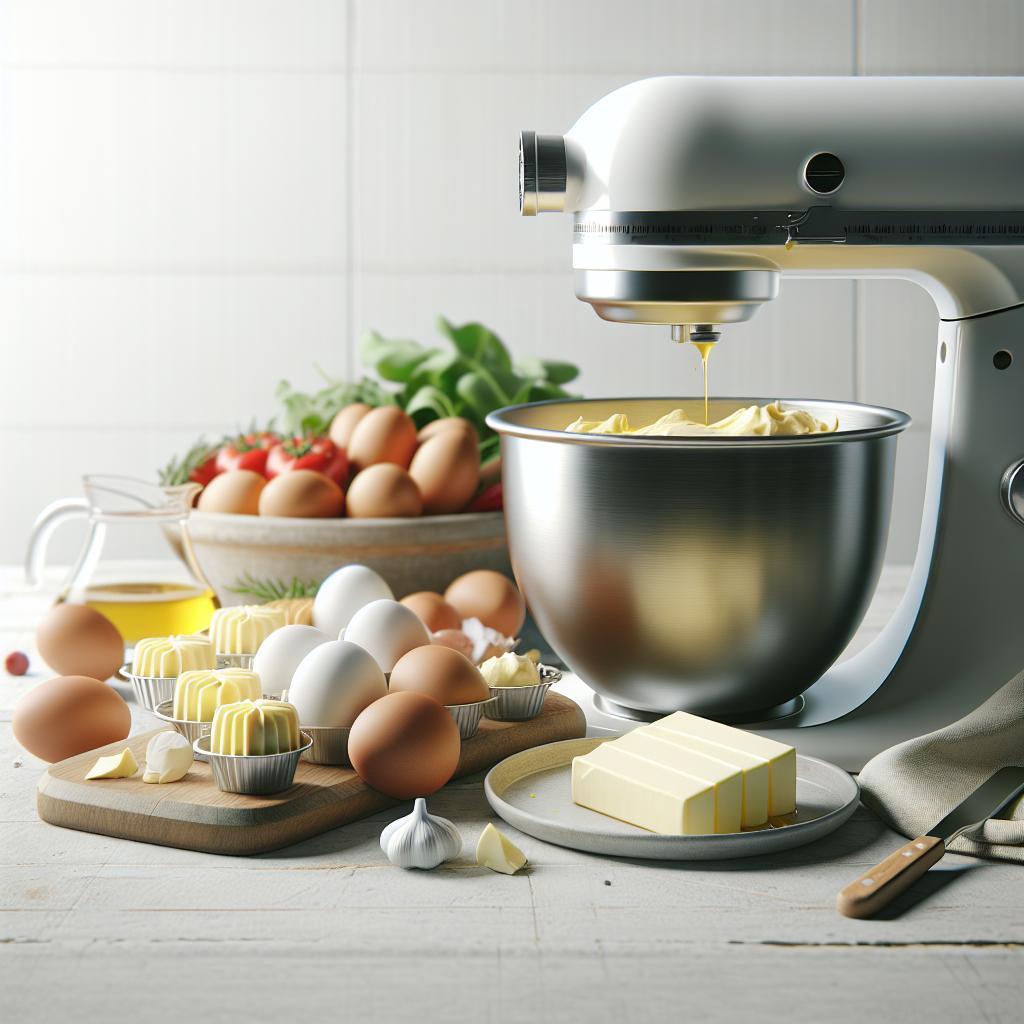
A stand mixer with a whisk attachment gives speed and consistent agitation. A fine mesh strainer or cheesecloth, spatula, and a bowl for rinsing complete the setup.
Cold utensils shorten whipping time and keep the butter from warming. Use a chilled metal bowl for best thermal conductivity and control.
Instructions
Step-by-step technique
Chill the bowl and whisk for 15 minutes, then pour in the cold heavy cream and start on medium speed. Whip through soft and stiff peaks; resist stopping at whipped cream stage.
Continue mixing until the cream looks grainy and you hear a change in the mixer sound. You will see pale yellow clumps of butter and a watery liquid (buttermilk) collecting at the bottom.
Separating and washing
Stop the mixer and strain off the buttermilk using a fine mesh strainer. Press the solids gently to remove as much liquid as possible; keep the drained liquid for baking.
Wash the butter under cold running water while pressing with a spatula or clean hands until the rinse runs clear. Proper washing removes residual lactose and proteins, which improves shelf life and flavor stability.
After washing, work in salt or other flavorings by folding gently until evenly distributed. Shape the butter into a log or pack into a small jar and chill immediately.
Tips for Success
Start with cold cream and chilled tools to shorten the whipping window and to produce firmer curds. If the cream warms, pause and refrigerate the bowl briefly to regain temperature control.
Use medium speed rather than maximum to avoid splatter and overheating. Monitor both sound and appearance: a change in tone signals separation.
For extra silky butter, press and fold repeatedly while rinsing until the water runs clear. This extra step reduces residual buttermilk and extends fridge life.
Flavoring and Compound Butters
After washing and draining, add salt, herbs, garlic, citrus zest, or honey to create flavored compound butter. Add small amounts and taste as you go to maintain balance.
For herb butter, finely chop herbs and knead them in until evenly distributed. Portion into logs, wrap in parchment, and freeze slices for quick finishing on steaks or vegetables.
Storage and Shelf Life
Wrap butter tightly in parchment or place it in an airtight container; refrigerate for up to two weeks. For longer storage, freeze small portions for up to six months.
Label frozen portions with date and flavor. Thaw in the refrigerator to preserve texture rather than leaving butter at room temperature for long periods.
Serving Suggestions
Serve fresh butter thickly spread on warm bread, or melt a pat over steamed vegetables for immediate richness. Sprinkle flaky salt or chopped herbs right before serving to brighten aroma and taste.
Use flavored butters to finish grilled meats, toss with pasta, or dollop on pancakes for contrast. Homemade butter elevates simple dishes with pure dairy depth.
Nutrition Snapshot
Butter is calorie-dense and primarily composed of fat, with about 100 kcal per tablespoon. It contains saturated and monounsaturated fats and negligible carbohydrates or protein.
Enjoy butter in moderation as part of a balanced diet and choose high-quality cream for best nutrient density and flavor. For background on butter as a food, see butter.
| Nutrient | Per 1 Tbsp | Notes |
|---|---|---|
| Calories | 100 kcal | Rich in fats |
| Protein | 0.1 g | Minimal protein |
| Carbohydrates | 0 g | No carbs |
| Fat | 11 g | Mostly saturated and monounsaturated |
Troubleshooting
If cream never separates, check the fat content and temperature. Ultra-pasteurized cream may resist separation, so choose fresh, high-fat cream whenever possible.
If butter turns out grainy or greasy, you may have overworked the fat or allowed it to warm. Chill briefly and then knead gently to restore a smoother texture.
FAQ
Can I use ultra-pasteurized cream?
Ultra-pasteurized cream sometimes yields poor separation and slower whipping. For reliable results, choose fresh heavy cream labeled for whipping with at least 36% fat.
How long does buttermilk keep?
Freshly drained buttermilk stores in the refrigerator for up to one week. Use it in pancakes, dressings, and quick breads for tang and moisture.
Can I use a hand mixer or immersion blender?
Yes, both tools work but require more hands-on control and can be messier. A stand mixer gives consistent agitation and frees you for other tasks.
Is homemade butter safer than store-bought?
Homemade butter is as safe as the cream you start with; source pasteurized cream and practice clean handling. Proper washing and refrigeration reduce spoilage risks.
What are the best flavor pairings for compound butter?
Classic combinations include garlic and herbs for savory use, lemon zest and thyme for brightness, or honey and cinnamon for sweet spreads. Keep proportions light to let the butter shine.
Try these steps with a quality cream and a patient approach, and your stand mixer will yield fresh, flavorful butter that upgrades everyday meals.

See also: homemade butter


