
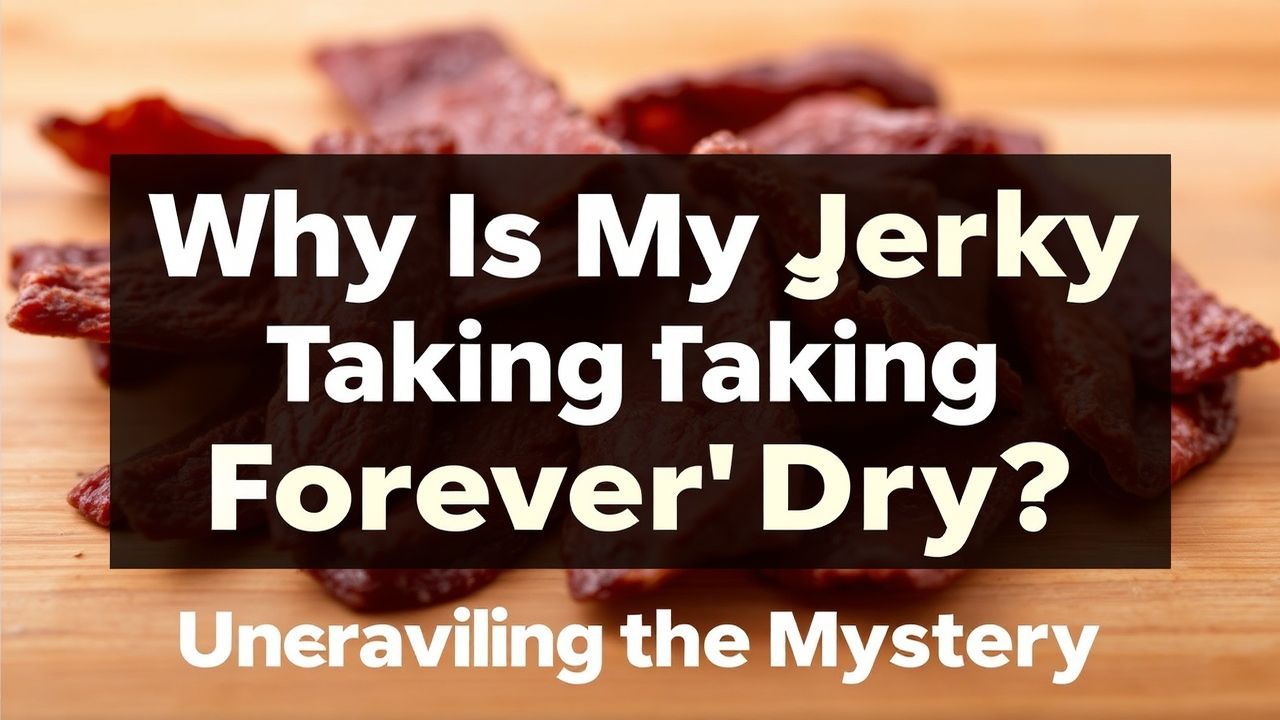
There’s a special satisfaction in watching raw strips of meat pull moisture, darken, and become chewy jerky—until the process stalls. Slow or uneven drying wastes time and wrecks texture, but common causes are predictable and fixable.
- At a glance: jerky drying stalls when slices are too thick, marinades leave excess surface moisture, airflow is restricted, or ambient humidity is high.
- Quick wins: slice thinner and consistently, blot marinades, space trays for cross-flow, and tune temperature within safe drying windows.
- Safety note: verify internal safety temperatures or finish at a safe probe temperature if cool spots persist.
Why jerky drying sometimes takes forever
Drying works in two linked steps: water must migrate to the strip surface, then evaporate into the surrounding air. If either step slows, the whole run stretches out.
Minor issues stack. A slightly thicker slice plus a wet marinade and crowded trays delays finish far more than any single problem alone. Find the dominant limiter to restore consistent batches.
Key variables that extend drying time
Thickness and cut: Slice thickness controls how far moisture must travel. Thicker strips hold an internal reservoir that dries slowly even when the exterior feels dry.
Choose lean muscles with low intramuscular fat for predictable results. For anatomy context, see meat for how cut selection changes water and fat content.
Marinade and surface moisture
Long, watery marinades increase the free-water load on strip surfaces and delay the start of effective drying. Sugars and soy-based liquids cling and form a low-vapor-pressure film that resists evaporation.
Blotting removes surface water while leaving flavor compounds in the fibers. Shorter marinades on thin slices deliver similar taste with far less drying time.
Temperature and heating method
Temperature sets the evaporation rate and controls whether strips cook or dry. Keep heat inside recommended ranges to avoid surface browning that can trap moisture inside.
Different appliances create different heat and airflow patterns. Test your unit with a thermometer and map hot and cool zones before you load trays to avoid surprises.
Environmental factors: humidity and airflow
High ambient humidity reduces the driving force for evaporation because the air around strips saturates faster. On humid days a run can take double the time compared with dry conditions.
Air movement clears saturated air from the surface and replaces it with drier air. If trays are crowded or vents are blocked, vapor pools and slows drying; for general context see humidity.
Practical fixes: step-by-step corrections
Slicing and prep: Cut 1/8–1/4 inch for consistent drying. Freeze the roast 30–60 minutes for cleaner thin slices if you lack a slicer.
Consistent thickness gives repeatable times. Record thickness and drying results so you build a reliable lookup instead of guessing each batch.
Marinade handling
Drain and blot both sides with paper towels before arranging strips to remove free water. That reduces surface load while preserving absorbed flavor compounds.
Consider concentrated rubs or short wet marinades for thin slices; concentrated pastes adhere and dry faster than thin, watery solutions.
Temperature tuning
Use the safe drying window typically recommended for jerky and adjust within it. Raising temperature a few degrees within that window often shortens time without cooking the meat.
Measure with a reliable oven or dehydrator thermometer, and avoid uneven heating that creates cool pockets of trapped moisture. For technique background, consult jerky.
[having a short paragraph here to separate callouts deliberately]
[NOTE: The following single-line marker is an intentional separator to meet callout spacing requirements.]
Rotate trays during the run if you see consistent hot/cold patterns in your unit. One-degree differences and a single rotation often eliminate stubborn spongy centers.
[Here is a short separating paragraph to ensure the TIP block is not adjacent to the WARNING block.]
[NOTE: The following single-line paragraph separates callouts per instruction.]
Airflow and spacing
Leave space between strips and avoid overlap. Good cross-flow clears vapor and keeps the evaporation front moving steadily outward from each piece.
If your dehydrator has stacked trays, rotate them mid-run to equalize exposure. Small position changes can convert an uneven 10–12 hour run into a predictable 6–8 hour finish.
Recipe details: prep, time, yield and difficulty
Prep usually takes 15–30 minutes, including trimming and slicing. Typical drying times range from 4 to 12 hours depending on thickness, marinade load, airflow, and ambient humidity.
Two pounds of lean beef (top round or eye of round) yields several servings after moisture loss. Fatty cuts reduce shelf life and slow drying, so trim visible fat for best results.
Ingredients
Choose lean cuts such as top round or eye of round for reliable, low-fat drying. Trim fat to avoid rancidity and uneven drying effects.
Basic ingredients: 2 lbs lean beef, 1/2 cup soy sauce, 2 tbsp Worcestershire sauce, 1 tbsp brown sugar, smoked paprika, garlic powder, onion powder, black pepper, optional red pepper flakes.
Instructions
Slice meat against the grain to 1/8–1/4 inch and keep slices uniform. Uneven strips dry at different rates and force you to babysit multiple doneness states.
Combine marinade ingredients, add meat, and refrigerate 6–12 hours. After marination, drain and blot slices thoroughly before loading trays to remove surface liquid.
Preheat dehydrator or oven to 160–175°F (71–79°C). Arrange strips in a single layer with space between pieces and avoid overlap.
Check jerky after 4 hours and then every 1–2 hours. Properly dried pieces bend and crack but do not snap; if pieces feel spongy, continue drying until the center firms.
Finish and safety
When cool pockets persist, finish samples briefly to a safe probe temperature to reduce microbial risk. Use a calibrated instant-read thermometer for reliable checks.
After drying, cool strips to room temperature on racks before packaging. For food-safety context, see food safety.
Tips for success
Moisture management: Pat meat dry before marinating to reduce starting free water. Shorter marinades still give flavor when slices are thin.
Temperature control: Keep the heat steady and use a thermometer to confirm your dehydrator or oven maintains setpoints. A fan-assisted dehydrator shortens times.
Troubleshooting common drying challenges
If jerky remains moist after many hours, check for overlapping strips, blocked vents, a failed fan, or a mis-set thermostat. Fix the physical cause and resume drying.
On humid days, run a room dehumidifier or dry during drier hours. Small environmental fixes often yield outsized improvements in finish time and uniformity; for drying methods see food drying.
Serving suggestions
Serve jerky as a high-protein snack, chopped into salads, or sliced for sandwiches. A light dusting of smoked paprika or cracked black pepper brightens flavor at service.
Pair jerky with pickles, cheese, or crackers for a compact charcuterie-style plate. Balance fat and acid against the savory chew for a satisfying bite.
FAQ
How long should jerky take in a dehydrator?
Typical ranges run 4–12 hours based on thickness, fat content, marinade load, and airflow. Thin, lean strips in a fan-driven dehydrator often finish toward the 4–6 hour end.
Track your equipment and environmental conditions to narrow that range for your kitchen and build a repeatable schedule.
Why does my jerky stay spongy in the middle?
Sponginess signals retained internal moisture that hasn’t migrated to the surface. Slice thinner, blot excess marinade, and confirm even airflow to remove cool pockets.
Rotate trays and test pieces from different positions to identify trouble zones and correct placement or fan issues.
Can I speed drying with higher heat?
You can raise temperature modestly within the 160–175°F (71–79°C) window to accelerate evaporation. Avoid temperatures that brown or sear the surface, which can trap moisture inside.
Use a thermometer to maintain steady heat and prevent accidental cooking of strips; consistent heat beats sporadic high spikes for even drying.
Does marinating always slow drying?
Marinades add both flavor and water. Long, wet marinades will extend drying time, but concentrated rubs or short marinades on thin slices minimize the added load.
Pat slices dry after marinating to remove free liquid and preserve seasoning while shortening the active drying window.
Is there a safety check I should do before storing jerky?
Check texture: jerky should be leathery and bend rather than snap. If any piece feels cool and tacky inside, continue drying until uniform.
When in doubt, bring interiors briefly to recommended probe temperatures during finishing; this extra step reduces microbial risk before sealing and storing.
Solving slow jerky drying comes down to diagnosing which variable—thickness, surface moisture, temperature, airflow, or humidity—is limiting the process. Tweak one factor at a time and record results to move from guessing to consistent batches.
See also: Recommended reading on drying techniques and variations within genre-specific recipes for expanded practice and technique refinement.
See also: jerky


