
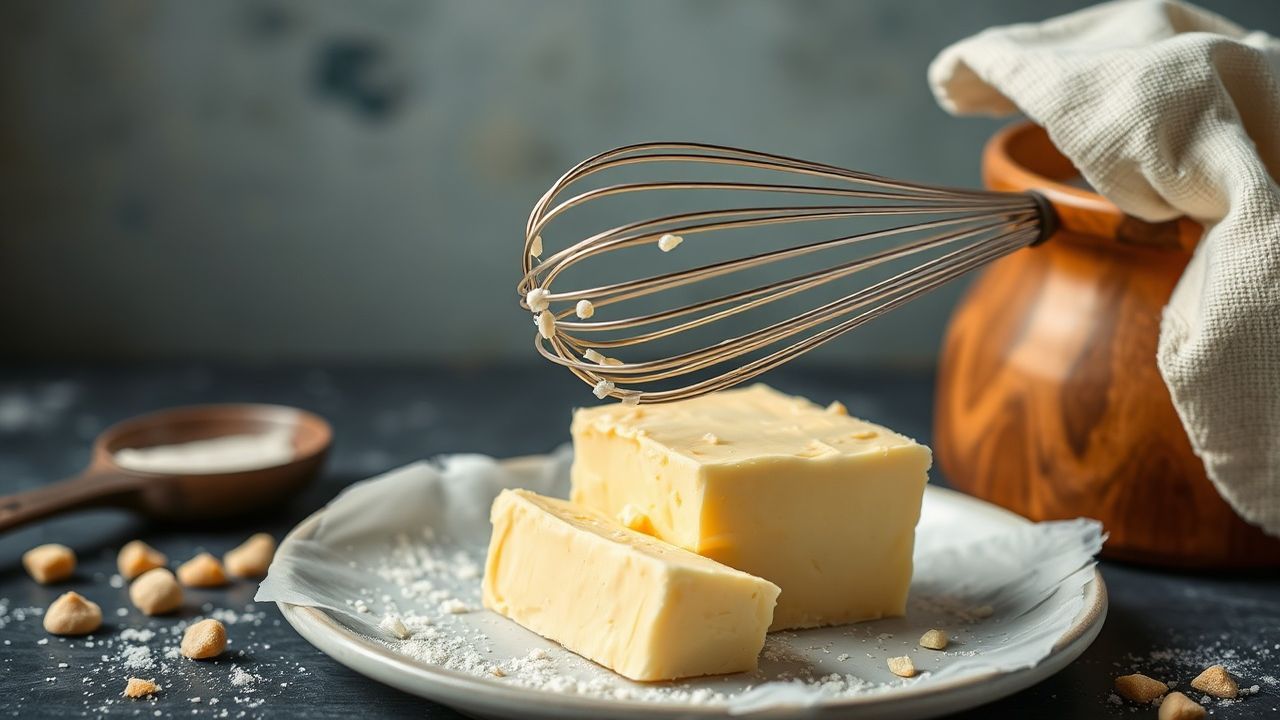
Fresh, homemade butter transforms baked goods with brighter dairy flavor and superior texture. Converting heavy cream into butter is a short, technical process that yields both butter and useful buttermilk for recipes.
- Brighter flavor: Fresh butter has livelier dairy notes than many commercial tubs.
- Texture control: You choose salt level, firmness, and moisture for each recipe.
- Less waste: You retain buttermilk for pancakes, biscuits, and batters.
Prep and Cook Time
Prep Time: 10 minutes, plus a short chill for tools. Cold equipment shortens whipping and improves fat recovery.
Whipping Time: 10–15 minutes depending on mixer speed and cream temperature. Monitor visually; the process is stage-driven rather than clock-driven.
Yield
From 2 cups (475 ml) of heavy cream you can expect roughly 3/4 cup of butter and about 1 cup of buttermilk. Yield changes with fat percentage and cream handling.
Higher-fat creams (36% milk fat or more) produce greater butter solids per volume. Mechanical factors and temperature control also affect final yield.
Difficulty Level
Easy. The method relies on basic tools and careful observation of visual cues during whipping.
Beginners should practice with small batches to learn the stages: soft peaks, firm peaks, grainy curds, then separation into butter and buttermilk.
Ingredients
Use high-fat cream as your base for consistent results. Select pasteurized cream that is not ultra‑high‑heat treated when possible for reliable whipping.
For technical background on cream composition, read cream (dairy). For details on traditional butter and its properties, consult butter.
- 2 cups heavy cream (preferably 36% milk fat; pasteurized but not ultra‑pasteurized)
- 1/4 tsp fine sea salt (optional, add after rinsing)
- Filtered water, very cold (for rinsing)
Instructions
Follow a fixed sequence: chill equipment, whip cream, separate solids and liquid, rinse thoroughly, then salt and store. Small temperature and speed adjustments change texture noticeably.
Read every step before you begin. Use a thermometer when you need precise control and trust visual cues for timing.
Step-by-step Process
Place your mixing bowl and beaters in the refrigerator for 15 minutes. A chilled metal bowl reduces heat transfer and shortens whipping time.
Pour the cold cream into the chilled bowl and whip at medium speed. Watch for soft peaks, then firm peaks, then a grainy texture as fat begins to clump.
When the Butter Forms
After about 8–12 minutes the fat will coalesce into pale yellow lumps while a milky liquid—the buttermilk—separates. Stop whipping once you see clear separation and curds forming.
Drain the buttermilk into a jar and refrigerate. Use this fresh buttermilk in pancakes, biscuits, or for tender cake batters.
Rinsing and Working the Butter
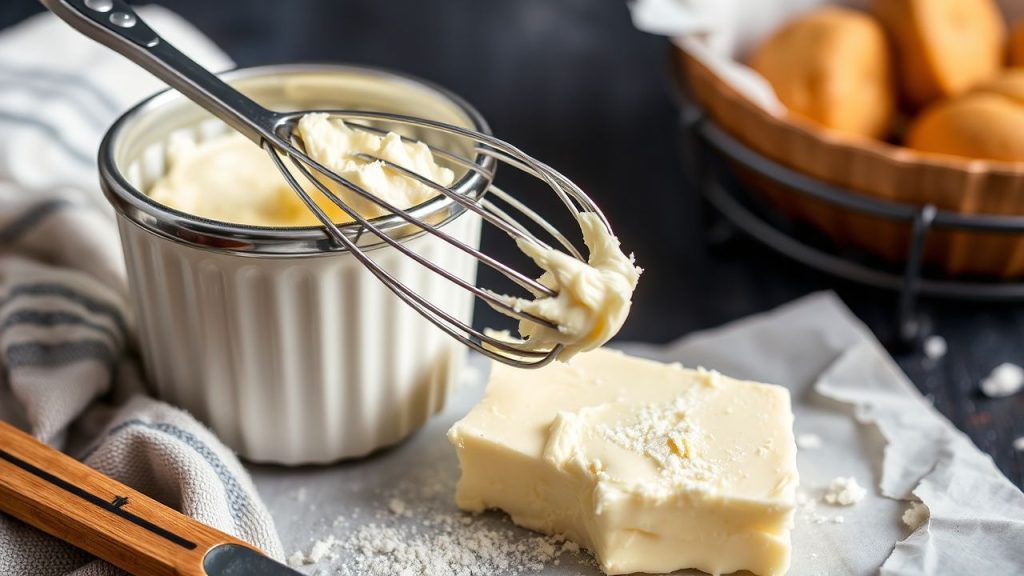
Transfer the butter solids to a bowl of very cold water. Press and fold the solids with a spatula to expel trapped buttermilk and whey.
Repeat rinses until the wash water runs clear. Effective rinsing reduces residual acidity and slows off-flavors, extending refrigerated shelf life.
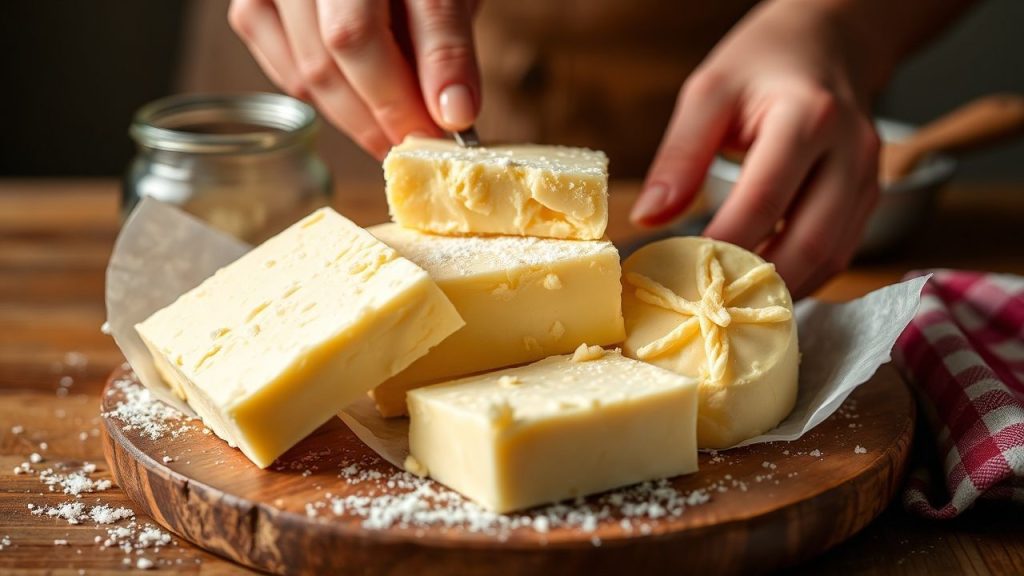
After rinsing, knead in salt to taste and shape the butter into a log or block. Pack tightly to exclude air and wrap in parchment for storage.
Tips for Success: Choosing Cream and Achieving Consistency
Fat percentage and thermal history determine how reliably a cream will whip and separate. Opt for creams labeled at least 36% milk fat for highest yield and firmness.
When available, raw cream offers a complex aroma, but follow local safety guidelines. For production context, review traditional churning methods and how agitation separates fat from liquid.
Choosing the Best Cream
Select heavy cream with minimal ultra‑heat processing. Ultra‑pasteurization can denature proteins and reduce whipping performance.
If your cream is slightly warm, refrigerate until it reaches 35–45°F (2–7°C). Cooler cream produces firmer, dryer butter and clearer buttermilk.
Technique and Equipment
Use a stand mixer or a reliable hand mixer on medium speed for control. A mason jar with vigorous shaking works, but expect longer time and more physical effort.
Cold metal, brisk whipping, and steady observation yield firm butter quickly. Avoid overworking after separation; excess squeezing releases too much moisture and makes the butter greasy.
Serving Suggestions
Use fresh butter on warm bread, croissants, and biscuits for immediate impact. The bright dairy notes lift simple bakes more than many store-bought spreads.
Make compound butters by folding in minced herbs, citrus zest, or roasted garlic after rinsing. Keep flavored butters chilled and use within one week or freeze in portions for longer storage.
Nutritional Information per 1 Tablespoon Serving
Butter is an energy-dense dairy fat. Values vary by cream source and added salt, but a typical tablespoon contains about 100 calories and 11.5 g fat.
For broader dietary context, consult milk nutrition resources and compare fat content when selecting creams.
| Calories | Protein | Carbs | Fat |
|---|---|---|---|
| 102 | 0.1g | 0g | 11.5g |
Storage and Shelf Life
Wrap butter tightly in parchment or place in an airtight container. Refrigerate and consume within two weeks for peak aroma and texture.
You can freeze butter for up to three months. Freeze in portions and thaw in the refrigerator to preserve structure and avoid textural defects when used in baking.
At a Glance: Key Takeaways
- Cold tools and chilled cream speed whipping and increase yield.
- Rinse thoroughly to reduce spoilage and improve shelf life.
- Reserve buttermilk to boost pancakes and tender baked goods.
FAQ
Q1: Why make homemade butter instead of buying it?
Homemade butter delivers fresher flavor and lets you control salt and moisture. You also capture buttermilk, which improves other recipes.
For extra recipes and variations, explore our collection on CookHarvest: Homemade butter tag and browse the site home page for related guides: CookHarvest home.
Q2: What causes cream to turn into butter?
Mechanical agitation destabilizes the milk fat emulsion. Repeated collisions rupture fat globule membranes and allow fat to coalesce into solids while releasing liquid buttermilk.
This separation explains why fat percentage and temperature change performance: they alter emulsion stability and droplet interactions during whipping.
Q3: Can I use ultra‑pasteurized cream?
Ultra‑pasteurized cream can be more difficult to whip because high heat alters protein structure. It sometimes works but often requires longer whipping and yields less solid butter.
When predictability matters, choose pasteurized cream that is not ultra‑high‑heat treated for consistent results.
Q4: How do I flavor homemade butter safely?
Add fine salt, minced fresh herbs, or a touch of honey after rinsing and before shaping. Keep compound butters cold and consume within one week for fresh herbs or fresh garlic.
To extend life, freeze flavored butter in individual portions and thaw in the refrigerator before use.
Q5: What should I do with leftover buttermilk?
Use fresh buttermilk in pancakes, biscuits, marinades, and quick breads where acidity reacts with leaveners and improves tenderness.
If you do not use it immediately, store buttermilk in the refrigerator for up to one week or freeze in measured portions for future use.
For historical context and traditional techniques, review churning and regional butter-making practices: butter churning methods. For specifics on cultured vs. sweet cream buttermilk, see buttermilk.
Recommended Reading:
- Churn It Up: 7 Pro Tips for Crafting Homemade Butter with a Stand Mixer
- Crafting Creamy Delight: Homemade Skim Milk Mozzarella Guide
- Crispy Delight: Mastering Homemade Buttermilk Fried Chicken


