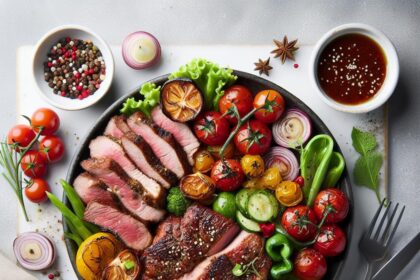
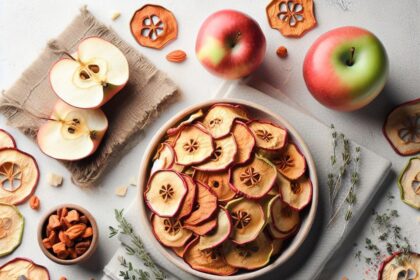
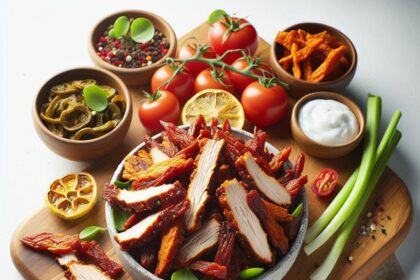
Imagine savoring a steaming, flavorful meal after a long day of backpacking-without carrying heavy cans or risking soggy sandwiches. Welcome to the world of DIY backpacking meals, where convenience meets culinary creativity, and the magic of rehydration transforms simple ingredients into gourmet delights. Whether you’re a seasoned trailblazer or just prepping for your first outdoor adventure, crafting your own dehydrated meals at home offers not only control over taste and nutrition but also the joy of personalized, lightweight sustenance. In this article, we’ll explore how to rehydrate deliciously at home, turning everyday pantry staples into backpacking fuel that’s as satisfying as it is practical. Get ready to elevate your trail cuisine and make every meal on the trail a memorable one!
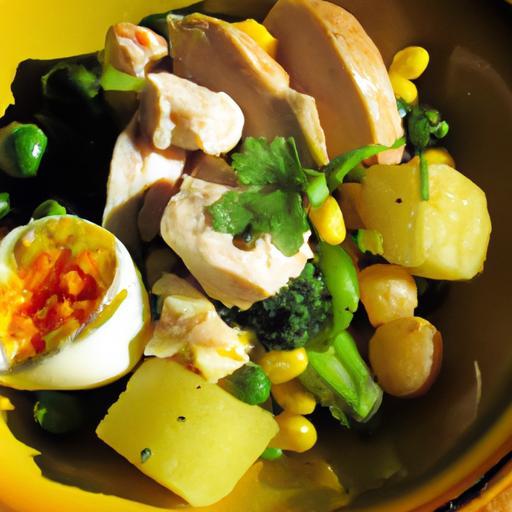
DIY Backpacking Meals: Rehydrate Deliciously at Home begins with selecting the perfect balance of lightweight, nutrient-dense ingredients that deliver robust flavors and rehydrate to near-fresh textures. Inspired by the rugged trails and my endless love for exploring the wilderness, crafting freeze-dried meals at home allows you the freedom to savor gourmet nutrition without the bulk. Imagine biting into a warm, savory stew bursting with herbs and tender vegetables, prepared in your own kitchen and ready to fuel every step on your adventure.
Prep and Cook Time
Preparation: 30 minutes | Freeze-Drying: 24 hours (plus freezing time) | Rehydrating on Trail: 10 minutes
Yield
Serves 2 backpackers – perfectly portioned for lightweight meals
Difficulty Level
Medium – Requires special equipment but beginner-friendly techniques
Ingredients
- 1 cup diced chicken breast, cooked and finely shredded
- 1/2 cup quinoa, rinsed and cooked
- 1/2 cup carrots, finely diced
- 1/4 cup bell pepper, minced (red or yellow for sweetness)
- 1/4 cup peas, fresh or frozen
- 2 cups low-sodium chicken broth (for cooking and rehydration)
- 1 tablespoon olive oil
- 1 teaspoon garlic powder
- 1 teaspoon onion powder
- 1 teaspoon dried thyme
- Salt and freshly ground black pepper to taste
- Optional: 1 tablespoon nutritional yeast (adds umami and B vitamins)
- Freeze-drying supplies: Vacuum-seal bags, freeze dryer, airtight containers
Instructions
- Cook the quinoa: In a small pot, combine quinoa with 1 cup of chicken broth. Bring to a boil, then reduce to low heat, cover, and simmer 15 minutes until liquid absorption is complete. Fluff with a fork and set aside to cool.
- Sauté vegetables: Heat olive oil in a skillet over medium heat. Add carrots, bell pepper, and peas. Sauté until just tender, about 5 minutes, stirring frequently to develop gentle caramelization without burning.
- Add seasonings: Stir in garlic powder, onion powder, thyme, salt, and pepper. Cook for an additional 1-2 minutes until fragrant.
- Combine protein and grains: Mix shredded chicken and cooked quinoa into the sautéed veggies. Adjust seasoning as needed, and remove from heat. Cool mixture completely before freeze-drying.
- Portion and freeze: Divide the cooled mixture into vacuum-seal bags or trays suited for your freeze dryer. Spread thinly to ensure quick freezing and optimal moisture removal.
- Freeze-dry meal: Follow your freeze dryer’s manufacturer instructions, typically requiring 24 hours for thorough dehydration while preserving flavor and texture.
- Store packages: Once dried, vacuum seal each pouch tightly and store in a cool, dark place until ready for your next trail adventure.
- To serve on trail: Pour 1.5 cups of boiling water into the freeze-dried meal pouch, seal, and let rehydrate for 8-10 minutes. Stir gently midway to evenly absorb moisture and revive texture.
Tips for Success
- Use fresh, high-quality ingredients for the best flavor and nutrient retention.
- Finely dice vegetables to speed up freeze drying and improve rehydration texture.
- Allow the cooked mixture to cool completely before freeze-drying to prevent condensation.
- Experiment with herbs like rosemary or smoked paprika for different flavor profiles.
- Freeze leftovers immediately in vacuum seal bags – excess air reduces shelf life and taste quality.
- To boost protein, add powdered eggs or dried beans for vegetarian adaptations.
- If you don’t own a freeze dryer, explore dehydrating in a low oven or food dehydrator, though expect longer rehydration time.
Serving Suggestions
Serve your rehydrated meal straight from its pouch or tip it into a lightweight camping bowl. Garnish with a pinch of crushed red pepper flakes, freshly cracked black pepper, or a sprinkle of finely chopped dried parsley to add a burst of vivid color and aroma. Pack along a squeeze of lime or a dash of hot sauce to awaken your senses on chilly mornings or after a long climb.
| Nutrient | Per Serving |
|---|---|
| Calories | 320 kcal |
| Protein | 28 g |
| Carbohydrates | 26 g |
| Fat | 8 g |

For more inspiration on crafting your own backpacking feasts, explore our detailed guide on homemade backpacking meal recipes. Also, consult USDA nutrition resources for expert advice on meal balancing and nutrition planning.
Q&A
Q&A: DIY Backpacking Meals – Rehydrate Deliciously at Home!
Q1: What exactly are DIY backpacking meals?
A1: DIY backpacking meals are homemade, lightweight, and dehydrated dishes you prepare ahead of time, designed to be quickly rehydrated on the trail. Think of them as your personal culinary adventure kits that save space and weight while delivering nutritious, flavorful meals wherever you roam.
Q2: Why should I make my own backpacking meals instead of buying pre-packaged ones?
A2: Making your own meals offers full control over ingredients, flavors, and nutrition. You can customize recipes to suit dietary preferences, avoid preservatives, cut costs, and enjoy fresher, tastier meals that transform your backpacking experience from bland to brilliant.
Q3: How does the rehydration process at home help when preparing these meals?
A3: Rehydrating meals at home lets you experiment with water temperature, soaking times, and seasoning tweaks to perfect your recipe. This testing ensures your meals will come together quickly and deliciously on the trail, reducing surprises and boosting confidence in your backpacking cuisine.
Q4: What are some essential tips for dehydrating meals to rehydrate later?
A4: Key tips include chopping ingredients uniformly for consistent drying, layering flavors for depth, using a reliable dehydrator or oven on low heat, and drying to crispness or brittleness to extend shelf life. Don’t forget to label and date your meals, so you keep track of freshness.
Q5: Can you suggest some easy, tasty DIY backpacking meal ideas?
A5: Absolutely! Try a savory quinoa and veggie medley, spicy lentil curry, or a classic breakfast oatmeal blend with dried fruit and nuts. Sweet tooth? Dehydrate granola clusters or banana chips to rehydrate or snack on. The possibilities are as vast as your pantry.
Q6: How should I store DIY dehydrated meals to maximize freshness?
A6: Store your meals in airtight, moisture-proof bags or containers with oxygen absorbers if possible. Keep them in a cool, dark place to preserve flavor and nutrients. Vacuum sealing is a backpacker’s best friend for long-term storage.
Q7: Do I need special equipment to make these meals?
A7: A food dehydrator is the star tool for consistent, efficient drying, but you can also use your oven on a low setting with the door slightly ajar. Investing in lightweight, high-quality resealable bags or containers will also pay dividends on the trail.
Q8: How long does it usually take to rehydrate these meals when backpacking?
A8: Most meals fully rehydrate in 10 to 20 minutes using hot water-perfect for a quick fuel stop. Some ingredients absorb water faster than others, so practice at home to fine-tune your timing and water ratios for ideal texture and taste.
Q9: Can DIY backpacking meals be nutritious as well as tasty?
A9: Definitely! Homemade meals let you pack in proteins, vitamins, and minerals through wholesome ingredients like legumes, grains, dried veggies, and natural seasonings. Balanced meals keep your energy up and hunger at bay on long hikes.
Q10: What is the biggest joy of making and eating DIY backpacking meals?
A10: Beyond saving money and minimizing waste, the biggest joy is savoring home-cooked flavors amidst wild landscapes-a comforting reminder that adventure and delicious food can go hand in hand, making every meal an exciting part of your journey.
The Conclusion
Embarking on your backpacking adventures with thoughtfully prepared DIY meals not only fuels your journey but also transforms each bite into a moment of culinary delight amidst the wilderness. By mastering the art of rehydrating deliciously at home, you unlock endless possibilities to customize flavors, control nutrition, and minimize waste on the trail. So, next time you lace up your boots and shoulder your pack, remember that the trail to great meals begins right in your own kitchen-where creativity meets convenience and every meal is an opportunity to savor the wild from start to finish. Happy trails and even happier tasting!