
Electric smoking lets cooks control low-and-slow heat to extract reliable smoke flavor from meats and vegetables. This guide breaks the technique into clear, actionable steps so you get repeatable results every time.
- Why electric smoking works
- Prep and timing summary
- Yield and difficulty
- Ingredients and rub basics
- Choosing your electric smoker
- Step-by-step smoking process
- Practical tips for consistent results
- Tips on wood selection
- Serving suggestions and plating
- Cleaning and maintenance routine
- Additional references and internal resources
- FAQ
- Key takeaway: Electric smokers provide steady temperatures that simplify long cooks.
- Flavor tip: Wood choice and chip management shape smoke profile more than extended time alone.
- Technique: Accurate probes and resting times deliver tender, juicy meat.
Why electric smoking works
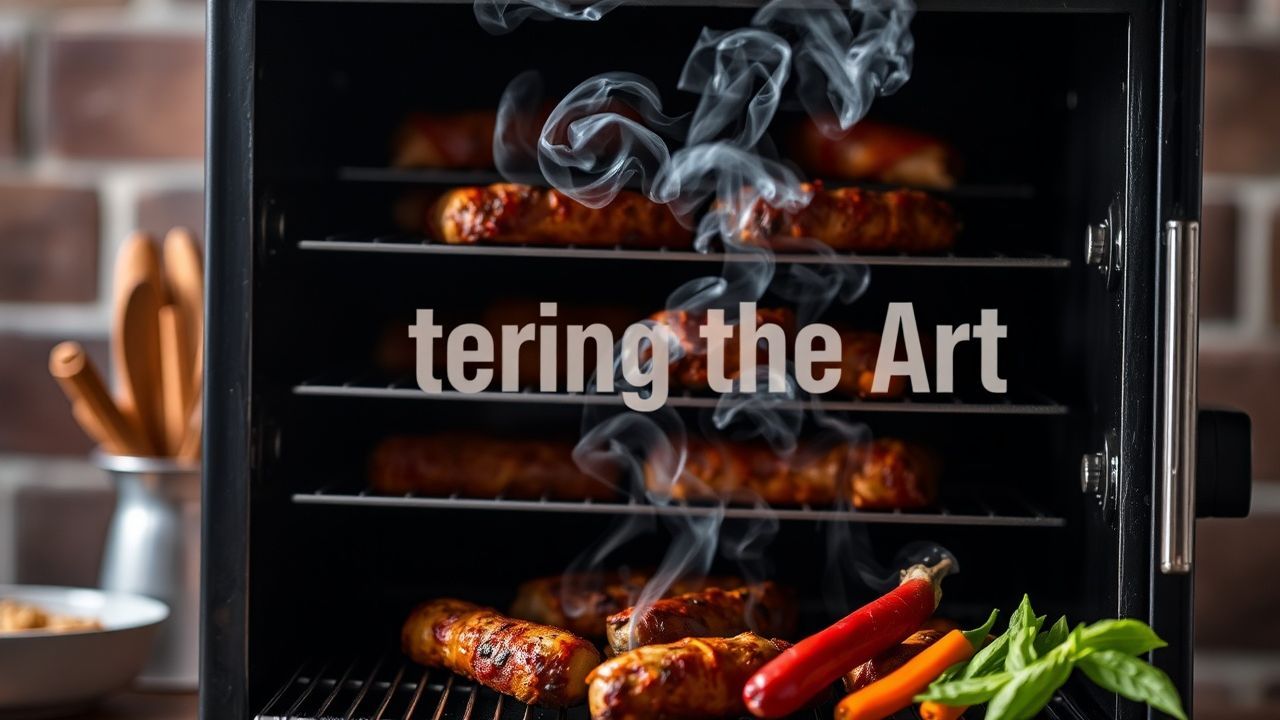
Electric smoking relies on a controlled heating element to produce consistent low heat and to vaporize wood chips that create smoke. That stability reduces hot spots and makes long cooks predictable.
The method mirrors traditional smoking principles but swaps active fire management for electronic regulation. For background on smoking as a culinary process see smoking (cooking).
Prep and timing summary
Preparation: 20–30 minutes active, plus seasoning time for dry-brine or rub absorption. Good mise en place cuts stress during the cook and prevents rushed choices at the smoker.
Smoking time: Expect 3–6 hours for a 3–4 lb pork shoulder depending on target internal temperature and smoke intensity. Rely on probe readings, not clock time.
Yield and difficulty
Yield: A 3–4 lb pork shoulder typically serves 6–8 after trimming and cooking shrinkage. Plan portions by final cooked weight if you need exact servings.
Difficulty: Medium. You monitor temperature and smoke, but the process becomes routine with a reliable digital thermostat and a wireless probe.
Ingredients and rub basics
Use a salt-and-sugar base for pulled pork rubs to balance caramelization and savory seasoning. A standard rub mixes kosher salt, brown sugar, black pepper, and smoked paprika for a stable bark without bitterness.
Simple starting list: 3–4 lb pork shoulder, 1/4 cup kosher salt, 1/4 cup brown sugar, 2 tbsp black pepper, 2 tbsp smoked paprika, 1 tbsp garlic powder, 1 tbsp onion powder, 1 tsp cayenne (optional), 1 cup apple juice for spritzing. Soak wood chips 20–30 minutes for milder initial smoke release.
Choosing your electric smoker
Select a smoker with reliable digital temperature control and a removable wood chip tray for easy refills. Solid gasket seals and sturdy racks limit heat loss when you open the door.
Prioritize a unit with a programmable thermostat and built-in probe ports for cleaner monitoring. Models with integrated probes reduce cord clutter and simplify long cooks.
Key features to prioritize
Prefer smokers that include a dedicated wood-chip box and a programmable thermostat. A wireless or integrated meat thermometer gives real-time internal temps so you avoid guesswork.
Consider capacity relative to typical batch size and frequency of use. If you plan frequent smoking, choose durable materials and easy-clean trays to reduce maintenance time.
Step-by-step smoking process
These steps manage exterior bark and internal tenderness by controlling the three variables that matter: temperature, smoke, and moisture. Follow the sequence to improve consistency with each cook.
Run an empty test at the target temperature to learn how your unit behaves and how often it needs chip replenishment. Calibration prevents surprises on a critical cooking day.
Preheat and load
Preheat to 225°F (107°C). Drain soaked chips and load the tray so the smoker produces steady smoke when the meat goes in.
Pat the pork dry, apply the rub evenly, and insert a probe into the thickest section. For probe technique and placement see the meat thermometer guidance at meat thermometer.
Maintain and monitor
Keep the smoker door closed as much as possible to avoid heat loss. Replenish wood chips every 45–60 minutes depending on chip density and desired smoke intensity.
Spritz with apple juice every 45 minutes to maintain surface moisture and develop a stable bark. Continue until internal temperature reaches 195–203°F (90–95°C) for pull-apart texture.
Rest and serve
Remove the pork and tent loosely with foil for 30–45 minutes to redistribute juices. Resting reduces drip loss when you shred or slice the meat.
After resting, shred and combine with pan juices if desired. Serve on toasted buns with crunchy coleslaw or roasted seasonal vegetables for balance.
Practical tips for consistent results
Season the shoulder at least one hour before smoking; overnight dry-brining increases flavor penetration and improves moisture retention. Controlled salt contact changes protein structure and aids juiciness.
Use a wireless probe to track internal temperature without opening the smoker. That practice prevents repeated heat loss and keeps smoke exposure consistent across the cook.
Rotate racks only if you notice uneven browning after several hours. Minor adjustments beat frequent repositioning, which wastes heat and smoke.
Tips on wood selection
Wood choice alters aroma and perceived smoke intensity. Hickory yields a bold, traditional pork flavor, while fruit woods like apple provide a milder, sweeter tone.
Start with a single wood type for your first three to five smokes to learn its character. Then experiment with small blends to create a signature profile without overwhelming the meat. Learn about hickory species and typical use at hickory.
Serving suggestions and plating
For sandwiches, pile shredded pork onto lightly toasted buns and top with bright, crunchy coleslaw. Acidic elements such as vinegar or pickle brine cut through fat and refresh the palate.
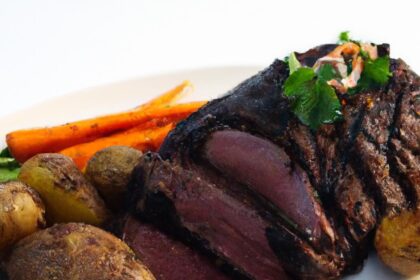
You can also plate smoked pork with grilled seasonal vegetables and a smoky aioli. Small garnishes like chopped parsley or pickled jalapeños add visual contrast and textural lift.
Cleaning and maintenance routine
After the smoker cools, remove and discard spent wood chips and empty drip trays to prevent rancid residue. A wipe with warm, soapy water keeps surfaces sanitary and functional.
Inspect seals, heating elements, and probe ports regularly to avoid temperature drift. Preventive maintenance extends the appliance’s service life and improves long-term consistency.
Additional references and internal resources
Track each cook’s variables—wood type, chip replenishment interval, and resting time—to build consistent results. Logging these details speeds repeatable improvement across sessions.
Find related how-tos and recipes on our site tag page and full guide: electric smoking resources and complete smoker guide.
FAQ
What is the ideal temperature for low-and-slow electric smoking?
Most low-and-slow recipes use 225°F as a baseline. That temperature balances collagen breakdown with moisture retention for cuts like shoulder.
How long should I smoke a 3–4 lb pork shoulder?
Expect 3–6 hours depending on smoker efficiency and how much smoke you want. Always confirm doneness by internal temperature rather than time alone.
Should I soak wood chips before smoking?
Soaking delays immediate smoke release and can lengthen useful chip time. Many pitmasters prefer dry chips for steadier smoke generation and more controlled flavor.
Can I smoke cheese or vegetables in an electric smoker?
Yes. Use lower temperatures and shorter smoke periods to avoid melting or drying. Monitor these items closely because they need less heat than meat.
How do I avoid bitter, over-smoked flavors?
Use moderate wood amounts and avoid constant replenishment. Maintain clean smoke by preventing creosote buildup and run short trials to dial in the right level for your palate.
Recommended Reading:
- Brine vs. Dry Rub: 9 Expert Techniques for Perfect Meat
- 10 Expert Tips to Choose the Best Smart Digital Meat Thermometer
- Brisket Knives Unveiled: 7 Pro Tips to Slice Like a BBQ Master